Before & After

PEPE#7-3496a

PEPE#7-3496b


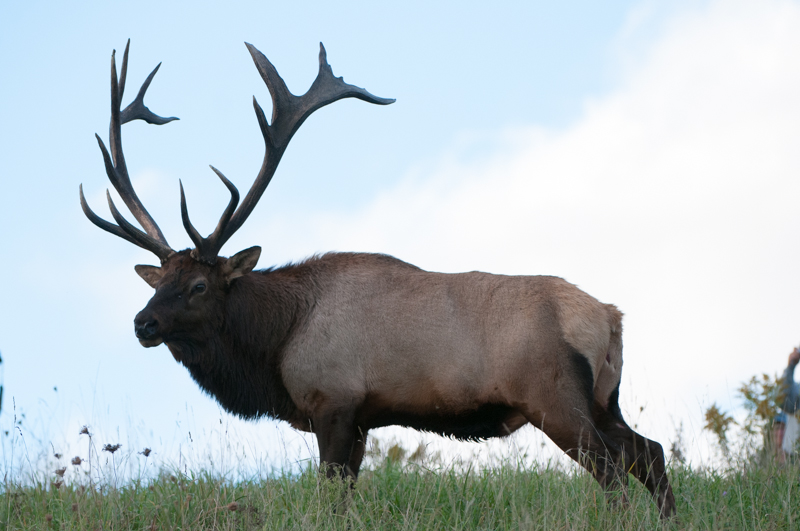
Lightroom is my go-to choice for both keeping track of and editing my photographs. I do use Photo Mechanic and Aurora HDR software, as well, but those are topics for another blog post. I also have and use Photoshop, but easily 95%+ of my photo edits are accomplished in Lightroom. So I thought for today’s blog post, I would share this before and after photograph to just share a few edits I do routinely in Lightroom.

First, I have to thank Dick McCreight, my colleague and professional photographer who is an absolute guru with Lightroom’s Develop module. He makes it look so easy and is somehow uniquely able to teach what he knows. He is awesome! Thanks, Dick! Also, John Kliest, another colleague and photographer, recently helped me to better understand Lightroom’s Develop module. One tip in particular comes to mind that I learned from John, which involves the Highlights slider. I know my way around Lightroom’s Library module well. I can edit a new shoot in no time, flagging the best photos and using color labels to identify photos I want to use for my blog or some other purpose. The Develop module, however, was a place I somewhat feared to tread. It just seemed kinda overwhelming to me to be honest. Well, Dick and John relieved my fears and taught me some really valuable and helpful stuff so I can now edit my photos efficiently. Thanks guys!

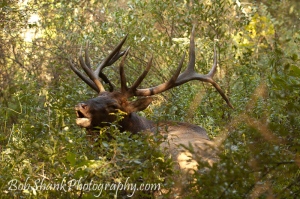
Let’s start by looking at the first photo above. You can see the exposure is a little dark and there is a floating arm from a person located in the lower-right corner of the photo. The cropping tool was used first and I just slightly cropped out that floating arm. LIghtroom makes this quick and easy.

Then I adjusted the exposure, bringing up the light a little shy of half a stop. This was a good start to editing the photo but I knew I couldn’t stop here.

So, I then adjusted the highlights, white clipping, and black clipping sliders. The goal in wildlife photography is to always keep the focus on the subject. Working with the white and black portions of the photograph can sometimes provide drastic changes. Sure enough, once I made these adjustments, I had to scale back the exposure about 2-tenths of a stop. I guess I should have started with these adjustments before correcting the exposure.

Then I worked on adjusting the shadows and contrast. Typically, I find the shadows slider to be a very helpful tool in bringing details out of the dark, literally!

Finally, I added a little smidgen of clarity and vibrance, which I do to most of my photographs.

Within just a few short minutes I edited the photo to a very usable and better quality photograph by using the Develop module in Lightroom. I know I still have a lot to learn about properly editing photographs, but equipped with even the little knowledge I do posses, I can see big changes in my photographs after editing them.

Lightroom is a great tool on a number of levels. I will post more blog entries in the future to share in detail how I use this amazing software. Lightroom rocks!
Being Efficient When You are Busy, Busy, Busy!

Just the other day I asked Siri, “Why am I so busy?” She quickly responded, “I don’t know. Frankly, I was wondering that myself!”

I am currently in the middle of a lot of photo shoots. Four days in a row with five photo shoots altogether! I’m not complaining; not in the least. I’m just busy, but good busy. During these stretches I sometimes find it hard to keep up with shooting, uploading the photos to my computer, editing them, creating galleries, charging batters, cleaning lenses, connecting with potential photo clients, and everything else. Busy, busy, busy!

Streamlining routine tasks is essential in busy times. I like to use the Energizer rechargeable NIMH batteries in the quick charger because they are charged in about 15 minutes or less! This saves a lot of time from the days when I had to charge batteries overnight. Now I can charge all 14 batteries while I am uploading photos from my compact flash cards to my Drobo.

Staying on top of these tasks is critical especially when photo shoots are so close together. Forget to empty a card and there will be no room for more photos during the next photo shoot that day. This is definitely not a time to be forgetful or fly by the seat of your pants! Good habits, predictable patterns, and a logical strategy all help to stay on top of everything in busy times.

Keywording is best done right away. Why wait to do it later when it might be forgotten? Some keywords can be entered automatically as we import them. Other more specific keywords have to be entered manually. Doing this right away makes it easier to remember the details of this shoot rather than relying on a spotty memory later on down the week or month. Stay on top of key wording and the rewards will be more than obvious down the road.

Editing photos is another key area in which to aim for efficiency. This, for me, includes locating the keepers, confirming or changing the proper white balance, and making any necessary minor edits to the photograph if needed or desired. The absolute best way to be efficient here is to get everything right in the camera. With some photo editors this is required, so it is a great goal to aim for from the beginning. It saves time, too.

What ways are you finding to be efficient in your photography?

Adding Multiple Keywords in Adobe Lightroom


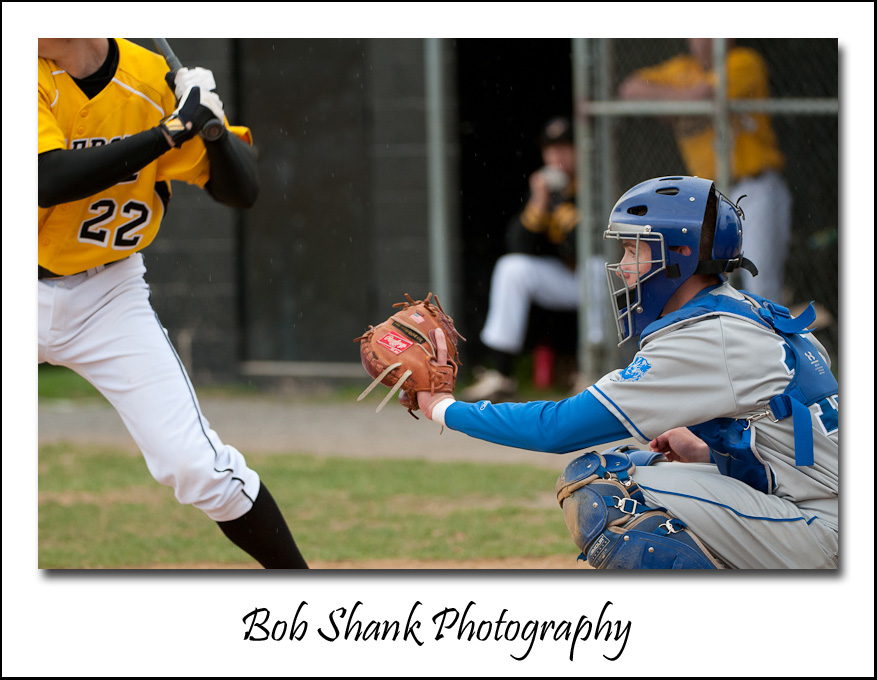
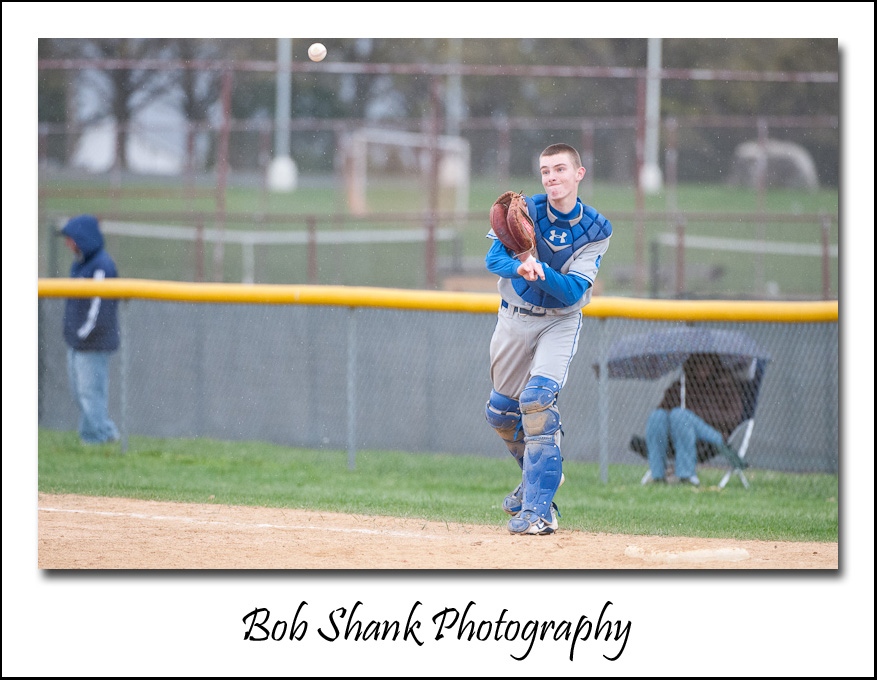
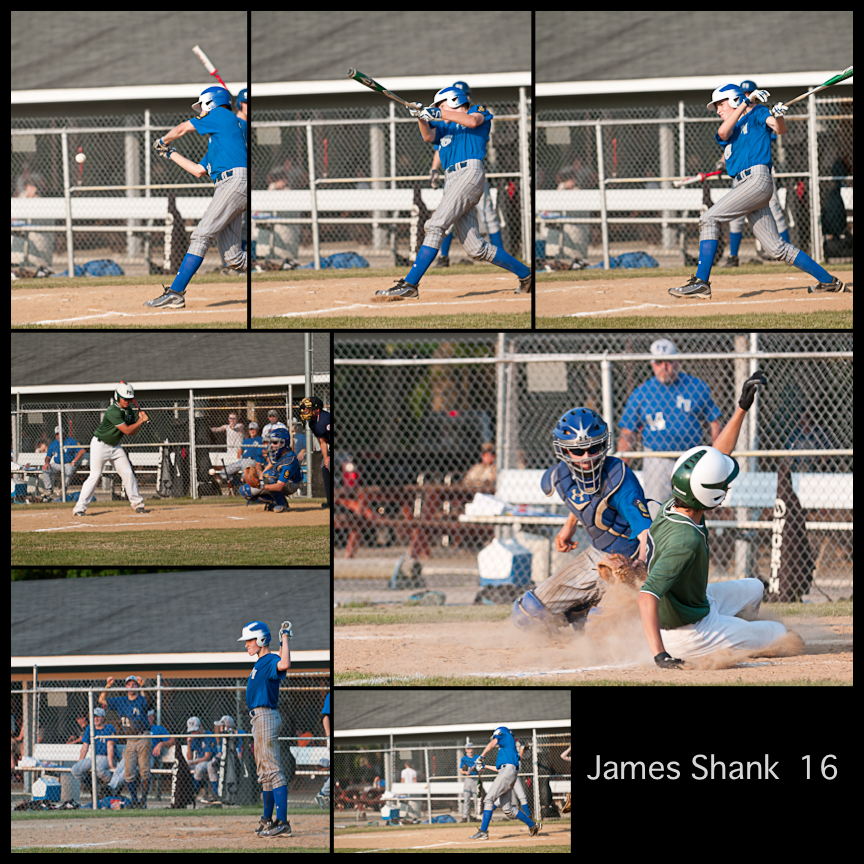
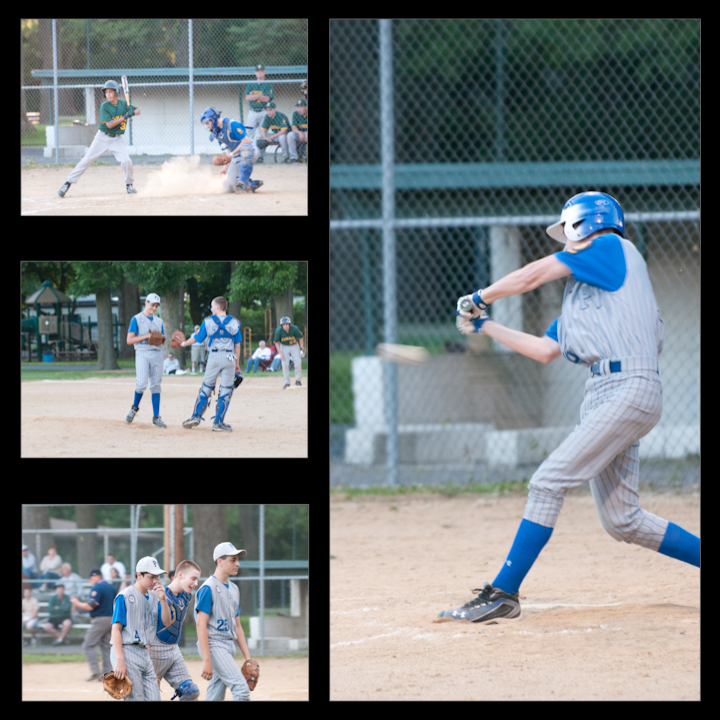
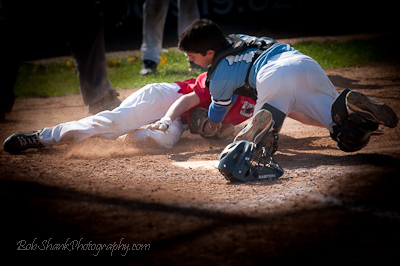
Do you ever have the need to add multiple keywords to the same photos? I do. For example, after a high school baseball game I want to enter the players jersey number and their full name to their photographs. I find it better to do it now because at the end of the season I make collages for the seniors. All I  have to do then is search for the player name and jersey number and I am good to go!

Through some trial and error, I found a great way to enter these specific keywords to all the photos after a game. This might not make much sense to those of you who don’t use Lightroom, but I am guessing that similar procedures can be used with most software applications.

Here is how I enter multiple keywords after a photo shoot.

Step #1
I apply universal keywords when importing the photos for the first time into Lightroom. “Team name”, “Opponent”, “Away” or “Home”, and “Baseball” are all keywords that get entered into photograph as it is being imported.

Step #2
I create a collection of the keepers from the game. This prevents me from having to enter keywords into photos that I will never use. Time is precious, so saving time is essential!

Step #3
I created a filter that checks each photo for the keywords I am about to enter. This filter is pretty big because it looks for each jersey number and player name on the entire team. I initially created this filter to check to see if any photos from a game were left keywordless. But now I found another great feature by using this filter. I apply the filter just before I add keywords, so when I add keywords to a photo it “disappears” from the screen because it no longer matches that filter. So, as I add keywords, only those without the appropriate keywords are left on my screen. This is pretty slick in my opinion and helps me tremendously!

Step #4
I use the Painter Tool in the Grid view to add my keywords. I click on the Painter Tool and then enter the player’s jersey number, then a comma, and then the player’s name. Then I go through the grid of photos and paint on the photo that matches these keywords. As I do, they “disappear” because they no longer match the filter I selected.

Step #5
I skip over photos with multiple players in them because more than one jersey number and player name will be applied to these photos. I use the Painter Tool again if there are a good number of photos with the same two players in them, or I simply add the appropriate keywords to the remaining photos one-by-one.

When I’m all done, there are not photos left on the screen because they’ve been filtered out and I know that each photograph has been keyworded to my specifications.

It works wonderfully for me!

Baseball Photo Shoot

The weather is breaking into spring-like weather and the baseball season will soon be under way!

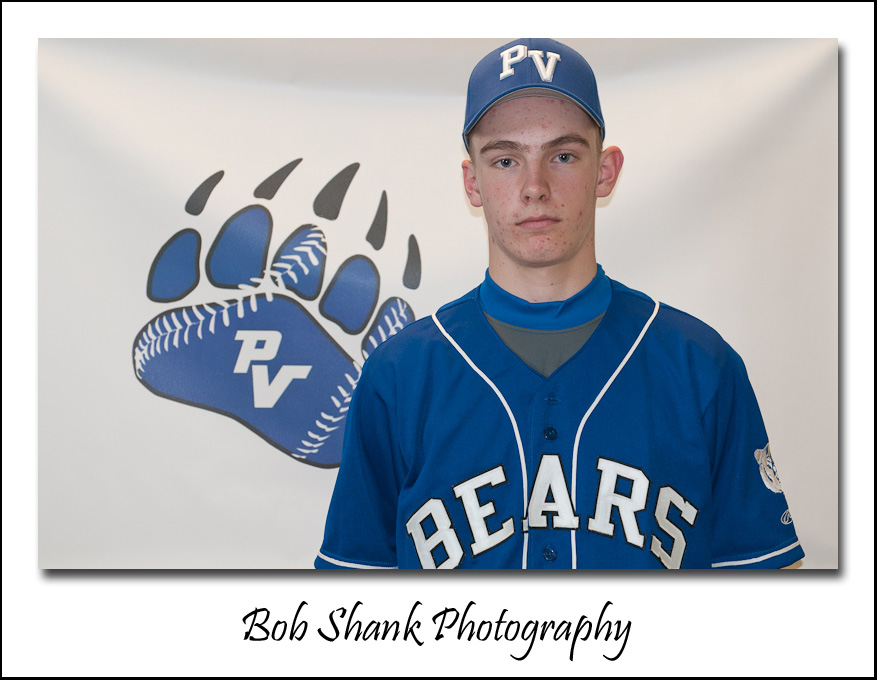
Yesterday I spent the morning photographing the player portraits for their yearly program. It is always fun to be around the players to sense and hear their excitement and witness their enthusiasm on the brink of a new baseball season. This was one day after try-outs were finished so there was a sense of relief in the air but also a real sense of anticipation as well. These boys are ready to put their game on the field!

On a personal note, our son James made the varsity team as a sophomore and we couldn’t be more proud of him! The above photo is James posing for his player profile, which will appear in the baseball program that will be handed out this season.Isn’t that quite a game-face?


Behind the Scenes on this Photo Shoot

This year instead of a basic, boring background like a brick wall, I used the team’s newly created logo and made a design to serve as a backdrop to the player profile photos. A few setup steps in Photoshop and the banners were off to the printer to come out as durable vinyl banners. When it arrived I inserted metal grommets into each corner so I could then attach the banner to my two backdrop stands. I set this up in the locker room, which served as my studio for this shoot. The boys were getting their uniforms for the season, which made this a convenient time for the photos to be taken.

I also set up my main light source off to the side of this backdrop at about a 40-degree angle and up high. My SB-900 speedlight was used remotely and I attached it behind an Ezybox to disperse the light over the subjects. This softens the light in a pleasing manner and avoids any hotspots in the photos. I also attached the dome diffuser to further diffuse the light. One test shot and I was ready to go! I really enjoy using Nikon’s off-camera flash setup. It’s quick, easy, and very effective!

Once back in my office, it was time to edit the photo shoot. First, I examined each player’s photos and used Lightroom’s Survey View to quickly narrow down the options and pick the best photo. This was repeated for each player on the Varsity and then the Junior Varsity team. Next it was time to do a few adjustments to the photos. I started on the first photo and then synched these edits across the entire collection to apply them to the rest of the photos. Since my setup was controlled and consistent, my sync was also consistent. I like Lightroom for this kind of process, too!

Finally, I renamed each photograph with the name and number of each player. This will help the layout guys when assembling the baseball program for printing. Now I am sending all the files to a DVD to send in to the school tomorrow.

It’s been a busy weekend but it was fun! The photo shoot went well and I am pleased with the results. I hope the players and their families agree!


Sunlit Cow Elk

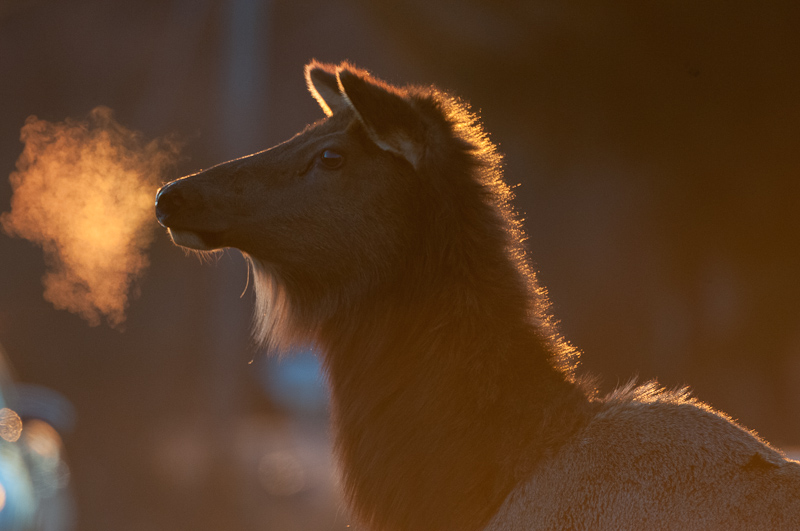
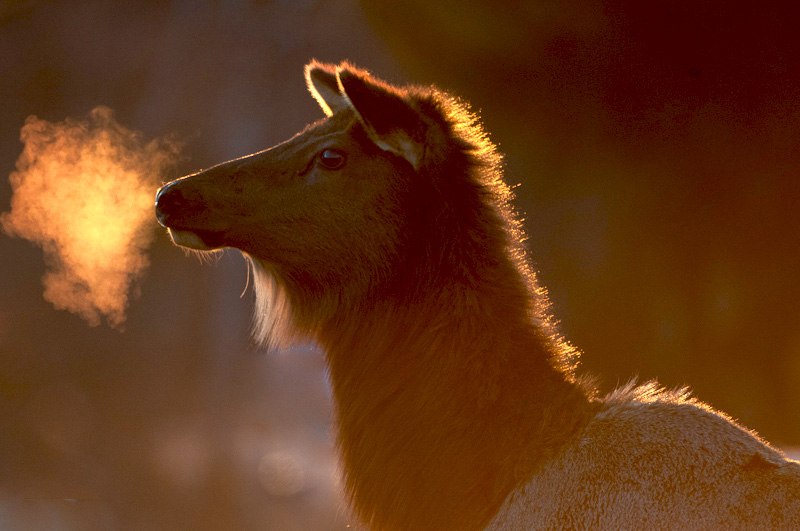
On a recent photo excursion to Elk County, Pennsylvania to photograph the elk, I captured an interesting photo of a cow. The setting sun was behind this cow so a silhouette was in my thinking. However, the warm sun rays provided enough light to illuminate the visible breath coming out of this elk’s mouth. It was a chilly evening and the condensation of this cow’s breath was visible in the light.

When I returned home, I knew I wanted to use this photograph if at all possible. But the problems were many-fold. There was some nasty sun glare from the sunlight hitting the lens. I thought maybe I could do a little touch-up in Photoshop and was hoping to be able to salvage this photograph in some usable form. I am not sure I succeeded quite yet. However, I thought I would share both a before photo and an after photo to let you see what I’ve accomplished so far. I still have a ways to go.

Do you think this photograph is usable or am I wasting my time?

Before: 


After:

Whitetail Bucks and High ISOs

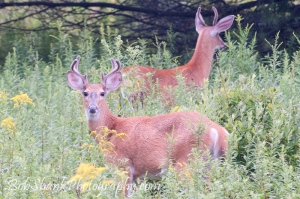
Today I have more whitetail photographs, this time two bucks. Again, I was looking for the Pennsylvania elk and while searching for them came across these two nice, healthy bucks. One was a spike and the other a 6-point. The conditions for photography were far less than ideal: hazy, overcast, and downright lousy light in the mid-morning. This required a very ISO, 1600 to be exact.

I currently shoot with a Nikon D300. Previously, I used a Nikon D70. The differences in the two are amazing. One of the features that was greatly improved is the quality of photographs with higher ISO settings. I hear the D3 is even exponentially much better yet! In the meantime, I have to settle for the D300 and how it works in the higher ISO settings. I still prefer to stay at ISO 200, but sometimes this just isn’t possible. I get decent results even up to ISO 800 but get worried after that. My daughter acts in some school and local community musicals where the stage light sometimes requires an ISO as high as 2500! I do not like going that high, but with the D300 I still can get some useable photographs.

The results in wildlife photography are far different, however. Tack-sharp focus and no noise are required for quality wildlife photographs. We can never be too picky in trying to get the absolute best quality photographs. I will do much of anything with these photographs I am posting today but am showing them for the purposes of supporting my thoughts on this discussion of higher ISO settings.

These photographs were taken with an ISO setting of 1600. I did some minor post-processing in Adobe Lightroom 3.0. However, I did not use any noise reduction in Lightroom. I tried using it, but I personally think it sacrifices some sharpness, which is critical to me. Perhaps I am doing something wrong, but I just didn’t like the results using the noise reduction on these images. So what you see, as far as handling the higher ISO is right from the camera.

Here they are. Let me know what you think. Do you use higher ISOs with any success? Do you use noise reduction in post-processing? Are you satisfied with the results? What are the standards you use in your photography?

Join Us on the Next Pennsylvania Elk Photography Experience!

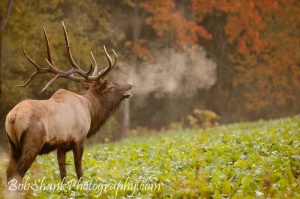
How would you like to photograph an elk as he bugles into the brisk air or stands face-to-face with another competing bull in a showdown during the fall rut?

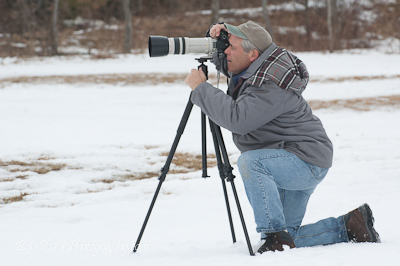
Our Fall Elk Rut photo workshop provides opportunities like these and more! Fall brings not only a change in colors, but also the Fall Rut for the elk. We are privileged to have elk here in Pennsylvania and my colleague, Dick McCreight, and I like nothing more than sharing this experience with others as we photograph the elk during this breath-taking season. It will be memorable!

The 3-day workshop actually begins on Monday evening and concludes on Thursday. We pack a lot of quality time into photographing the elk, sharing photo instruction and tips, and leading three different photo workshops in the evenings.

Includes 3 workshops:
1 – Setting up & using your camera for wildlife photography
2 – How to use Lightroom to manage and edit your photographs easily
3 – Techniques for Better Wildlife Photography & a History of the PA Elk Herd

Dick is incredibly knowledgeable with Lightroom and will show you how to quickly and easily manage your photo library and also how to edit your photos after a shoot. You will learn ways to photograph the elk at different times of the day and in different situations, how to set up your camera for wildlife photography, and more about this unique elk herd of Pennsylvania in these 3 workshops. We keep the group small so we have quality time together. It is sure to be a rewarding and unforgettable experience, which is why we titled our photo workshop: the “Pennsylvania Elk Photography Experience.”

The cost is $595 for the trip and includes lodging and meals. You can find more detailed information on our website. Join us for this exciting adventure as we photograph the PA elk together!

Here are just a few photographs we captured on previous trips:


Lightroom Photo Collages

Adobe Lightroom is my most favorite photo-editing software. I can quickly go through an entire photo shoot, pick the keepers, do some quick touch-up edits of some photos, and post them as a gallery on my website. It is awesome!

I still do use Photoshop for some more advanced editing and creating some collages, like the ones I do for the high school baseball seniors. Photoshop certainly has its place and I do keep it within arm’s length, but more and more I find additional features in Lightroom. A recent example is creating collages right in Lightroom.

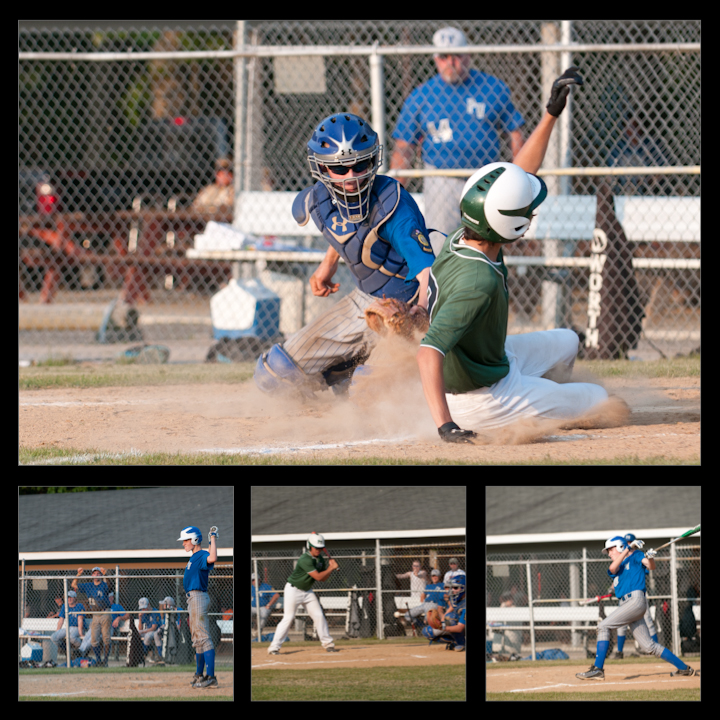
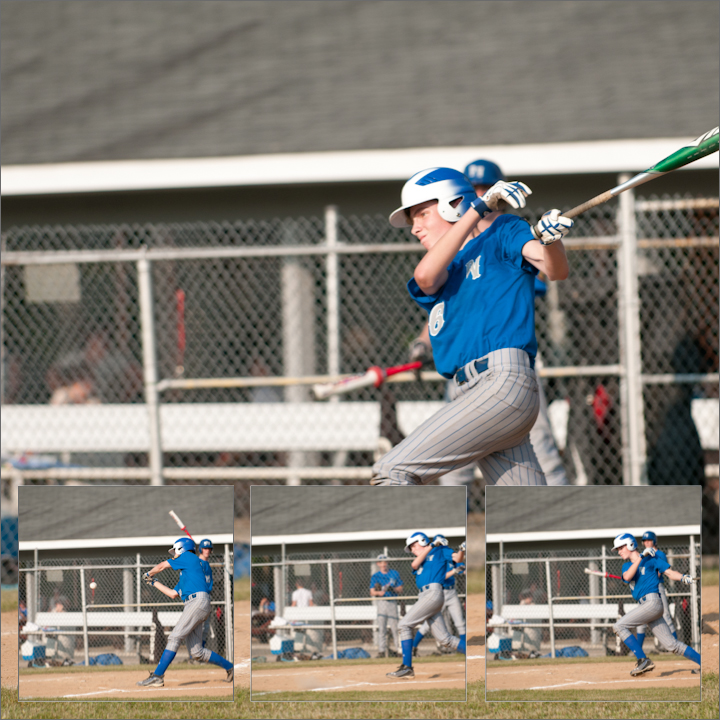
A photo collage is a great way to share the highlights of a vacation, a baseball game, a musical, or any other subject captured with your camera. Here are five samples that I was playing with the other night. (You can click on each image to see a larger photo of the collage.) I think they make great photo keepsakes. What do you think? Which one do you like best?

Do It Now or Do It Later – But Do It!

Today I received a request from my good friend and photo colleague, Dick McCreight. He wanted me to send a photo of him to add to this Facebook page. In the email request he remarked, “we’ll see how you did with your key-wording!”

Well, I did have some keywords marked for my photos, but not nearly enough. So I just spent some time doing some keywording. It is an exercise that you either have to do right after a shoot or some time later. It’s probably easier to do it right after the shoot when things are fresh in your mind. However, if you are like me, there isn’t always time to do it right away.

But we have to commit to doing this important exercise or we will pay at some later time. Key words help us to quickly identify photographs that we are searching through. In my case today, I wanted to find all the photos I ever took of my good friend and photo colleague, Dick. I had some keyworded but not all of them. So, I spent the time going through the shoots that would include photos of him and added the keyword to each photograph. Now when I filter in Lightroom I can see all the photos of Dick.

Do it now, do it later, but be sure to keyword!

Making Photographs Better

Yesterday I was sharing some of the difficulty I am having in deciding which photos should make the cut. I presented three photographs for you to look at and decide how they rate.

Well, today I want to take one photo and see if I can make it better. It happens to be the second photograph from yesterday. This first photo is the exact same one as yesterday. The photograph that follows is my attempt to make it better. What do you think? Is it better than the original?