Bear and Deer Hunting Blog

The Pocono Record asked me to blog about my experiences at hunting camp this year. Just today they included the first segment of my story. You can view it online here:

http://www.poconorecord.com/apps/pbcs.dll/article?AID=/20131127/NEWS/131129691

I will be writing more soon.

New Blog Layout

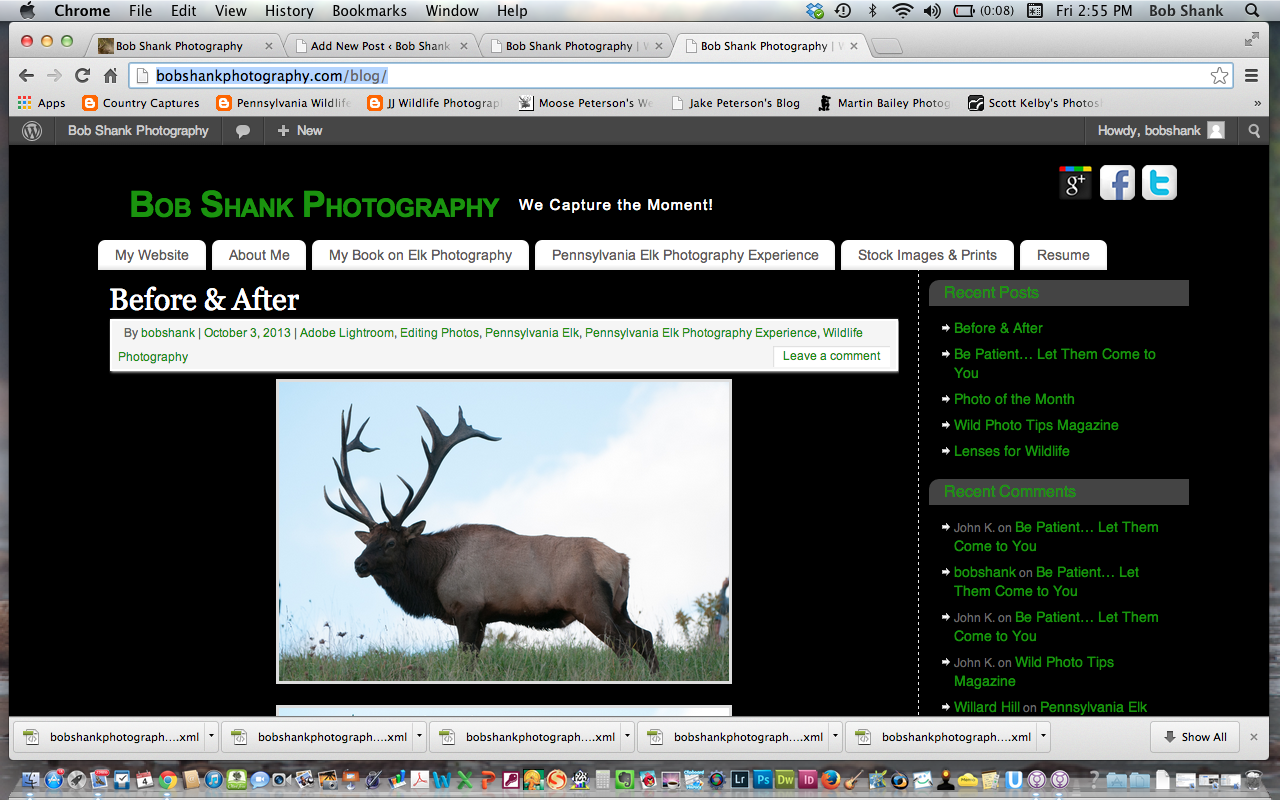
Screen Shot 2013-10-04 at 2.55.57 PM

I started my photo blog back on September 28, 2009. I enjoy sharing photographs, photo tips, software suggestions, and more on my photo blog. It is a fun endeavor. Sometimes I blog almost every day of the month, while other times, like when I am traveling or busy, I only blog a few times during the month.

I use WordPress as the software medium for my blog. As for videos, my editing needs haven’t gone more than what the software at  https://www.makewebvideo.com/en/make/3d-text-intro-video offers. It was very easy to set up and I do enjoy its interface. Over the past year I was reading of the advantages of moving from WordPress.com to WordPress.org. The difference would include a few upgrades on my hosting site and require me to host the WordPress software on my side of things instead of just over the internet. I also had to move all the past blog entries, which I knew was going to require some time.

Well, I think I’m there! I moved all the blog entries after setting up my website host properly. This is my first blog post in WordPress.org for me. I am very happy with the progress so far and especially the customization available with this new format. I still have some tweaking and adjusting to do, but I think I’m going to go live with this today.

Technically speaking, there is only a subtle change for you, the visitor to my blog. The url used to be bobshankphotography.wordpress.com Now, the new url is:
http://bobshankphotography.com/blog/

I will put a link on the old site so visitors can easily get to my new blog, but please change your bookmark to my site when you get a chance. Spread the word, too, about my photography blog. As I was looking back over the past five years of entries, I was surprised to see all the many and different topics I blogged about so far. The future looks bright for me, too! I keep learning more and more about how to capture better photographs. I am getting published in our local newspaper with my sports photographs, and my wildlife photography is getting better, too!

Stay tuned for some exciting blog postings, which will be forthcoming. I have some ideas on sharing some of what I do both behind the camera and in post-processing. I will re-visit my photo workflow to show you how I quickly sift through all the photos of a shoot to focus on the best photos for editing, captioning, publishing, and sharing with others. I will also talk about software I find helpful, my take on what editors are looking for in a photograph, and how I am improving in my sports and wildlife photography.

So, I hope you like this new blog format. To be honest, I was getting a little sick of the orange text in my old blog. I hope you like this new format, but more importantly I hope you keep visiting and checking in to see what I am blogging about each week. I truly hope there is something helpful for you here. If so, share my blog with your friends and colleagues. My photography passions are growing each day and I always enjoy sharing this deep passion with others!

Create a Framed Matte Effect in Photoshop

I wanted to create a framed matte for my photographs that also incorporated a shadow effect with the photograph. It took a little time to figure it out and create it, but now with the use of a Photoshop Action, I can recreate this effect in a matter of mere seconds!

Here are the steps to create a framed matte effect yourself:

Step 1: Open a photograph in Photoshop (I already have it resized in Lightroom)

Step 2: Duplicate the layer

Step 3: Highlight the original layer and click on Image and then Canvas. Set the width to 1 and the height to 1, and the background to white. Click on Image and then Canvas again. Set the height to 1 and then click the up arrow in the anchor, and again set the background to white. Now, click Image and Canvas and set the width and height to .0625 and set the background to black.

Step 4: Double click the copied layer and setup the drop shadow. I set the angle to 120, distance to 10, and size to 10.

Step 5: Insert a text box with your name or title for the photograph. Set the font and size.

Step 6: Save the newly created framed photograph as a jpg for use in your blog.

It actually sounds more difficult than it actually was for me to set up. Once you’ve been through the process a time or two, do it again this time recording the steps as an action. Then you will be able to repeat this process with one simple click.

Create a Matte-Like Print Template in Lightroom

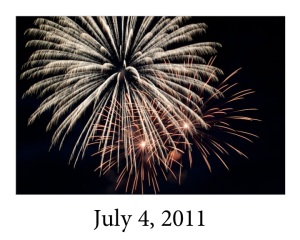
Yesterday’s blog post inspired me to use Lightroom 3.0 to create a Matte-like image to display some of the fireworks I photographed on Monday.

This inspiration was placed in the corner recesses of my mind some time ago by John Shaw and then again more recently by Moose Peterson. My thought was to create an image that looked like a matted print of one of my photographs. Lightroom’s print module seemed like the perfect way to turn this inspiration into reality. My goal was to display several of my fireworks photographs on my blog and have them appear to look like a matted print. You can scroll down to my blog post from yesterday to see the finished product of this template.

I started by creating a collection in Lightroom of the photos I wanted to place in my blog. I picked seven. Then I went to the Print module in Lightroom and started creating a custom print template. I started by setting the layout style to “Custom Package” in the right-hand column. Then I navigated down to the Print Job options and set the “Custom File Dimensions” to 10″ x 8.” And then set the “Print to” option to JPEG File. This way I could export the image to post on my blog instead of exporting to my printer. I also created a custom identity plate to display the date: July 4, 2011. I created this custom identity plate by clicking on the down arrow on the “Identity Plate” option, clicked on “Edit,” typed in the date, changed the font, and clicked OK. I moved the text by dragging onto with my mouse and moved it to the bottom of the page.

I then went into the Cells options and drug the cell for the photo over onto the layout, making sure to leave room at the bottom to display the date without it running onto the photo. I checked “Lock to Photo Aspect Ratio” so my image would not be squeeze or look funny by being re-sized. Showing the ruler and grid guides helped me place the photo cell in exactly the right place.

One last added touch was included by going to the Image Settings option and clicking the “Inner Stroke” set to 1.0 pt.

Now it was time to save my template. I moved to the left side of the screen, clicked the plus sign beside “Template Browser” and titled my new template “Fine Art for Blog – 8×10 Landscape.”

To use the template, click on the new user template that now appears under Template Browser, User Templates. Then drag a photo from the thumbnails at the bottom of the screen. Then click on the “Print to File” button at the bottom right of the screen.

That’s it! I actually sounds much more complicated than it actually is to set up and use. And once it is created, it can be used over and over again.

You can download this Lightroom Print Template here. This page also has some Collage Templates you can download to use in Lightroom, too.

And here is an example of one of the Matte-Like Print Templates:

Motivation in Photography

What is your motivation in photography?

In other words, what keeps you excited about photography and what drives you to keep reaching for your camera? Think about it. There are any number of things you could do in a day and perhaps just as many “should-do” items in your daily routine. So what is it that keeps you photographing subjects day after day?

Motivation is that inner drive that keeps you behind the viewfinder time after time. It is that driving force that never says die and certainly never says quit. Perhaps it is no different from what keeps athletes practicing and working out. Maybe it is similar to great musicians who not only rehearse over and over, but actually appear to enjoy the rehearsing!

How do you describe or explain this motivation? What words can you use to describe it as clearly as possible?

I am honestly curious about this because sometimes I lose my focus and get distracted by things other than photography. These distractions recently kept me from blogging on a regular basis as I had done previously, but they did not prevent me from keeping my camera busy. In fact, I’ve been as busy as ever with my photography! After all I do love my time spent in photographic endeavors.

Maybe it’s the drive of capturing that priceless, once-in-a-lifetime shot. Or maybe it’s the challenge of capturing the exciting action and freezing the motion for all to see. Perhaps it is simply an inner feeling that keeps encouraging you to keep shooting.

I know, for me, a whole lot of motivation comes from fellow photographers. I hear about their photo opportunities and hear how they excited about a photo trip or some cool subject they photographed recently. These collegial relationships and friendships are certainly great motivation for me!

In this vein, I thank Willard Hill who recently contacted me to say that he missed my blogging. That was more than enough to motivate me off my lazy backside and re-enter the wonderful world of photo blogging. Thank you very much, Willard!

Where do you find your motivation in photography?

Rounded Corners with Lightroom

This tip came from Matt Kloskowski on his Killer Lightroom Tips blog.

I’ve mentioned previously that Lightroom is powerful. It really is. And this tip is just one more example behind some of the unexpected power in this interesting software package. One of the main selling points of Lightroom to me was that it manages my photos, allows me to edit them, and provides ways to export the photos for use on web galleries, in email messages, or as physical prints. This all-in-one software even has me reaching for Photoshop less and less. The latest upgrade to 3.0 includes some really nice features and I am still learning some of the many features found in Lightroom.

The rounded corners tip makes for some interesting prints or photos to display on the web. You can learn the steps to make your own rounded corners by checking out Matt Kloskowski’s blog.

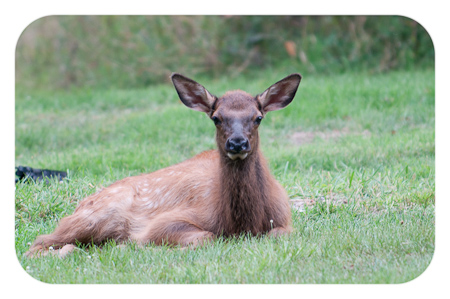
Here is my example of Matt’s tip. Pretty cool, huh? And all done in Lightroom.

Secure Web Galleries

I do a lot of sports photography but most of it is with young players whose parents may not be thrilled with faces of their children all over the internet. So, by using Lightroom to create a web gallery and then working in Dreamweaver, I can create password protected galleries that attempt to keep the photos more secure. For me it has worked beautifully and the parents of the players I work with seem to appreciate this extra effort.

Here is what I do.

I create a web gallery in Lightroom, which I described in yesterday’s blog entry. Then I open up the newly created index file of this gallery in Dreamweaver. I edit the file by adding some code that directs the web page viewer to a login screen. You can see an example of this login screen by going here. This additional code is not complicated and once I created it the first time I can just copy and paste the code into a new gallery without having to retype it.

The logon code is contained in a different file in the same folder or directory. This requires the webpage viewer to enter a username and password that I assign for the gallery. This information is passed on to the players, coaches, and parents. They are encouraged to share this info with their friends and family, but it prevents anyone who stumbles across my site from gaining access to the photos of minors. It works well and is not difficult to set up.

I then create a link on my website that allows the team to view the photos after they enter the username and password.

If you are interested in the details and code of how this is done feel free to email me. I am more than happy to share with others what works for me. After all, I learn something new every day about photography. It is a great time to be a photographer!

Blogs, Facebook, Twitter, & Web Pages

Which do you prefer–blogs, Facebook, Twitter, or Web Pages?

I actually enjoy keeping up with all of these social networking tools. My website was started first and continues to be the main place where my photography services and photographs are shared with anyone who cares to see them. I keep adding information to my website such as new photo shoots, information about upcoming workshops, and upcoming Pennsylvania Elk Photo opportunities.

On my blog, I share some photography educational thoughts and other interesting photo info. I also enjoy hearing what others think about the topics I bring up in my blog. The feedback is fun and helpful.

On Twitter I post a new photo tip each day.

And on Facebook I replicate some of the educational photo information and sometimes discuss other photo topics.

Check it all out by going to my website at Bob Shank Photography

Okay, WordPress It Is

The consensus is in and the majority of viewers like the WordPress blog format better. So I have decided to switch over entirely to WordPress for my blogging software. I also spent the time categorizing each entry so you can find topics of interest easier. The WordPress format will also allow viewers to easily add a comment, which I hope more of you will do. Give me your feedback, disagree with my thoughts, and let me know what you are thinking. I do hope you like this blog format!

Blogging

I’ve been doing a lot of thinking lately about my blog. I believe that blogging is not only a great way to keep in touch and share information, but it is also an invaluable tool. I am not sure how effective my blog has been so far, so I’ve been doing some research. I am relatively new to the world of blogging so I’ve spent some time checking out some other blogs. I’ve dabbled in WordPress and you can see what I started doing here. Compare that layout and style with what you see here and let me know which one you like better.

The WordPress option would actually be easier to use, but I believe it also has some drawbacks. I am curious what others think. What features do you like to see in a blog? What information is helpful for you to read?

Just the other day I heard a photographer/blogger say that if you are blogging, you should blog every day. Okay, I am going to take that advice and see what happens. I figure even this old dog can learn at least some new tricks, so I am game to give it a try. Tomorrow is Wednesday, so I will be featuring a new weekly blog entry I am going to call Wildlife Wednesday. I enjoy photographing wildlife and will share some wildlife photo tips each Wednesday.

What do you think about blogging? What are you looking to read in photography blogs?