Boring but Very Important Work!

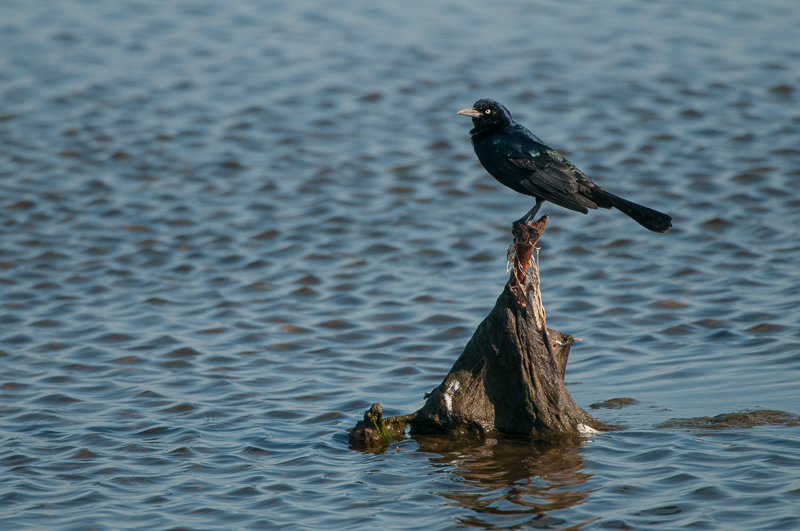
Chincoteague 2012-01-09-844

The big snowstorm hit the northeast this Tuesday and I was able to spend some valuable time at my desktop computer. This is something I haven’t done in a while. You see, I use my laptop for much of my work at sporting events. I have the routine down pat. I can quickly go through over a thousand photos, find the best ones to send to my editor, and then get them off to him. I use a color label scheme in Photo Mechanic and it works very well for me.

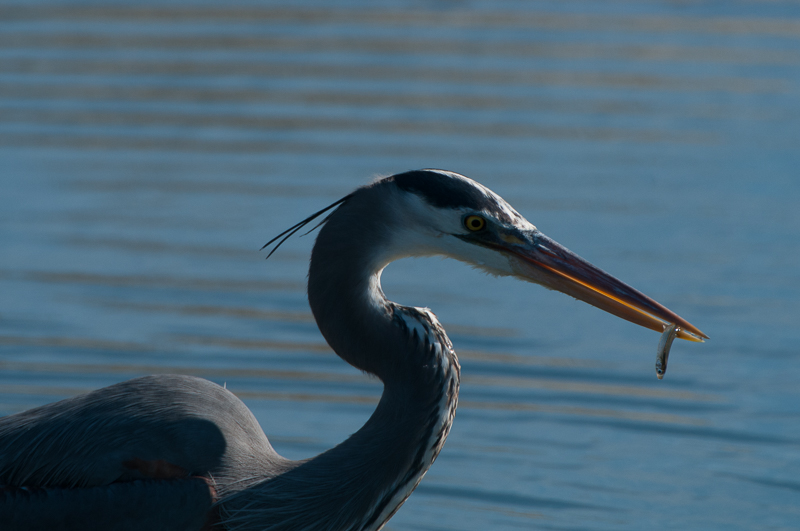
Chincoteague 2012-01-07-1793

The problem is two months later when my editor wants a photo of a specific player. It doesn’t matter which game, just a usable image of this player. Well, there is no time to poke around through all my images to find that small selection of photos of this player to send to my editor. Panic can set in pretty quickly and no one wants to make an editor wait. Thankfully, captions and keywords are the answer!

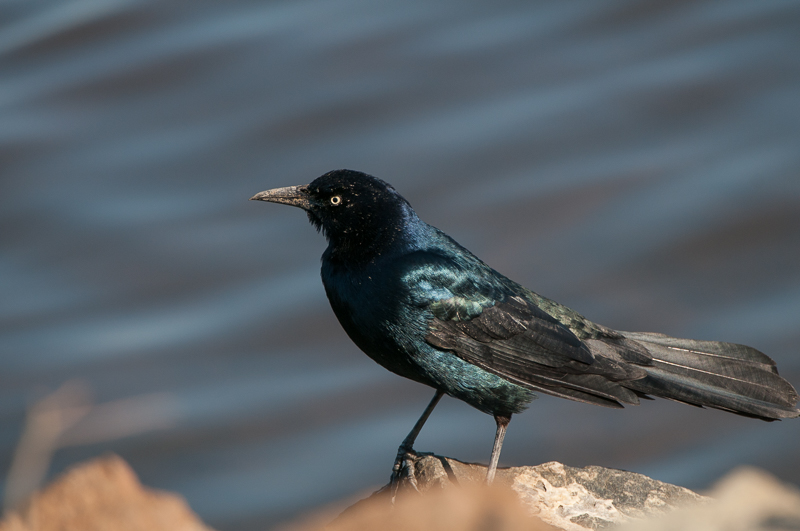
Chincoteague 2012-01-07-1360

Do you faithfully enter keywords and captions into your images? I confess that this is boring but very important work. Down the road it will pay off beautifully. Here is another scenario. I sell wildlife postcards at the Elk Country Visitor Center. So I decide to find some new photos that I haven’t yet used to make new postcards. Thankfully, I created a keyword combination: “Potential Postcard.” Now all I have to do is go to my Smart Collection in Lightroom, which contains all these potential postcards, pick the ones I like, and send them out to be printed. Previously, I did not use these keywords and locating new postcards was a pain. Now I can do it quickly and efficiently.

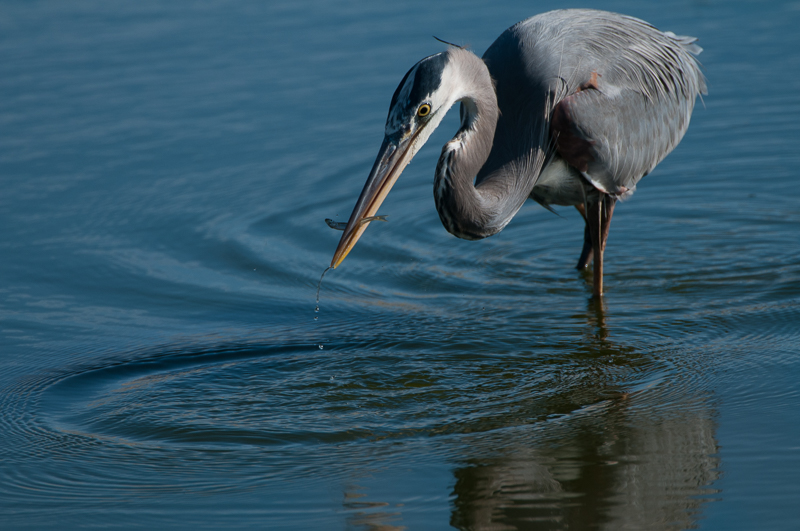
Chincoteague 2012-01-08-679

Inputting keywords and captions is boring work. I admit it. In fact, I avoided it way too frequently. I remember something my dad used to say when he retired: “Why do today what you can put off ’til tomorrow?” Well, that might work in retirement, but not for keywording and captioning. Do it soon or pay dearly later.

Chincoteague 2012-01-07-1369

I recently read John Shaw’s e-Book, “Organizing and Locating Your Images Using Adobe Lightroom” where he describes using a hierarchical keyword scheme. It works like this. Suppose I want to add a keyword word for the location of an image. It was shot in a specific school during a basketball game, which is in a town and a state, too. I could enter the appropriate state, town, school, and gymnasium names individually or I could use a hierarchical scheme like this: LOCATION: State > Town > School > Gymnasium. Then, after setting up the hierarchical system, I could simply add the specific Gymnasium keyword to the image and automatically the School, Town, and State are added as well. Beautiful! It’s simple, once set up, and very quick!

Chincoteague 2012-01-08-781

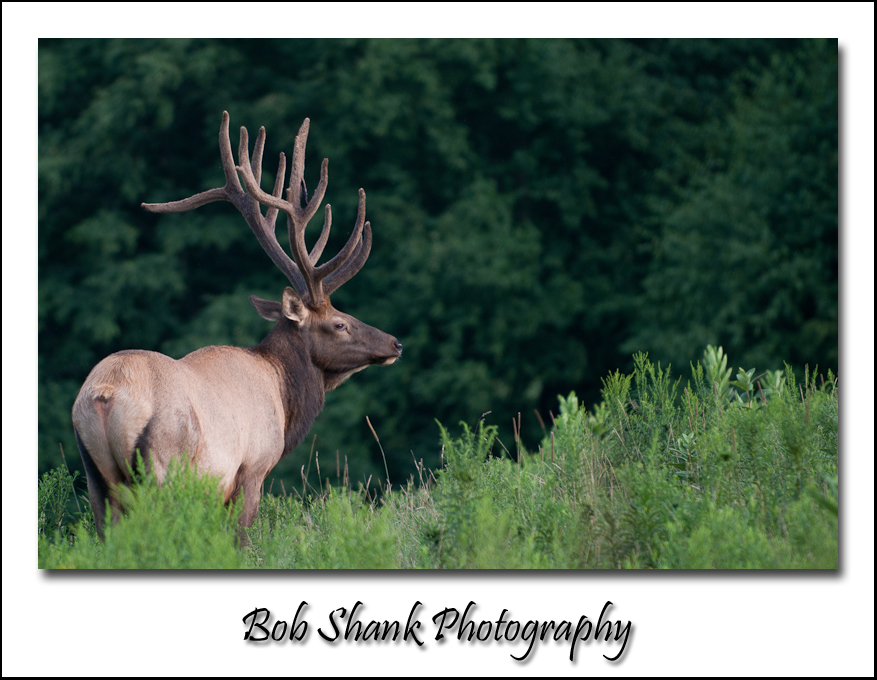
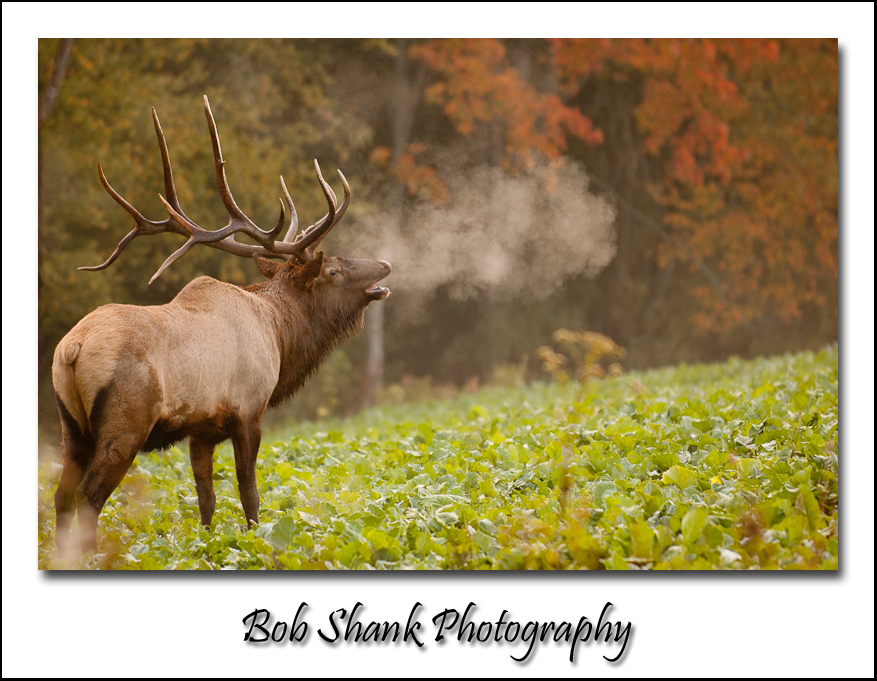
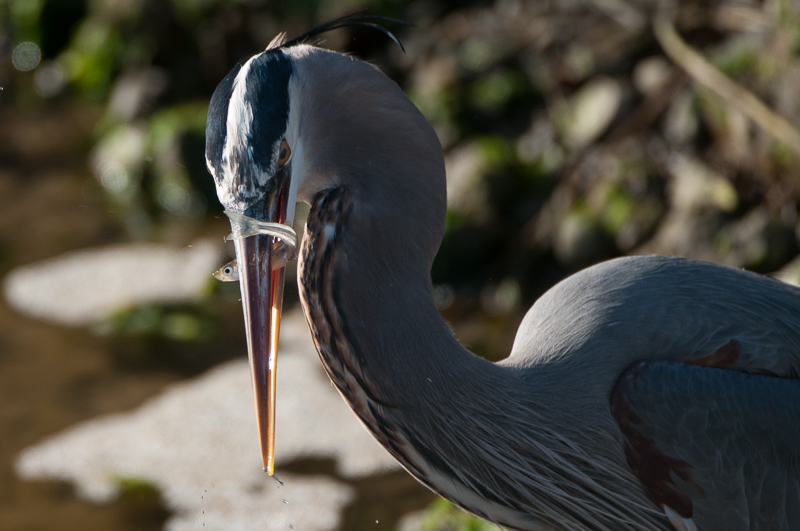
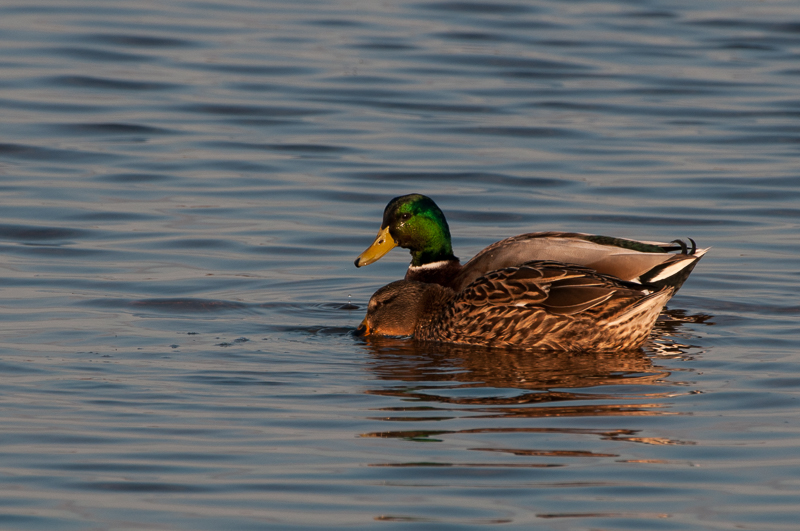
I am all about speed. I have to be in order to meet deadlines, which sometimes happen even during a game in progress! But boring work done soon after a game can repay itself over and over. I do not like boring or repetitive work, but with my sports and wildlife photography I know the critical importance of this so called boring work. I am learning to be more efficient, but I am also learning the importance of keywording and captioning. Are you? By the way, these images are ones I found when setting up my hierarchical keyword scheme. I forgot I even had some of these photographs so I thought I would give them a little exposure.
Chincoteague 2012-01-07-2076

My Photo Mechanic Workflow

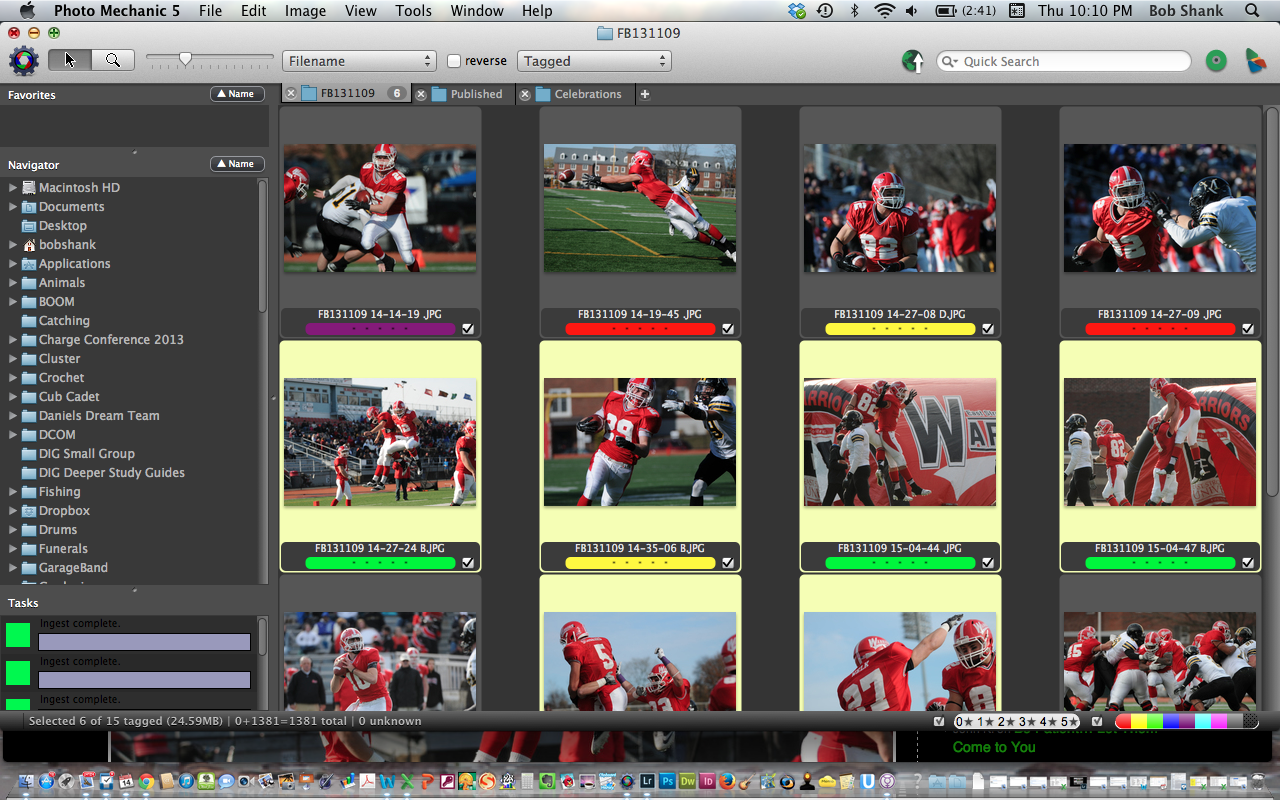
Screen Shot 2013-11-14 at 10.10.06 PMOver the past three blog posts, I shared why I use Photo Mechanic. So I thought it might be helpful to share how I actually use Photo Mechanic in my workflow.

First, I take the time well before each shoot to do some prep work. I create the rosters for each team in TextEdit. Any text editor will work. The creation of this roster file is easy. I give it a header say: //Pleasant Valley Football Roster 2013  Then I create the shortcuts starting with the team name. The format is the shortcut first, a tab, and then the full name. So it looks like this:
pv     Pleasant Valley
p1     Player Name1
p2     Player Name2 …etc.

I save this text file, open Photo Mechanic, go to the menu and select: Edit, Settings, and Set Code Replacements. This brings up a dialog box and all I have to to do is add the new shortcut file I made in TextEdit. I do this for both teams and have my shortcuts ready to go!

The second prep item is to setup the ingest and IPTC information including folder name and filename. I actually use a short folder and filename such as FB131115, which stands for Football and the date of the game with the year, month, and day. Then I add a custom suffix that includes the time each photo was captured. It looks like this: {iptchour24}-{iptcminute}-{iptcsecond} The reason I do this is because I use two cameras during a game. One is on a monopod attached to my 200-400mm lens and the other is over my shoulder with an R-Strap attached to my 70-200mm lens. When I ingest the photos into Photo Mechanic, they are sorted by filename and placed in the exact order I captured them according to the timestamp.

After the shoot, I place my two flash cards in card readers and have Photo Mechanic ingest them simultaneously. This is another nice feature of Photo Mechanic! Even as the photos are ingesting, I can start looking through the photos to find the best ones to send to my editor. To do this, I use the color coding feature. Unfortunately, Adobe Lightroom does not recognize the selected checkmarks from Photo Mechanic, but it does recognize the color codes! You can choose any colors you want. I use Green for my selects, Blue for photos to send to the editor, and purple for photos that will be sent for a photo gallery. I first go through all the photos in the preview mode and press 3 for the select photos, marking them green. I have the preferences set up so that when I do press 3, the preview mode automatically advances to the next photo. Otherwise, I just press the right arrow. I advance through the entire shoot in this way.

Then, I select only the selects by pressing Option(Alt) and clicking on the green color tab in the lower right corner of the screen of the Contact Sheet in Photo Mechanic. This displays only the photos I marked with the green label. Now, I go through them again, pressing 4 for the very best ones I want to send to my editor for possible publication. This marks them with a blue color. Then I go through each one of these to create captions for each one. This is where Photo Mechanic really shines!

Writing the caption is easy. I first click on the Info button in the Contact Sheet to bring up the photo’s IPTC info dialog box. Then, in the caption box, I start writing my caption. Let’s say that Pleasant Valley’s running back, #28, whose name I may not even know, is the main subject of a photo running into daylight through a hole made by the offensive line. I simply press p28 and his name appears in the caption box! Voila! Isn’t that awesome! This is really handy and a time-saving process for me. There are times when I can’t quite see the player’s full number, so I may have to go back through the series of photos captured at this time to make sure I have the correct number. But this one feature makes Photo Mechanic my goto software for what I do on every sports shoot!

Once all the captions are written, I need to submit them to my editor either via DropBox or FTP. I select the photos to send and then right click and choose Save Selected Photos As. This allows me to save the photos in the size and resolution of my preference. Once they are saved, I send them to my editor and I am almost done.

I then go back to the select (green) photos and select the ones I want to submit for an online gallery at the newspaper by pressing 5 and marking them as purple. I give them a more general caption such as, Pocono Mountain West v. Pleasant Valley November 15, 2013. Then I save them and send them to my editor.

When I get home, I import all the photos into Lightroom. The color codes are maintained, so I flag all these photos and then create Collections for the selects and the photo gallery. I also create a Collection for any photos that were published.

This is my current workflow with Photo Mechanic and Lightroom. It works really well for me solo, though I will occasionally supplement using Mitrefinch tms solution for team management, when working with a team of photographers and/or covering a variety of shots and not wanting duplicates. Communication is always key there! It is fast and efficient, and allows me to quickly sift through all my photos and send the best ones to my editor for publication. Pretty sweet!


Before & After

PEPE#7-3496a

PEPE#7-3496b


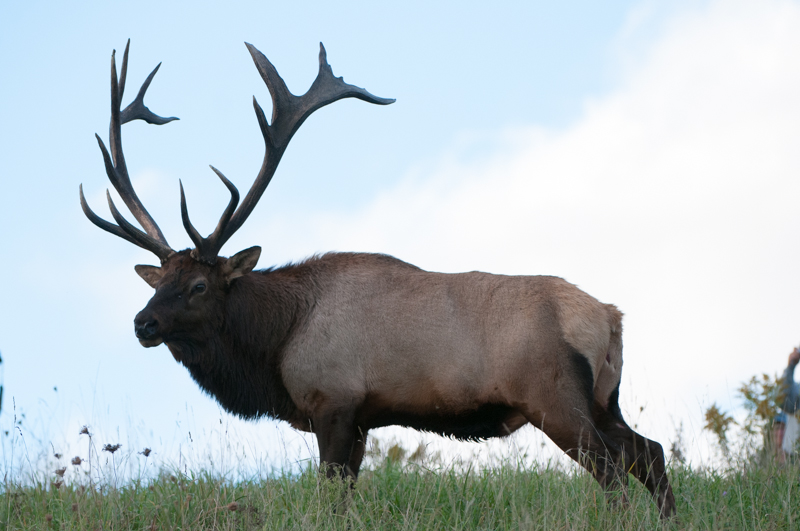
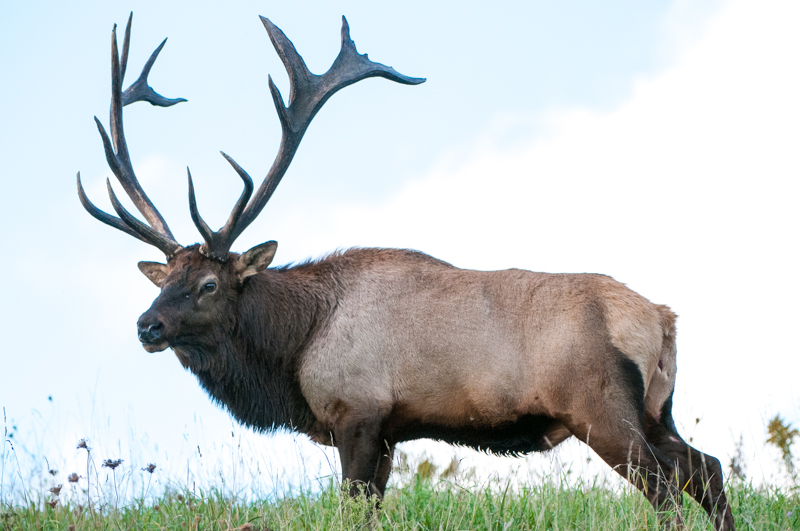
Lightroom is my go-to choice for both keeping track of and editing my photographs. I do use Photo Mechanic and Aurora HDR software, as well, but those are topics for another blog post. I also have and use Photoshop, but easily 95%+ of my photo edits are accomplished in Lightroom. So I thought for today’s blog post, I would share this before and after photograph to just share a few edits I do routinely in Lightroom.

First, I have to thank Dick McCreight, my colleague and professional photographer who is an absolute guru with Lightroom’s Develop module. He makes it look so easy and is somehow uniquely able to teach what he knows. He is awesome! Thanks, Dick! Also, John Kliest, another colleague and photographer, recently helped me to better understand Lightroom’s Develop module. One tip in particular comes to mind that I learned from John, which involves the Highlights slider. I know my way around Lightroom’s Library module well. I can edit a new shoot in no time, flagging the best photos and using color labels to identify photos I want to use for my blog or some other purpose. The Develop module, however, was a place I somewhat feared to tread. It just seemed kinda overwhelming to me to be honest. Well, Dick and John relieved my fears and taught me some really valuable and helpful stuff so I can now edit my photos efficiently. Thanks guys!

Let’s start by looking at the first photo above. You can see the exposure is a little dark and there is a floating arm from a person located in the lower-right corner of the photo. The cropping tool was used first and I just slightly cropped out that floating arm. LIghtroom makes this quick and easy.

Then I adjusted the exposure, bringing up the light a little shy of half a stop. This was a good start to editing the photo but I knew I couldn’t stop here.

So, I then adjusted the highlights, white clipping, and black clipping sliders. The goal in wildlife photography is to always keep the focus on the subject. Working with the white and black portions of the photograph can sometimes provide drastic changes. Sure enough, once I made these adjustments, I had to scale back the exposure about 2-tenths of a stop. I guess I should have started with these adjustments before correcting the exposure.

Then I worked on adjusting the shadows and contrast. Typically, I find the shadows slider to be a very helpful tool in bringing details out of the dark, literally!

Finally, I added a little smidgen of clarity and vibrance, which I do to most of my photographs.

Within just a few short minutes I edited the photo to a very usable and better quality photograph by using the Develop module in Lightroom. I know I still have a lot to learn about properly editing photographs, but equipped with even the little knowledge I do posses, I can see big changes in my photographs after editing them.

Lightroom is a great tool on a number of levels. I will post more blog entries in the future to share in detail how I use this amazing software. Lightroom rocks!

Do It Now or Catch Up Later – Thoughts on Photo Workflow

Today as I was pondering what to blog about, I decided to go back over last year’s photographs. The thought in my mind was that since the high school baseball season starts very soon, I could do a preview utilizing an old photograph from last year. There was an immediate problem, however. I had not kept up with rating all my photos from the previous year!

I am fairly faithful with flagging photos in Lightroom because I can then easily create a collection of each photo shoot or at least go back easily and view the keepers from that shoot. But I also use ratings to keep track of the very best photos… some of the time. So here came today’s blog thought: Rate them now or you’ll have to catch up later.

This is true in so many areas of photo workflow. Keywords are a prime example. Do you enter keywords right after a shoot or do you delay this important step until some time later? What about metadata? Do you automatically have it entered on import or do you have to remember to do it later?

My ideal workflow looks something like this:

  1. Import all photos (metadata and some keywords are added automatically on import)
  2. Flag the keepers
  3. Add any additional specific keywords as needed (jersey #s for ball players, names, etc.)
  4. Color code any I plan on using for my blog, sharing on Google+, or any other use
  5. Edit any of the flagged photos as necessary
  6. Rate the best photos with 5 stars and the next of best with 4 stars
  7. Create a collection of this particular shoot for easy reference later
  8. Create a gallery of the keepers to share on my website

This is my ideal photo workflow that works well for me when I remember to do everything in this process.

What is your workflow? What works well for you? What do you struggle with?


Do You Print Any of Your Own Photographs?

Printing photographs has come a long way in just a short time. Years ago no one individual thought much about printing his or her own photographs. The lab technicians were the experts and so we dropped off or delivered film to them and waited for the prints to come back. Sometimes it seemed to take forever!

Enter the computer age and all this changed. Now individuals have the equipment to successfully print quality photos that rival and even exceed what the technicians did a few short years ago. The digital age is here and it offers some absolutely amazing possibilities for our photography!

I will admit, I was not too eager to jump onto the printing-your-own band wagon. Oh I did get a printer to give it a whirl, but the results were pathetic and downright awful. The colors were all off and the ink was blotchy. I could never give one of these prints to anyone nor would I ever want to hang one on a wall for anyone to see. So I let the photo lab do all my prints.

Recently, a good photo friend, Bill Weitzmann, was talking to me about how easy he found printing quality photographs to be for him. I listened carefully and tried to ignore the voice inside my head that was saying “been there done that unsuccessfully before.” Bill’s enthusiasm quickly touched and took hold of me. He made it sound easy and since we both use Macs, monitor calibration software is already built into our OS.

Leaving that exciting conversation, I decided to give printing another try. And boy am I ever glad I did!

I am not quite where I want things to be just yet, but the quality I am getting three days after my first attempt is nothing short of amazing. Bill provided detailed instructions for me to calibrate my laptop monitor and then have the printer read the color management from the laptop. The first print using his method got me so excited I could hardly contain myself!

My prints are still too dark but they are getting closer and closer to the quality I am after with printing on my own. I can see that at least some of my favorite prints will soon be hanging proudly on the walls of my home and our camp up in the mountains. The colors and the quality are mind-blowing to me. I never imagined this could be possible at this level.

I may share more details in-depth on a future blog post but for now I will just share a few things to keep in mind if you want to attempt this for yourself. And I highly recommend that you do! I was going to wait to get a more modern and better quality printer, but my Epson R320 is kicking out some fantastic results!

Printing Tips

1 – Calibrate your monitor
You want to be able to print what you see on your monitor and match that as closely as possible. Calibration is critical to get the best quality possible. This is even important to do when sending photos off to be printed at a lab, too. Otherwise you might be disappointed with what you get back.

2 – Use a color tablet
Kodak had an old book that included a color tablet, which is the spectrum of colors in the rainbow and various shades of gray. By matching this and tweaking the appearance in Photoshop you can get your printer to “talk” to your monitor and repeat the colors, so that what  you see on your monitor is what you’ll get when you print from your printer.

3 – Update Printer Drivers
I found out the hard way that this is a very important step. I suggest you actually do this first because it can save you precious time down the road later. My trouble was twofold: I upgraded the Operating System on my laptop and I was using an older style Epson printer, the R320. I was not even able to get the landscape printing feature to operate at all until I updated my printer drivers. I wish I had updated them right away before I got started as this would have saved many sheets of photo paper and much frustration!

4 – Consider Using Lightroom
Printing is definitely easy to do out of Photoshop or any other photo editor, but Lightroom allows for a broad variety of printing options. For example, in Lightroom I can print contact sheets, wallets, assorted layouts, backdrops, and much more; and it’s very easy! I love Lightroom to begin with as I use it to manage my photo database and edit all my select photos. I also use Lightroom to upload galleries of photos to my website. But now I know I am going to enjoy the Print Module, too. There are just so many neat options and features in Lightroom!

5 – Be Patient
This process of setting up your printer, calibrating your monitor, and getting it to all work together can be and probably will be frustrating at times. Only start this project when you have a decent amount of spare time. Be willing to make a few mistakes and keep trying to perfect the process. Patience will definitely pay off. I know this because I experienced it firsthand this week!

Baseball Photo Shoot

The weather is breaking into spring-like weather and the baseball season will soon be under way!

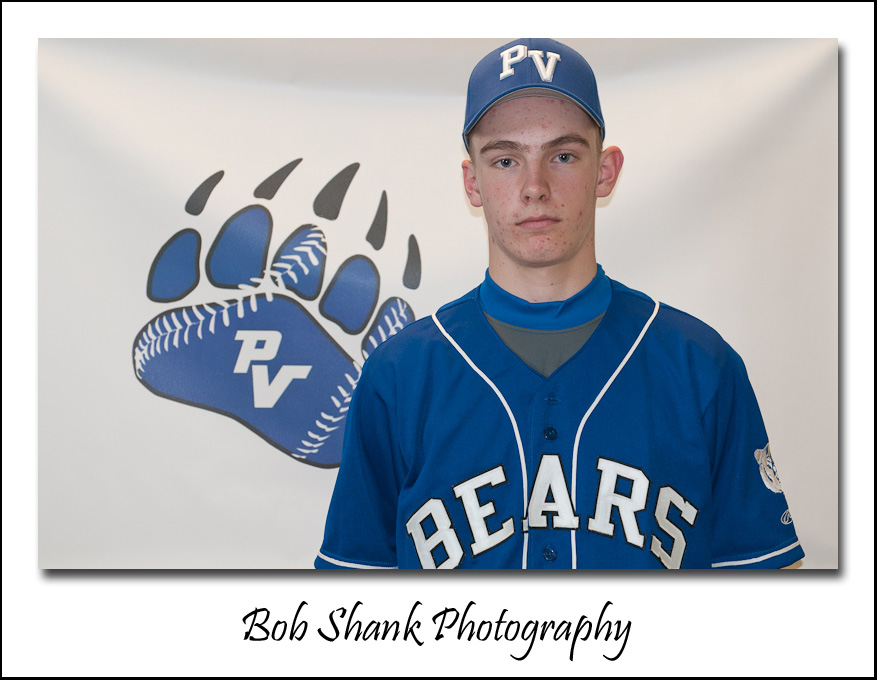
Yesterday I spent the morning photographing the player portraits for their yearly program. It is always fun to be around the players to sense and hear their excitement and witness their enthusiasm on the brink of a new baseball season. This was one day after try-outs were finished so there was a sense of relief in the air but also a real sense of anticipation as well. These boys are ready to put their game on the field!

On a personal note, our son James made the varsity team as a sophomore and we couldn’t be more proud of him! The above photo is James posing for his player profile, which will appear in the baseball program that will be handed out this season.Isn’t that quite a game-face?


Behind the Scenes on this Photo Shoot

This year instead of a basic, boring background like a brick wall, I used the team’s newly created logo and made a design to serve as a backdrop to the player profile photos. A few setup steps in Photoshop and the banners were off to the printer to come out as durable vinyl banners. When it arrived I inserted metal grommets into each corner so I could then attach the banner to my two backdrop stands. I set this up in the locker room, which served as my studio for this shoot. The boys were getting their uniforms for the season, which made this a convenient time for the photos to be taken.

I also set up my main light source off to the side of this backdrop at about a 40-degree angle and up high. My SB-900 speedlight was used remotely and I attached it behind an Ezybox to disperse the light over the subjects. This softens the light in a pleasing manner and avoids any hotspots in the photos. I also attached the dome diffuser to further diffuse the light. One test shot and I was ready to go! I really enjoy using Nikon’s off-camera flash setup. It’s quick, easy, and very effective!

Once back in my office, it was time to edit the photo shoot. First, I examined each player’s photos and used Lightroom’s Survey View to quickly narrow down the options and pick the best photo. This was repeated for each player on the Varsity and then the Junior Varsity team. Next it was time to do a few adjustments to the photos. I started on the first photo and then synched these edits across the entire collection to apply them to the rest of the photos. Since my setup was controlled and consistent, my sync was also consistent. I like Lightroom for this kind of process, too!

Finally, I renamed each photograph with the name and number of each player. This will help the layout guys when assembling the baseball program for printing. Now I am sending all the files to a DVD to send in to the school tomorrow.

It’s been a busy weekend but it was fun! The photo shoot went well and I am pleased with the results. I hope the players and their families agree!


Taking It One Step Farther – Using the Matte Frame Effect from Lightroom

Yesterday, I shared how to create a Photoshop action to create a Matte Frame Effect for your photographs. I am using this method for both my photo blog and, with slightly larger images, on Google+. The process is quick and simple once set up. However, I wanted to see if I could execute the process right from Lightroom instead of having to switch software programs manually. It worked!

I will explain this process, taking it one step farther, so if you have Photoshop and Lightoom, you will be able to replicate this for yourself. The goal is to make it easier to make photographs ready to share with others.

Here are the steps to using the effect from Lightroom. I am assuming you already created the action I shared in yesterday’s blog post. You should add another step to that action to have it automatically save the newly created framed photo. Do this by clicking on the last step of the action and then recording: File, Save As, Format=JPG, Save, and then click OK for the JPG option. (I allow the “copy” to remain the suggested file name) Now stop recording the Action. Then test the action in Photoshop to make sure it works properly.

Taking It One Step Farther…

Step 1 : Create a droplet in Photoshop by clicking on File, Automate, and Create Droplet. Choose the Desktop as the location to save the droplet, this way it will be easy to access for the next step. Choose the Action you created yesterday from the drop-down box. Then click the OK button. This creates a Droplet that now appears on your Desktop.

Step 2: Open Lightroom. From the Grid screen, click on Export in the bottom left portion of the screen. I previously created a User Preset, which sizes the image and sets other preferred options for exporting to my blog. You need to create such a preset for yourself.

Step 3: From your Desktop, right click on the newly created Droplet and choose Copy. Now go to Lightoom and from the Grid Display click on Export. Click on your newly created preset to use for this procedure, and go to the bottom and click the After Export: Option Box and choose Go to Export Actions Folder Now. Click on the Folder “Export Action” and right click and Paste. This puts the droplet into the Actions Folder in Lightroom so you can later delete the Droplet from your Desktop. Close this folder box once pasting is completed and go to the After Export option and click on the Option Box. You should now see the Droplet listed here. If not, close Lightroom and try again.

Using the Procedure:

Start Lightroom and go to the Grid Display and click on a photograph. Now click on Export. Then click on the User Preset you created and valla the process is executed and you just created a Matte Frame of that photograph! I created two different Actions and Presets–one for horizontal photos and one for vertical photos. I also created two different ones for when I want to post in Google+ since I use slightly larger images when posting there. I love this process because it makes posting photos quick and easy.

Again, this all sounds much more complicated than it really is in actuality. Follow the steps and get it to work for you. It is a great way to automatically set up images for sharing on a blog, Google+, or wherever.

If you have any questions about the process feel free to ask here in the comments. And let me know if you use this or a similar process when sharing your own photographs.

Create a Framed Matte Effect in Photoshop

I wanted to create a framed matte for my photographs that also incorporated a shadow effect with the photograph. It took a little time to figure it out and create it, but now with the use of a Photoshop Action, I can recreate this effect in a matter of mere seconds!

Here are the steps to create a framed matte effect yourself:

Step 1: Open a photograph in Photoshop (I already have it resized in Lightroom)

Step 2: Duplicate the layer

Step 3: Highlight the original layer and click on Image and then Canvas. Set the width to 1 and the height to 1, and the background to white. Click on Image and then Canvas again. Set the height to 1 and then click the up arrow in the anchor, and again set the background to white. Now, click Image and Canvas and set the width and height to .0625 and set the background to black.

Step 4: Double click the copied layer and setup the drop shadow. I set the angle to 120, distance to 10, and size to 10.

Step 5: Insert a text box with your name or title for the photograph. Set the font and size.

Step 6: Save the newly created framed photograph as a jpg for use in your blog.

It actually sounds more difficult than it actually was for me to set up. Once you’ve been through the process a time or two, do it again this time recording the steps as an action. Then you will be able to repeat this process with one simple click.

How to Crop Baseball Photographs in Lightroom

Yesterday I posted four photographs from the Pleasant Valley baseball game I photographed. It was a late night and so I picked four favorite photos to share. Today I’d like to show you how I cropped two of these photographs to give you an idea on how you can crop baseball photos to enhance them and make them look better.

Let’s start with this photograph.

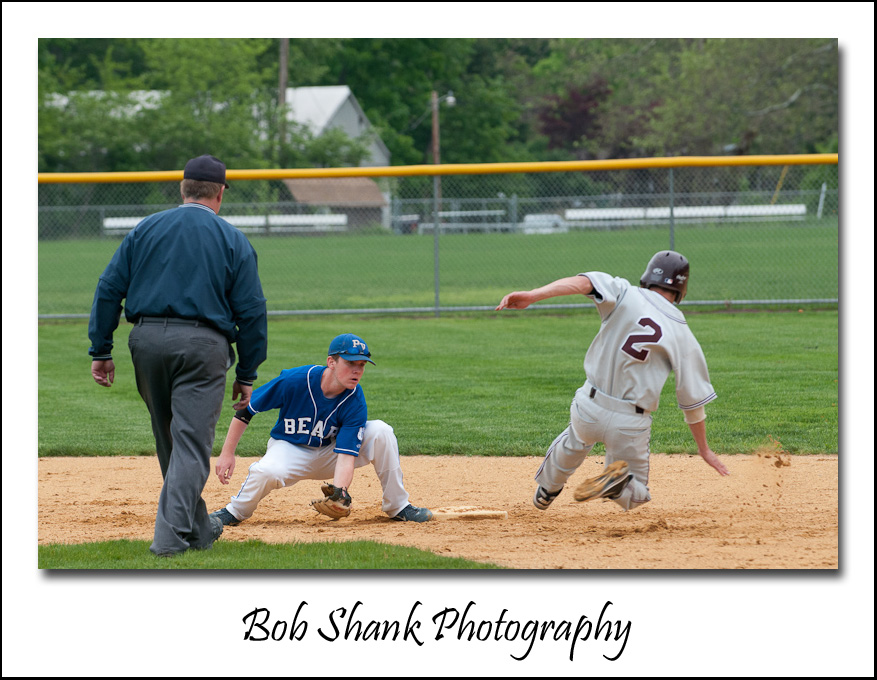
It’s not a bad photo but we can make it better. The nice thing is it shows the second baseman making a play with the baseball in the frame. This is a peak-action shot. There are some problems though. First, the top of the fence is bright yellow and distracts from the main subject–the player fielding the ball. Secondly, the foreground has grass and then dirt. This first patch of green grass is also distracting. So let’s crop down to eliminate the yellow on top of the fence and crop up to eliminate the first patch of grass. I prefer to have Lightroom display a grid when I am cropping to show me a graphic display of the rule of thirds. When I am not cropping a photo, I don’t like to see this overlay because it can be distracting. I set up Lightroom to only show this grid when I am actually cropping a photograph.

To set this up in Lightroom, go to the Develop module and make sure the Toolbar is displayed by pressing the “T” key. This toggles back and forth between the toolbar being displayed. Once it is displayed you will see “Tool Overlay” in the bottom left-hand side of the editing screen. Click on the double arrows and choose “Auto.” Now the grid will only display when you are actually cropping a photograph.

Here is the cropped photo alongside the original photo. Do you think the cropping made a difference? Which photograph do you prefer?

Okay, now let’s look at another example. This is a photograph of a pitcher on the mound delivering a pitch. The first image has some obvious problems. The first baseman can be seen on the right edge of the photograph. There are also two brighter rectangles near the top of the photo that I think are somewhat distracting. Besides these problems, I’d like to crop in tight to really show and highlight the face of this pitcher in the middle of his windup. Here are the before and after photos.

I am posting this last image to show that cropping is sometimes a bad idea. This photo shows a base runner sliding into home. I was first tempted to crop this image because of the coach in the right upper corner. His white shorts I thought were distracting. However, upon further reflection, I liked that the baseball bat on the left side and the ball on the right side of the image were both important to include in this action photograph. So ultimately I decided that cropping this photograph was a bad idea and simply left it as it was.

Just Updated My Sports Photography Portfolio

Is your portfolio up to date?

Mine was not. I shoot a lot of different sporting events: baseball, football, golf and even some soccer. I am confident in my ability and the work flow is easy since I use Lightroom. It does take time to sift through anywhere from 600 to over 1,000 photos after  a shoot and I am learning how to be efficient in this process. Lightroom does make it much more manageable!

Each month I post a “Photo of the Month” on my sports photography website: perfectgamephotos.com I typically choose my favorite photo of each month and either tell a short story on how I captured that photo or share a few thoughts pertaining to what is in the photograph. I was blessed to be a student at Temple University in the communications. We had to take the obligatory basic photography class and my life was never the same! My final project for the class was to shadow a newspaper photographer in my hometown for a day, culminating in the shooting of a high school baseball game. I could see that my final grade was definitely assisted by the photographs I was able to capture at that game for this final assignment. To this day, I thoroughly enjoy the challenge of photographing a sporting event. I believe as each game is played it tells a unique story. My job as a photographer is to tell this story with the photographs I capture with my camera. What is the plot of this particular game? What is the turning point or climax of this game? How are the players reacting? Photographs still tell these stories better than hundred of words!

Even with all the modern tools of digital photography and Lighroom, I am not good at keeping my portfolio up to date. So last night I decided it was time to update my sports photography portfolio. Motivation for this came to me because I want to use the updated portfolio as a reference point for a hopeful upcoming assignment. It was definitely time to gather my best work and put them on display. The portfolio will hopefully display my photographic skills, ability, and experience in sports photography.

One dilemma I confronted was just how I wanted to display my portfolio. Lightroom allows easy output to web galleries, but I wanted the photos to appear in a large format without having to click on a thumbnail. I also wasn’t pleased with the slow screen rate with some flash plug-ins. So I decided to create CSS HTML code to present my portfolio photos all in a row. I figured this display would be easy to navigate and get my photographs more easily in front of the eyes who wanted to see my best work.

A quick search on the internet helped me put wings to my dream. I found some CSS code that looked like it might work and with a few editorial alterations I knew I was in business. The power of the internet continues to amaze me! I spent most of the night last night tweaking the layout to display my portfolio after going through and assembling my sports portfolio. I still am not completely happy with the result due to the slow screen rate as photos are first loaded but it will work at least for now. How do you prefer to display your portfolio? What works best for you?

I will admit to the difficulty I encountered in narrowing down my number of photographs. There were some I was personally attached to for some reason, but I eventually realized some of these did not fit the high standards to be included in the portfolio. This editorial challenge forced me to critique each photograph in painstaking detail. It was a good exercise and I believe it will even help me on my upcoming photo shoots. We can learn a lot by going back over past work!

My updated sports photography portfolio can be viewed here.

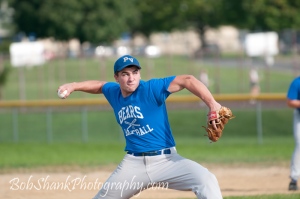
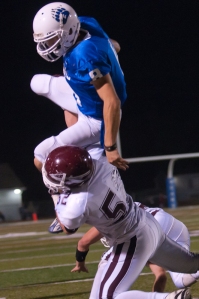
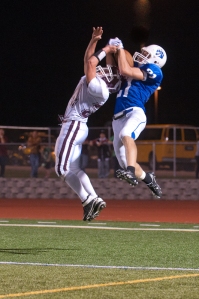
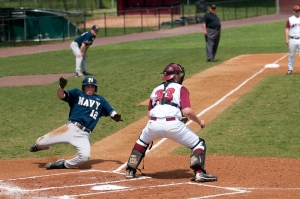
And here are a few of the photos that made the cut.