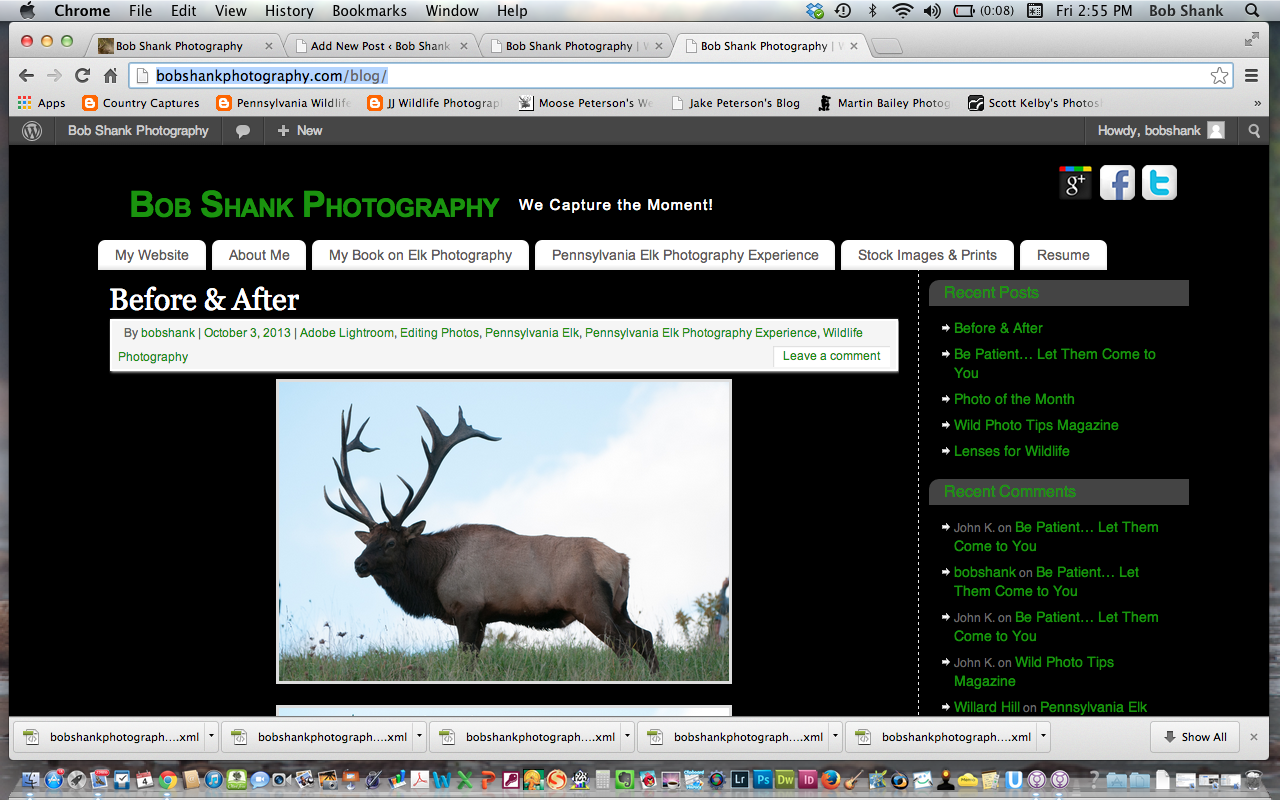
I started my photo blog back on September 28, 2009. I enjoy sharing photographs, photo tips, software suggestions, and more on my photo blog. It is a fun endeavor. Sometimes I blog almost every day of the month, while other times, like when I am traveling or busy, I only blog a few times during the month.
I use WordPress as the software medium for my blog. As for videos, my editing needs haven’t gone more than what the software at https://www.makewebvideo.com/en/make/3d-text-intro-video offers. It was very easy to set up and I do enjoy its interface. Over the past year I was reading of the advantages of moving from WordPress.com to WordPress.org. The difference would include a few upgrades on my hosting site and require me to host the WordPress software on my side of things instead of just over the internet. I also had to move all the past blog entries, which I knew was going to require some time.
Well, I think I’m there! I moved all the blog entries after setting up my website host properly. This is my first blog post in WordPress.org for me. I am very happy with the progress so far and especially the customization available with this new format. I still have some tweaking and adjusting to do, but I think I’m going to go live with this today.
Technically speaking, there is only a subtle change for you, the visitor to my blog. The url used to be bobshankphotography.wordpress.com Now, the new url is:
http://bobshankphotography.com/blog/
I will put a link on the old site so visitors can easily get to my new blog, but please change your bookmark to my site when you get a chance. Spread the word, too, about my photography blog. As I was looking back over the past five years of entries, I was surprised to see all the many and different topics I blogged about so far. The future looks bright for me, too! I keep learning more and more about how to capture better photographs. I am getting published in our local newspaper with my sports photographs, and my wildlife photography is getting better, too!
Stay tuned for some exciting blog postings, which will be forthcoming. I have some ideas on sharing some of what I do both behind the camera and in post-processing. I will re-visit my photo workflow to show you how I quickly sift through all the photos of a shoot to focus on the best photos for editing, captioning, publishing, and sharing with others. I will also talk about software I find helpful, my take on what editors are looking for in a photograph, and how I am improving in my sports and wildlife photography.
So, I hope you like this new blog format. To be honest, I was getting a little sick of the orange text in my old blog. I hope you like this new format, but more importantly I hope you keep visiting and checking in to see what I am blogging about each week. I truly hope there is something helpful for you here. If so, share my blog with your friends and colleagues. My photography passions are growing each day and I always enjoy sharing this deep passion with others!


