Whitetail Bucks and High ISOs

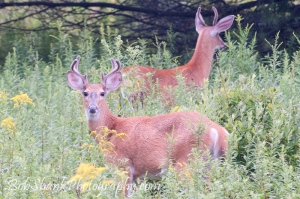
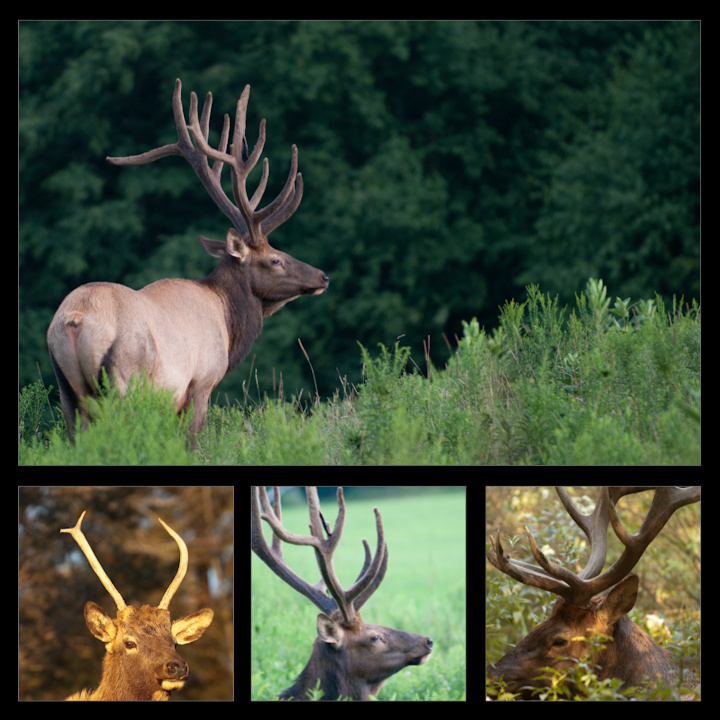
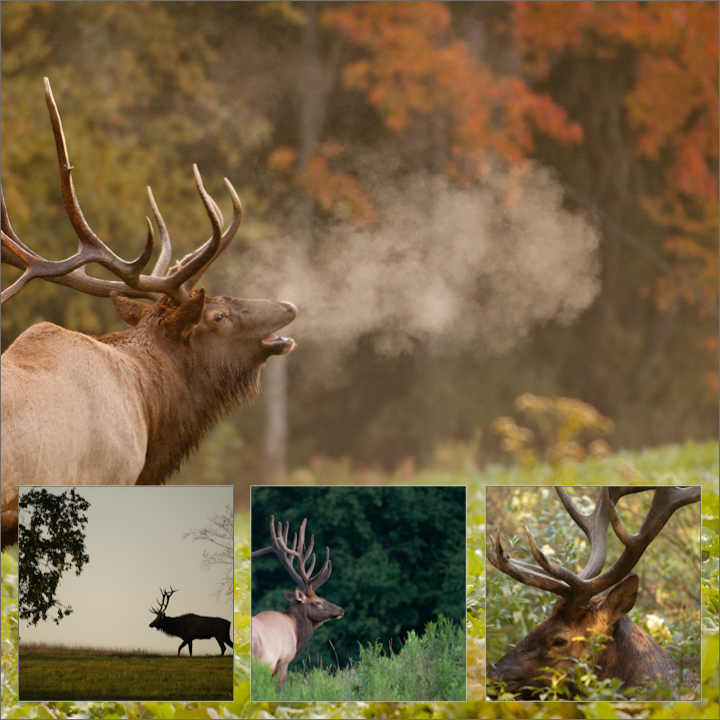
Today I have more whitetail photographs, this time two bucks. Again, I was looking for the Pennsylvania elk and while searching for them came across these two nice, healthy bucks. One was a spike and the other a 6-point. The conditions for photography were far less than ideal: hazy, overcast, and downright lousy light in the mid-morning. This required a very ISO, 1600 to be exact.

I currently shoot with a Nikon D300. Previously, I used a Nikon D70. The differences in the two are amazing. One of the features that was greatly improved is the quality of photographs with higher ISO settings. I hear the D3 is even exponentially much better yet! In the meantime, I have to settle for the D300 and how it works in the higher ISO settings. I still prefer to stay at ISO 200, but sometimes this just isn’t possible. I get decent results even up to ISO 800 but get worried after that. My daughter acts in some school and local community musicals where the stage light sometimes requires an ISO as high as 2500! I do not like going that high, but with the D300 I still can get some useable photographs.

The results in wildlife photography are far different, however. Tack-sharp focus and no noise are required for quality wildlife photographs. We can never be too picky in trying to get the absolute best quality photographs. I will do much of anything with these photographs I am posting today but am showing them for the purposes of supporting my thoughts on this discussion of higher ISO settings.

These photographs were taken with an ISO setting of 1600. I did some minor post-processing in Adobe Lightroom 3.0. However, I did not use any noise reduction in Lightroom. I tried using it, but I personally think it sacrifices some sharpness, which is critical to me. Perhaps I am doing something wrong, but I just didn’t like the results using the noise reduction on these images. So what you see, as far as handling the higher ISO is right from the camera.

Here they are. Let me know what you think. Do you use higher ISOs with any success? Do you use noise reduction in post-processing? Are you satisfied with the results? What are the standards you use in your photography?

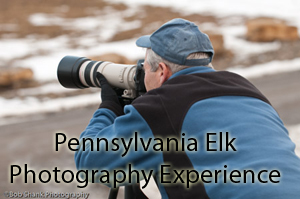
Join Us on the Next Pennsylvania Elk Photography Experience!

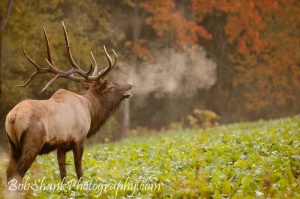
How would you like to photograph an elk as he bugles into the brisk air or stands face-to-face with another competing bull in a showdown during the fall rut?

Our Fall Elk Rut photo workshop provides opportunities like these and more! Fall brings not only a change in colors, but also the Fall Rut for the elk. We are privileged to have elk here in Pennsylvania and my colleague, Dick McCreight, and I like nothing more than sharing this experience with others as we photograph the elk during this breath-taking season. It will be memorable!

The 3-day workshop actually begins on Monday evening and concludes on Thursday. We pack a lot of quality time into photographing the elk, sharing photo instruction and tips, and leading three different photo workshops in the evenings.

Includes 3 workshops:
1 – Setting up & using your camera for wildlife photography
2 – How to use Lightroom to manage and edit your photographs easily
3 – Techniques for Better Wildlife Photography & a History of the PA Elk Herd

Dick is incredibly knowledgeable with Lightroom and will show you how to quickly and easily manage your photo library and also how to edit your photos after a shoot. You will learn ways to photograph the elk at different times of the day and in different situations, how to set up your camera for wildlife photography, and more about this unique elk herd of Pennsylvania in these 3 workshops. We keep the group small so we have quality time together. It is sure to be a rewarding and unforgettable experience, which is why we titled our photo workshop: the “Pennsylvania Elk Photography Experience.”

The cost is $595 for the trip and includes lodging and meals. You can find more detailed information on our website. Join us for this exciting adventure as we photograph the PA elk together!

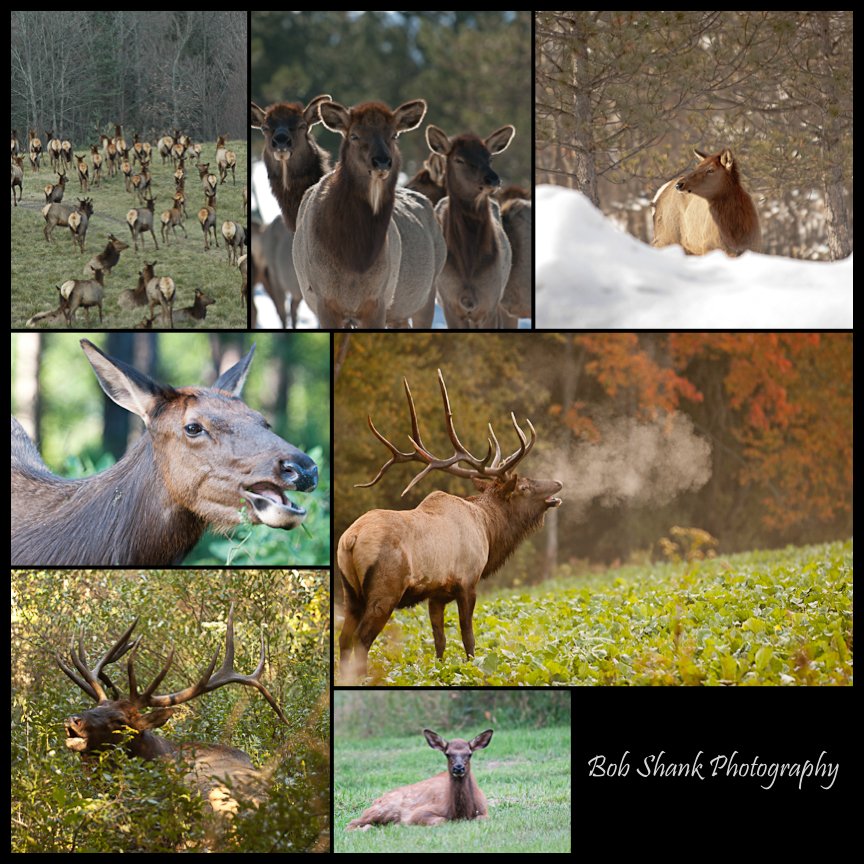
Here are just a few photographs we captured on previous trips:


A New Use for My Old Laptop Hard Drive

Earlier this year my laptop died. Yep; dead as a door nail. Kaput.

I was not happy since I spent much of that day working on a presentation only to get home and not be able to even turn on my laptop. Huge bummer! I feared the worst at first thinking my hard drive bit the dust. That wasn’t the problem. This laptop wasn’t even two years old when it failed. I was frustrated and angry, vowing never again to purchase an HP laptop.

Two very good things came out of this tragedy. First, I made the decision to buy my first Apple, a MacBook Pro, which I am extremely happy to own! I was worried about compatibility issues and the learning curve, but was pleasantly surprised to quickly realize neither of these two issues was going to be a problem. Sweet!

The second good thing that came out of this laptop failure was only realized recently. The laptop still had its hard drive intact. I knew that it was not damaged because I was able to safely copy everything off of it and install all the files on my new MacBook Pro. I also saw an advertisement online for the OCW external hard drives. They are enclosed in a hard plastic case with a heat sync to disipate any heat. I also saw they offered a kit to convert your own laptop hard drive into an external drive.

I was not sure if my exact drive would work, so I got onto an online chat with one of the reps. She was very helpful and looked up the model of my hard drive. Very quickly she got back to me, reporting that my drive would indeed work. Awesome! So, I purchased the kit and waited for it to arrive at my front door.

A few days later it arrived. I got to work with the kit. I had to remove one piece from my hard drive that helped hold it in place in the laptop. Then it was just a matter of inserting a few screws to assemble the drive in the hard plastic case. Now, with a USB wire I can attach the drive to my computer as an external hard drive with over 300GBs of space available! (Source: https://www.nettoyersonmac.fr/avis-onyx/)

I use this external hard drive to automatically create a backup when I am importing photos into my laptop with Lightroom. I also keep my favorite LR catalogs on this drive so they are with me wherever I go. I really like this new use for my old laptop hard drive!

I’m Slowly Learning to See the Light

I am thoroughly enjoying Moose Peterson’s book, “Captured.” I enjoy wildlife photography and read all of Lennie Lee Rue III’s books, which I just love. His books really rock! They taught me a lot that I use and depend on every time I am out in the wild with my camera. So I guess I was rather slow to purchase a different photographer’s book on wildlife photography. Well, let me tell you, Moose’s book is equally as impressive. The best part of Moose’s book is how different it is from other photo books I’ve read in the past. Forget the nuts and bolts of f-stops and shutter speeds. The book takes a different and refreshing approach.

Moose shares wonderful narratives and helps the reader really think about the subject being photographed. He walks you along the paths he took to capture his amazing and breath-taking photographs. He does not hold your hand, telling you which f-stop is the best or even his favorite. No, this is not a book for those needing to have their photographic hand-held. Rather, Moose makes you think. He makes you think about your approach and goal in the photograph. He also challenges the reader to see the light (pun intended, I’m pretty sure).

Light of some kind is required for photography. After all, “photography” literally means “writing with light.” With out a light source we don’t got a photo! So we can agree on the importance light brings to the photo party. However, even after many years behind the viewfinder, I am not sure I’ve been looking at the light critically or inquisitively enough. We all were told about the Golden Hours and to aim to shoot just after dawn and just before dusk. Light often takes on a unique and special quality at these times.

Light can change in an instance. Just this evening I took my son, James, to his baseball practice and was sitting in the truck playing with the menus on the LCD screen on my camera. I like to do this every now and then to familiarize myself with my camera. After all, there is nothing worse than messing with trying to find a particular setting in the heat of the moment when the photo action is fast and furious. It is much better to be fully prepared and so spending some down time with my camera is time well-spent. Anyway, I was playing with my camera when I noticed the light of the late day bouncing off the tips of some of the cumulus clouds. I was not in a good place to take a photograph due to electrical wires and some parking lights being in my way, but I couldn’t help but notice the way the light was just dancing off the tips of the clouds. It was beautiful. And here’s the thing–I doubt I would ever even notice this if I wasn’t interested in photography. How much do we miss by not looking or paying attention in this life?

Light has several qualities that we need to think about as photographers. Quantity, direction, and quality are the top three from what I was taught. The amount of light, or quantity, is critical because without enough light there can be no photograph. On the other hand, too much light, like at high noon, can be extremely difficult to deal with in photography. Quantity of light will dictate a lot about proper exposure. Less light requires us to open up our f-stop, while bright light requires us to stop down. This is pretty easy so far.

Direction of light is also important. Most of us were taught to place the sun behind us or over one of our shoulders when photographing a subject. This is typically sound advice but it is no always possible. For example, I sometimes photograph baseball games where I have to shoot directly into the sun as it sets due to how the field is set up. This is tough, if not impossible. However, sometimes shooting into the sun can create some stunning photographs like for silhouettes to mention just one. Back-lighting can also create amazing effects in a photograph. So, yeah, the direction of light is pretty important, too.

Quality of light is one of the most overlooked and perhaps the least understood of these three. We all see the difference in the sun’s light between morning and high noon and then dusk. But have you ever stood at the same place for any length of time and witnessed how the quality of light changes over time. Add some clouds and things change. Different seasons make some obvious changes, too. Yes, some of these changes are in the first two categories of quantity and direction of light, but watch carefully for the quality of light. This is so subtle at times. In fact, it is hard to describe or talk about, but when you see it you know it. The quality of light can make or break a photograph. I remember shooting a baseball game recently where the sun was just gorgeous. I vaguely noticed it at the time, but when I got back home and started processing my photos the quality of light revealed itself in an entire sequence of photographs. It was beautiful!

Now the key is to notice these lighting subtleties before we photograph a subject. See the light! It sounds so simple and yet it can be so elusive!

Later this evening I was driving in my truck and noticed how the setting sunlight was just kissing the very tippy tops of some of distant clouds. I was not in a good position to photograph these clouds, but I saw the light and the light was just gorgeous! I’m slowly learning to see the light!

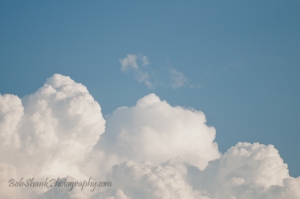
I am almost embarrassed to post this photo I took earlier this evening of the cumulus clouds, but it fits with my topic of seeing the light. The direction of light was coming from right to left into the cloud. The quantity of light was pretty bright but the humidity and haze in the air helped to defuse it a touch. The quality of light wasn’t bad. It created some very nice contrast in the cloud formations, which really made them stand out.

See the light. You and your photographs will be the better for it!
Pennsylvania Elk Photo Experience – Fall Rut 2011

There is absolutely no place I would rather be in the fall than in Benezette, Pennsylvania photographing the beautiful and majestic elk of Pennsylvania. The fall colors, the active bugling bull elk, and the excitement of the fall rut bring sounds and sights that are just out of this world! Photographing these amazing sights is high on my list of must-do experiences every year.

My good friend and photography colleague, Dick McCreight, and I enjoy leading photo trips on the elk range each fall. We particularly enjoy sharing how we photograph the elk with those interested in learning helpful photo skills to do the same. We take viewing etiquette very seriously, so our numbers are small so we can both teach outdoor photo skills to you while keeping our impact on the elk range to a minimum.

This fall photo trip will be our 6th trip and we cannot wait to be out with our cameras photographing the elk!

If you enjoy wildlife photography and want to learn how to take better photographs, then this is the perfect trip for you. Our photo trip features three in-depth workshops where we discuss camera set-up & use, wildlife photography, history of the PA elk, and editing photographs in Adobe Lightroom. You will definitely learn new photo skills in these workshops! Then we take what we learn from each other and put it all into use as we take a minimum of six excursions on the elk range to capture the excitement with our cameras. Each evening we share our photographs of the day and enjoy constructive critiques on our five best photos of the day.

Digital photography has come a long way in recent years. The problem is learning how to use this new technology to capture the photos of your dreams. This trip will not only help you learn how to do this, but will put you in a position to capture the magnificent elk of Pennsylvania with your camera!

Click here to find out more info about these photo trips. Click here to see some photos of previous photo trips and click here to view a slideshow of what our trips offer. Feel free to email any questions you may have about these trips. We are confident that you will not only find our photo trip to be educational but also entertaining and filled with loads of photo fun! Try it out this year by attending our PA Photo Elk Experience–it will be an experience of a lifetime!

Bob Shank & Dick McCreight

Wild Collages

Today I am piggybacking on yesterday’s post about photo collages. This time, though, the subject is a little more wild–wildlife, that is.

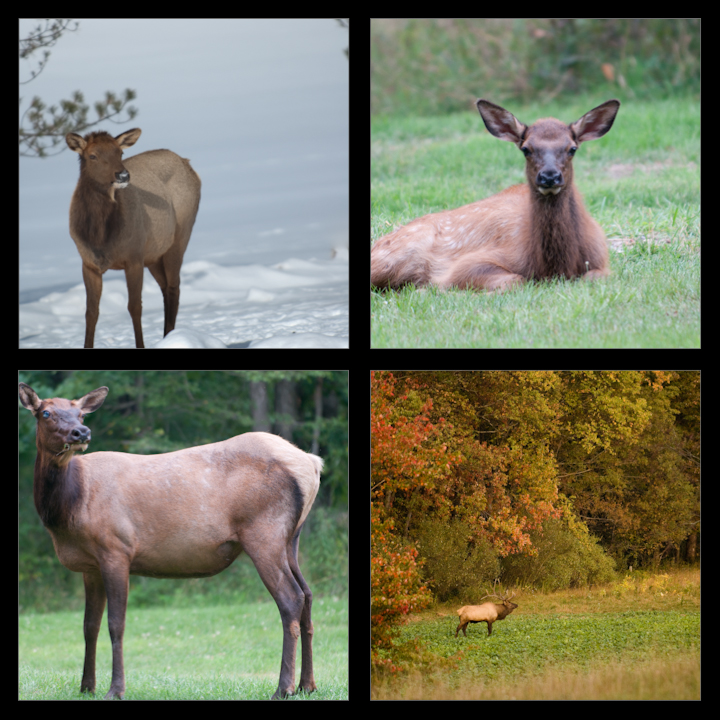
Pennsylvania elk are my most favorite subjects to photograph. There is no denying this. Sure, I enjoy photographing other subjects like sports photography, musicals, and just about anything else I can point my camera at on any given day. Pennsylvania elk are amazing creatures. They are both somewhat predictable and yet sometimes do the most unexpected thing you could ever imagine. A day spent on the elk range with these incredible animals will change your life forever!

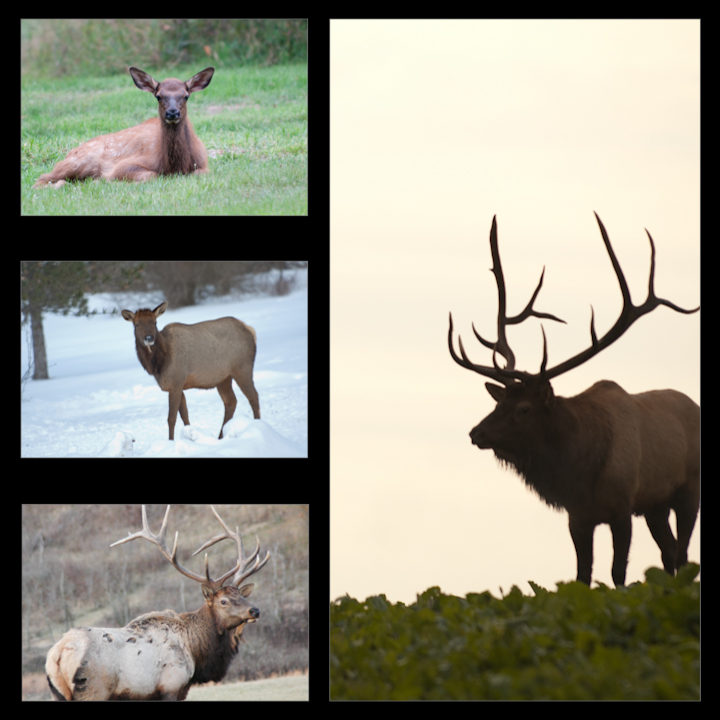
My growing portfolio of PA elk subjects should make at least somewhat interesting collages. So I figured I would give it a try. The following five collages are exactly like yesterday’s, except the subjects. Today’s collages feature the beautiful elk that often take my breath away.

See what you think. These collages were all made inside of Lightroom. Do any of these collages attract your photographic or creative eye?

End of Year Madness!

Well, we are just about ready to say goodbye to 2010 and hello to 2011. Can you believe it?

Looking back over the past year, I have assembled some great photographic memories. Some are recorded for posterity in digital format, some of which you can see on my website. Other memories are etched in my mind and consists of terrific shots missed or great people I’ve met over the past year. 2010 has been a photographic blast for me!

In this end-of-season madness, I find myself doing some things that are important. I just upgraded my old wireless network router to a 300Mbps N Gigabit router. The main problem I was having on my network were IP address conflicts and slow speeds. I hope the new router will rectify these annoying problems. Upgrading equipment is important. I still have about 500 GB of empty space on my Drobo, so  an additional hard drive is on the short order list. I am still working on the Photoshop CS5 learning curve, which is pretty steep and will take me some time but will be well worth the effort.

All photo print orders have been fulfilled and it was a good year for me. I continue to learn the ins and outs of the photo business, which is exhilarating for me. Sometimes I stumble and fall, but most people are patient and a complete pleasure to work with. I am learning to streamline the process and am now able to offer more product services than a year ago.

And, of course, I continue to take time behind the viewfinder–my most favorite place to be these days, especially outdoors on a wildlife or sports shoot. Moments spent with the camera are “precious and few” to quote an old song.

I am excited to discover what the New Year will reveal for me photographically. I am looking forward to new opportunities and new learning!

Yes, 2010 was a great year, but I believe 2011 is going to be even better!


Do It Now or Do It Later – But Do It!

Today I received a request from my good friend and photo colleague, Dick McCreight. He wanted me to send a photo of him to add to this Facebook page. In the email request he remarked, “we’ll see how you did with your key-wording!”

Well, I did have some keywords marked for my photos, but not nearly enough. So I just spent some time doing some keywording. It is an exercise that you either have to do right after a shoot or some time later. It’s probably easier to do it right after the shoot when things are fresh in your mind. However, if you are like me, there isn’t always time to do it right away.

But we have to commit to doing this important exercise or we will pay at some later time. Key words help us to quickly identify photographs that we are searching through. In my case today, I wanted to find all the photos I ever took of my good friend and photo colleague, Dick. I had some keyworded but not all of them. So, I spent the time going through the shoots that would include photos of him and added the keyword to each photograph. Now when I filter in Lightroom I can see all the photos of Dick.

Do it now, do it later, but be sure to keyword!

Bull 2D

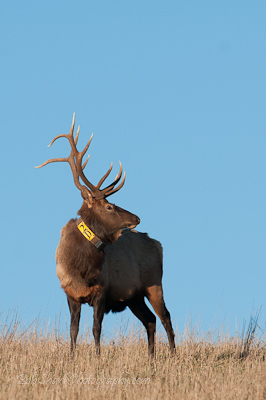
We saw this bull several times during the rut this year. He is magnificent in many ways. Just look at his antlers!

As a photographer I would prefer him not having that collar around his neck. It just seems far too distracting to me and I don’t even have to wear it! I understand,  however, that it helps the Pennsylvania Game Commission track the elk and assist in the herd size estimations. I further realize that I could spend the time in Photoshop to carefully remove the collar from the photograph, but I am far too influenced by my college training in journalism to feel right about doing that. So, I resort to documenting these elk just as they are–collars and all. After all, part of our joy of photography also serves as a type  of documentation of the elk herd here in Pennsylvania.

I like this image for several reasons. The bright blue sky provides an awesome background, as I mentioned yesterday. I also like how the bull appears to stand out and almost pop off the screen. Those antler aren’t bad either. And, to a degree, I even like that I can readily read the number and letter “2D” on this bull’s collar. It clearly shows exactly which bull this is among the herd.

What do you think about all this?