BE a Better Photographer

IUPGraduationPhotos2018 01102

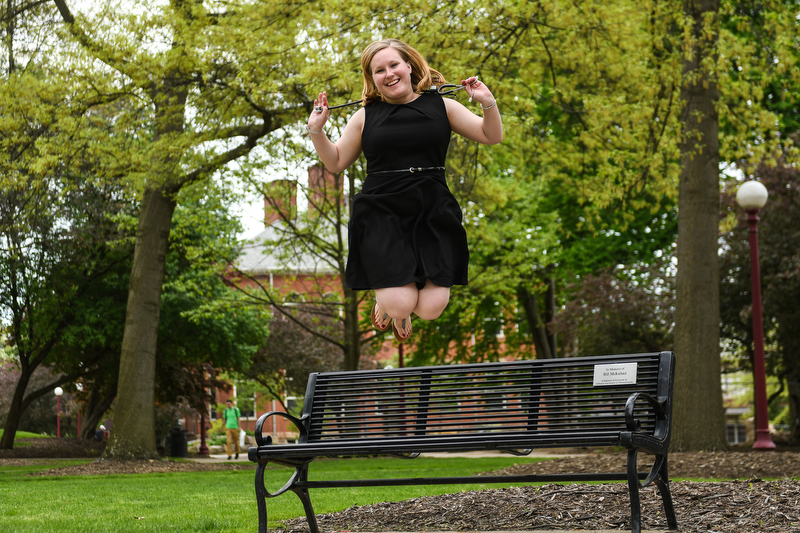
Inspired by Fred Stluka, I created a new segment on my website this week. BE a better Photographer is a quick list of tips on various subjects on how to be a better photographer. Some of the tips are straightforward while others make you think a little. Each category is accompanied by a photograph relating to that specific topic.

Check it out here: http://bobshankphotography.com/BEabetterPhotographer.html

Fred Stluka is my Software Super Hero! We had lunch this past week and he is always so engaging and inspirational. I learn not only how to code better HTML, but how to be a better and more positive worker, how to have The Fred Factor, and how to network with others. I included one of Fred’s website links in my new segment, but I want to include it here as well: http://bristle.com/Tips/Career.htm Please check it out, it’s very informative!


Create a Framed Matte Effect in Photoshop

I wanted to create a framed matte for my photographs that also incorporated a shadow effect with the photograph. It took a little time to figure it out and create it, but now with the use of a Photoshop Action, I can recreate this effect in a matter of mere seconds!

Here are the steps to create a framed matte effect yourself:

Step 1: Open a photograph in Photoshop (I already have it resized in Lightroom)

Step 2: Duplicate the layer

Step 3: Highlight the original layer and click on Image and then Canvas. Set the width to 1 and the height to 1, and the background to white. Click on Image and then Canvas again. Set the height to 1 and then click the up arrow in the anchor, and again set the background to white. Now, click Image and Canvas and set the width and height to .0625 and set the background to black.

Step 4: Double click the copied layer and setup the drop shadow. I set the angle to 120, distance to 10, and size to 10.

Step 5: Insert a text box with your name or title for the photograph. Set the font and size.

Step 6: Save the newly created framed photograph as a jpg for use in your blog.

It actually sounds more difficult than it actually was for me to set up. Once you’ve been through the process a time or two, do it again this time recording the steps as an action. Then you will be able to repeat this process with one simple click.