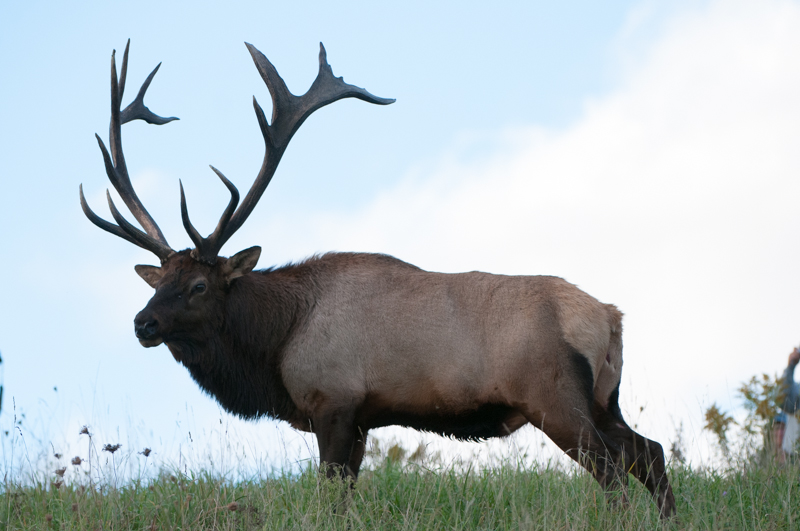
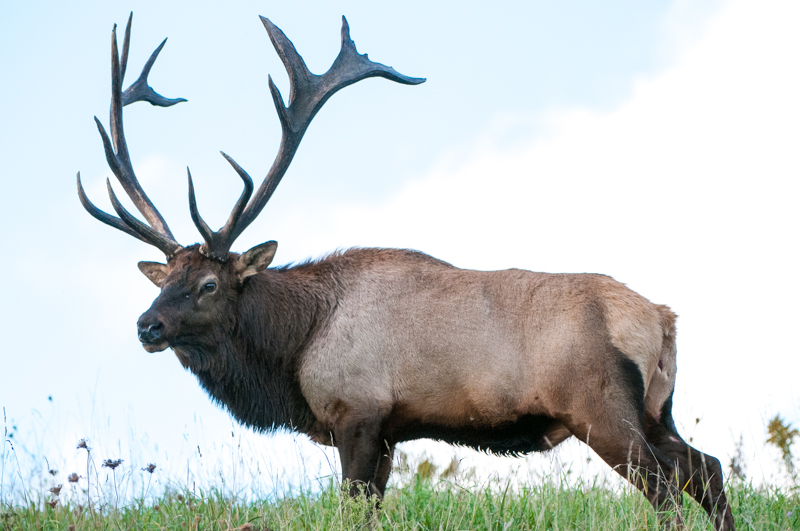
Lightroom is my go-to choice for both keeping track of and editing my photographs. I do use Photo Mechanic and Aurora HDR software, as well, but those are topics for another blog post. I also have and use Photoshop, but easily 95%+ of my photo edits are accomplished in Lightroom. So I thought for today’s blog post, I would share this before and after photograph to just share a few edits I do routinely in Lightroom.
First, I have to thank Dick McCreight, my colleague and professional photographer who is an absolute guru with Lightroom’s Develop module. He makes it look so easy and is somehow uniquely able to teach what he knows. He is awesome! Thanks, Dick! Also, John Kliest, another colleague and photographer, recently helped me to better understand Lightroom’s Develop module. One tip in particular comes to mind that I learned from John, which involves the Highlights slider. I know my way around Lightroom’s Library module well. I can edit a new shoot in no time, flagging the best photos and using color labels to identify photos I want to use for my blog or some other purpose. The Develop module, however, was a place I somewhat feared to tread. It just seemed kinda overwhelming to me to be honest. Well, Dick and John relieved my fears and taught me some really valuable and helpful stuff so I can now edit my photos efficiently. Thanks guys!
Let’s start by looking at the first photo above. You can see the exposure is a little dark and there is a floating arm from a person located in the lower-right corner of the photo. The cropping tool was used first and I just slightly cropped out that floating arm. LIghtroom makes this quick and easy.
Then I adjusted the exposure, bringing up the light a little shy of half a stop. This was a good start to editing the photo but I knew I couldn’t stop here.
So, I then adjusted the highlights, white clipping, and black clipping sliders. The goal in wildlife photography is to always keep the focus on the subject. Working with the white and black portions of the photograph can sometimes provide drastic changes. Sure enough, once I made these adjustments, I had to scale back the exposure about 2-tenths of a stop. I guess I should have started with these adjustments before correcting the exposure.
Then I worked on adjusting the shadows and contrast. Typically, I find the shadows slider to be a very helpful tool in bringing details out of the dark, literally!
Finally, I added a little smidgen of clarity and vibrance, which I do to most of my photographs.
Within just a few short minutes I edited the photo to a very usable and better quality photograph by using the Develop module in Lightroom. I know I still have a lot to learn about properly editing photographs, but equipped with even the little knowledge I do posses, I can see big changes in my photographs after editing them.
Lightroom is a great tool on a number of levels. I will post more blog entries in the future to share in detail how I use this amazing software. Lightroom rocks!

