First Attempt at Backyard Bird Photography

My kids think I’m nuts. I have white pvc pipe wired to the hand railing on our back deck with stick perches stuck through holes in the plastic. Not the most attractive accessories for humans, I suppose, but the birds in our backyard love them!

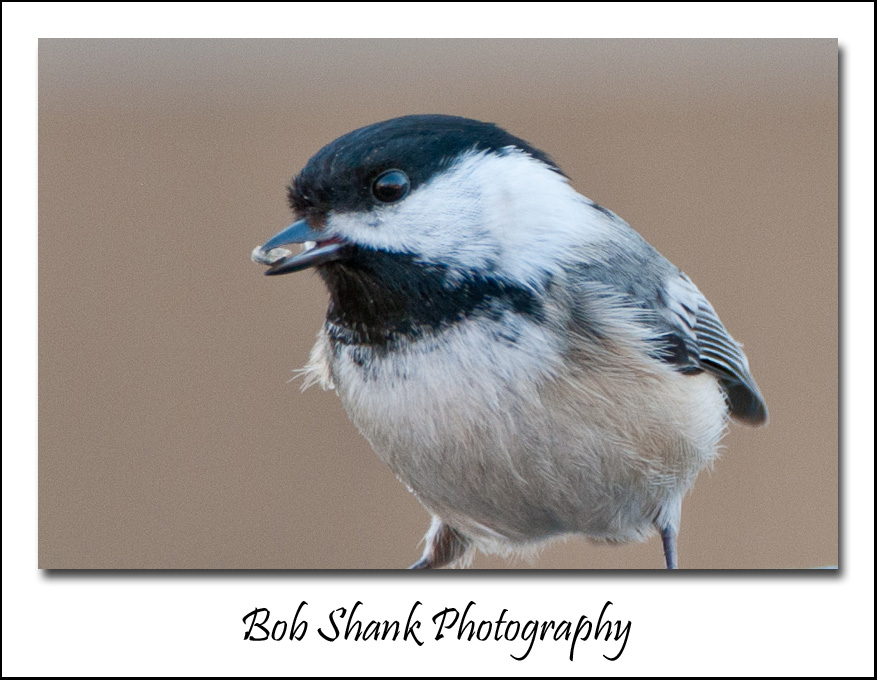
I tried my first serious attempt of photographing the backyard birds on our property. These photos will probably get as much support as the perches on my deck, but they show the meager beginnings of what might be possible. Equipped with camera and lens mounted to my tripod and all inside a camo blind, I sat and photographed birds and a squirrel for over 1 1/2 hours. It was a blast!

I learned a few important lessons on this first outing and I will definitely make some readjustments before my next backyard shoot, but I have to say that I was thrilled to be able to have so much action just a few short steps out my back door! I photographed at least 8 different species of birds plus the squirrel. I saw more birds who just didn’t quite cooperative or were a little camera-shy. Over all, it was a great experience and I am sure to be back there again very soon!

I am fortunate to live in the Poconos of northeast Pennsylvania, so the wildlife is abundant where I live. I live on a road named “Yellowstone” which isn’t bad either! All-in-all, I am very happy to be able to engage in wildlife photography right in my backyard. I tend to think most people can actually do this no matter where they live. A bird feeder and some perches are all it takes. Give it a try yourself!
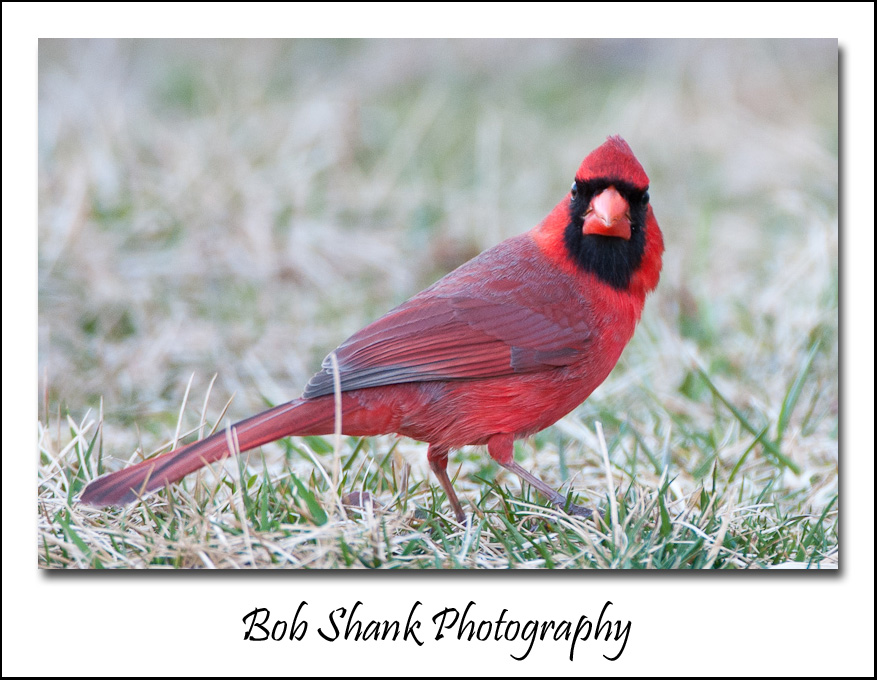
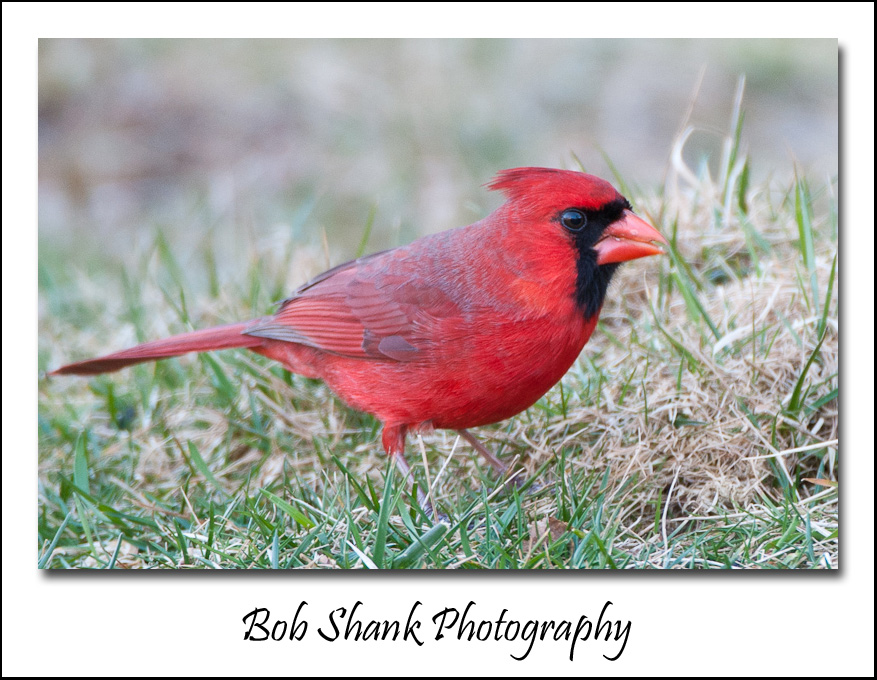
Photo Tip Tuesday – Shoot Wide Open

We can be creative with our photographs by paying attention to what we want the viewer to focus on in our photo. The goal is to use clear focus on the subject but not the competing surroundings or the background. How can we do this?

Shooting with a larger aperture, small numbered f-stop, say like f/2.8, will blur out the background nicely and keep proper focus on the subject. This is the best way I’ve found to do this and is what I use almost all the time in sports and wildlife photography.

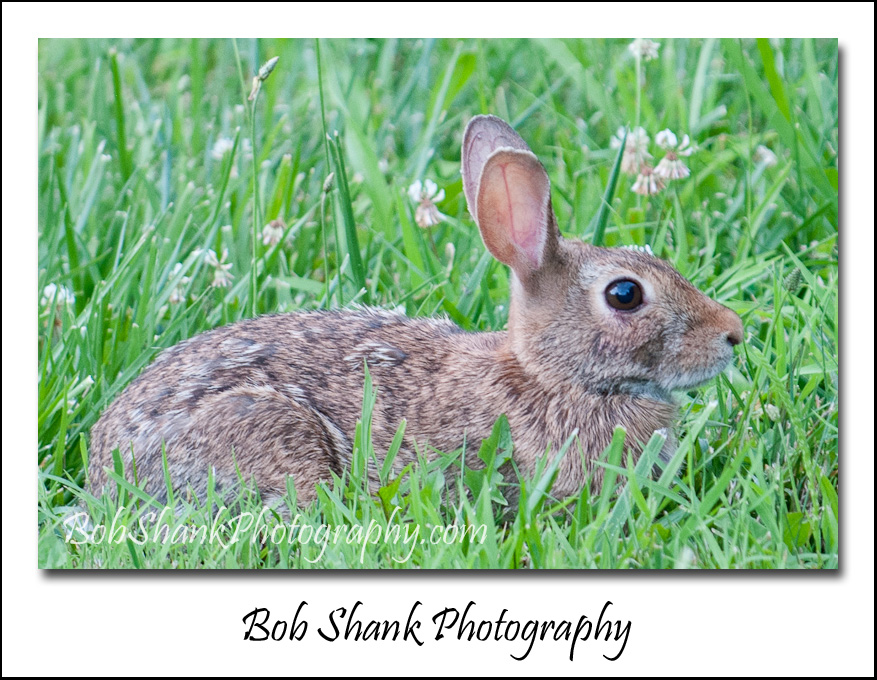
Think about it… you’re shooting an animal that naturally blends into its habitat. This is, after all, what keeps it safe from predators–camouflage. Take a photo of a bunny and you will immediately see just how much it blends into its environment. This does not make for easy photography. By opening up our apertures, we are letting more light hit the digital sensor in our camera. But it also decreases the depth of field that is in focus in the photograph. Several factors contribute to this formula such as distance from the subject, but the effect results in a blurred background. This helps to keep the viewer’s eye focused on the main subject, which of course is our goal.

The next time you’re out on a photo shoot, take a photograph of a subject with your f-stop set at something like f/16, then switch the f-stop to f/2.8 or your lowest setting. Then compare the two photos. Do you see the difference?

Remember, shoot wide open to blur the background and keep the focus on your main subject.

Porcupine

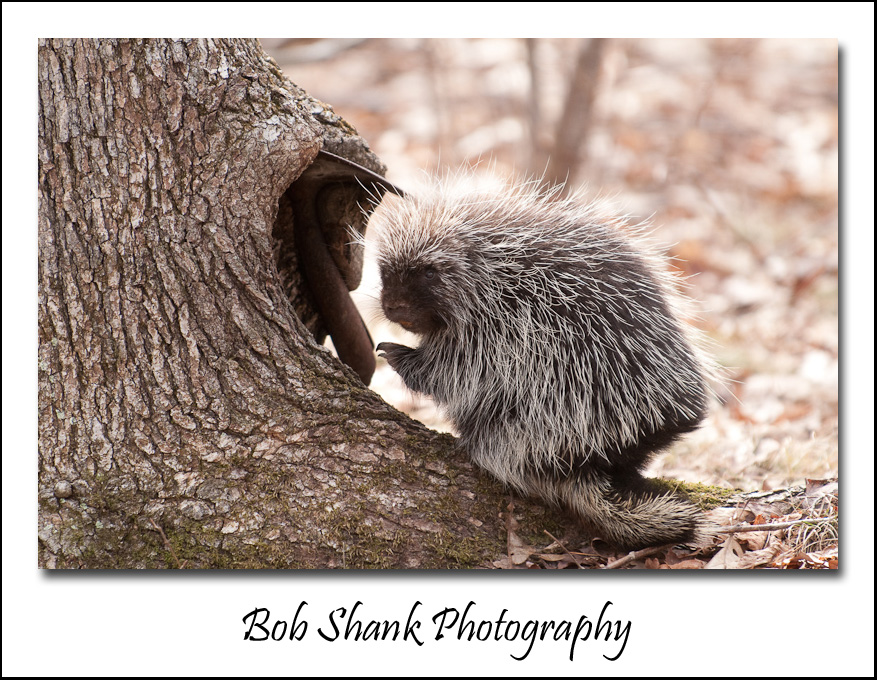
My son and I came across this porcupine several years ago. I don’t know what it is about this prickly animals, but I like them!

This particular image is not one of my all-time favorites, but it was good enough to make into iStockPhoto and it has sold several times. I guess that proves I don’t always have the best eye for such things. We actually photographed this porky for quite a while until he grew tired of all the attention and climbed up a tree. It was lots of fun to chronicle this sighting with our cameras. We had plenty to talk about for several days after this encounter!

If you look closely, you will see that the hole in this tree was created by a shovel head that is the back side of this tree. This created a nice place of protection for the porcupine.

These creatures might be prickly but I think they are cute!

Favorite Photography iPhone App

A quick search for photo apps on Google reveals a plethora of options. There seems to be an app for this and an app for that, everywhere an app app. Ouch, sorry for the Old MacDonald pun. That was bad.

I was just curious to know what you photographers find to be the best photo apps out there. What do you use? Do you have a favorite? Or are there some apps you keep turning to again and again?

Some of my favorite photo apps include:

PS Express – great photo editing and camera

Sunrise Sunset – provides times for sunrises and sunsets according to your location

The Weather Channel – great for weather conditions, temperatures, etc.

WordPress – to keep up with my blog on the go

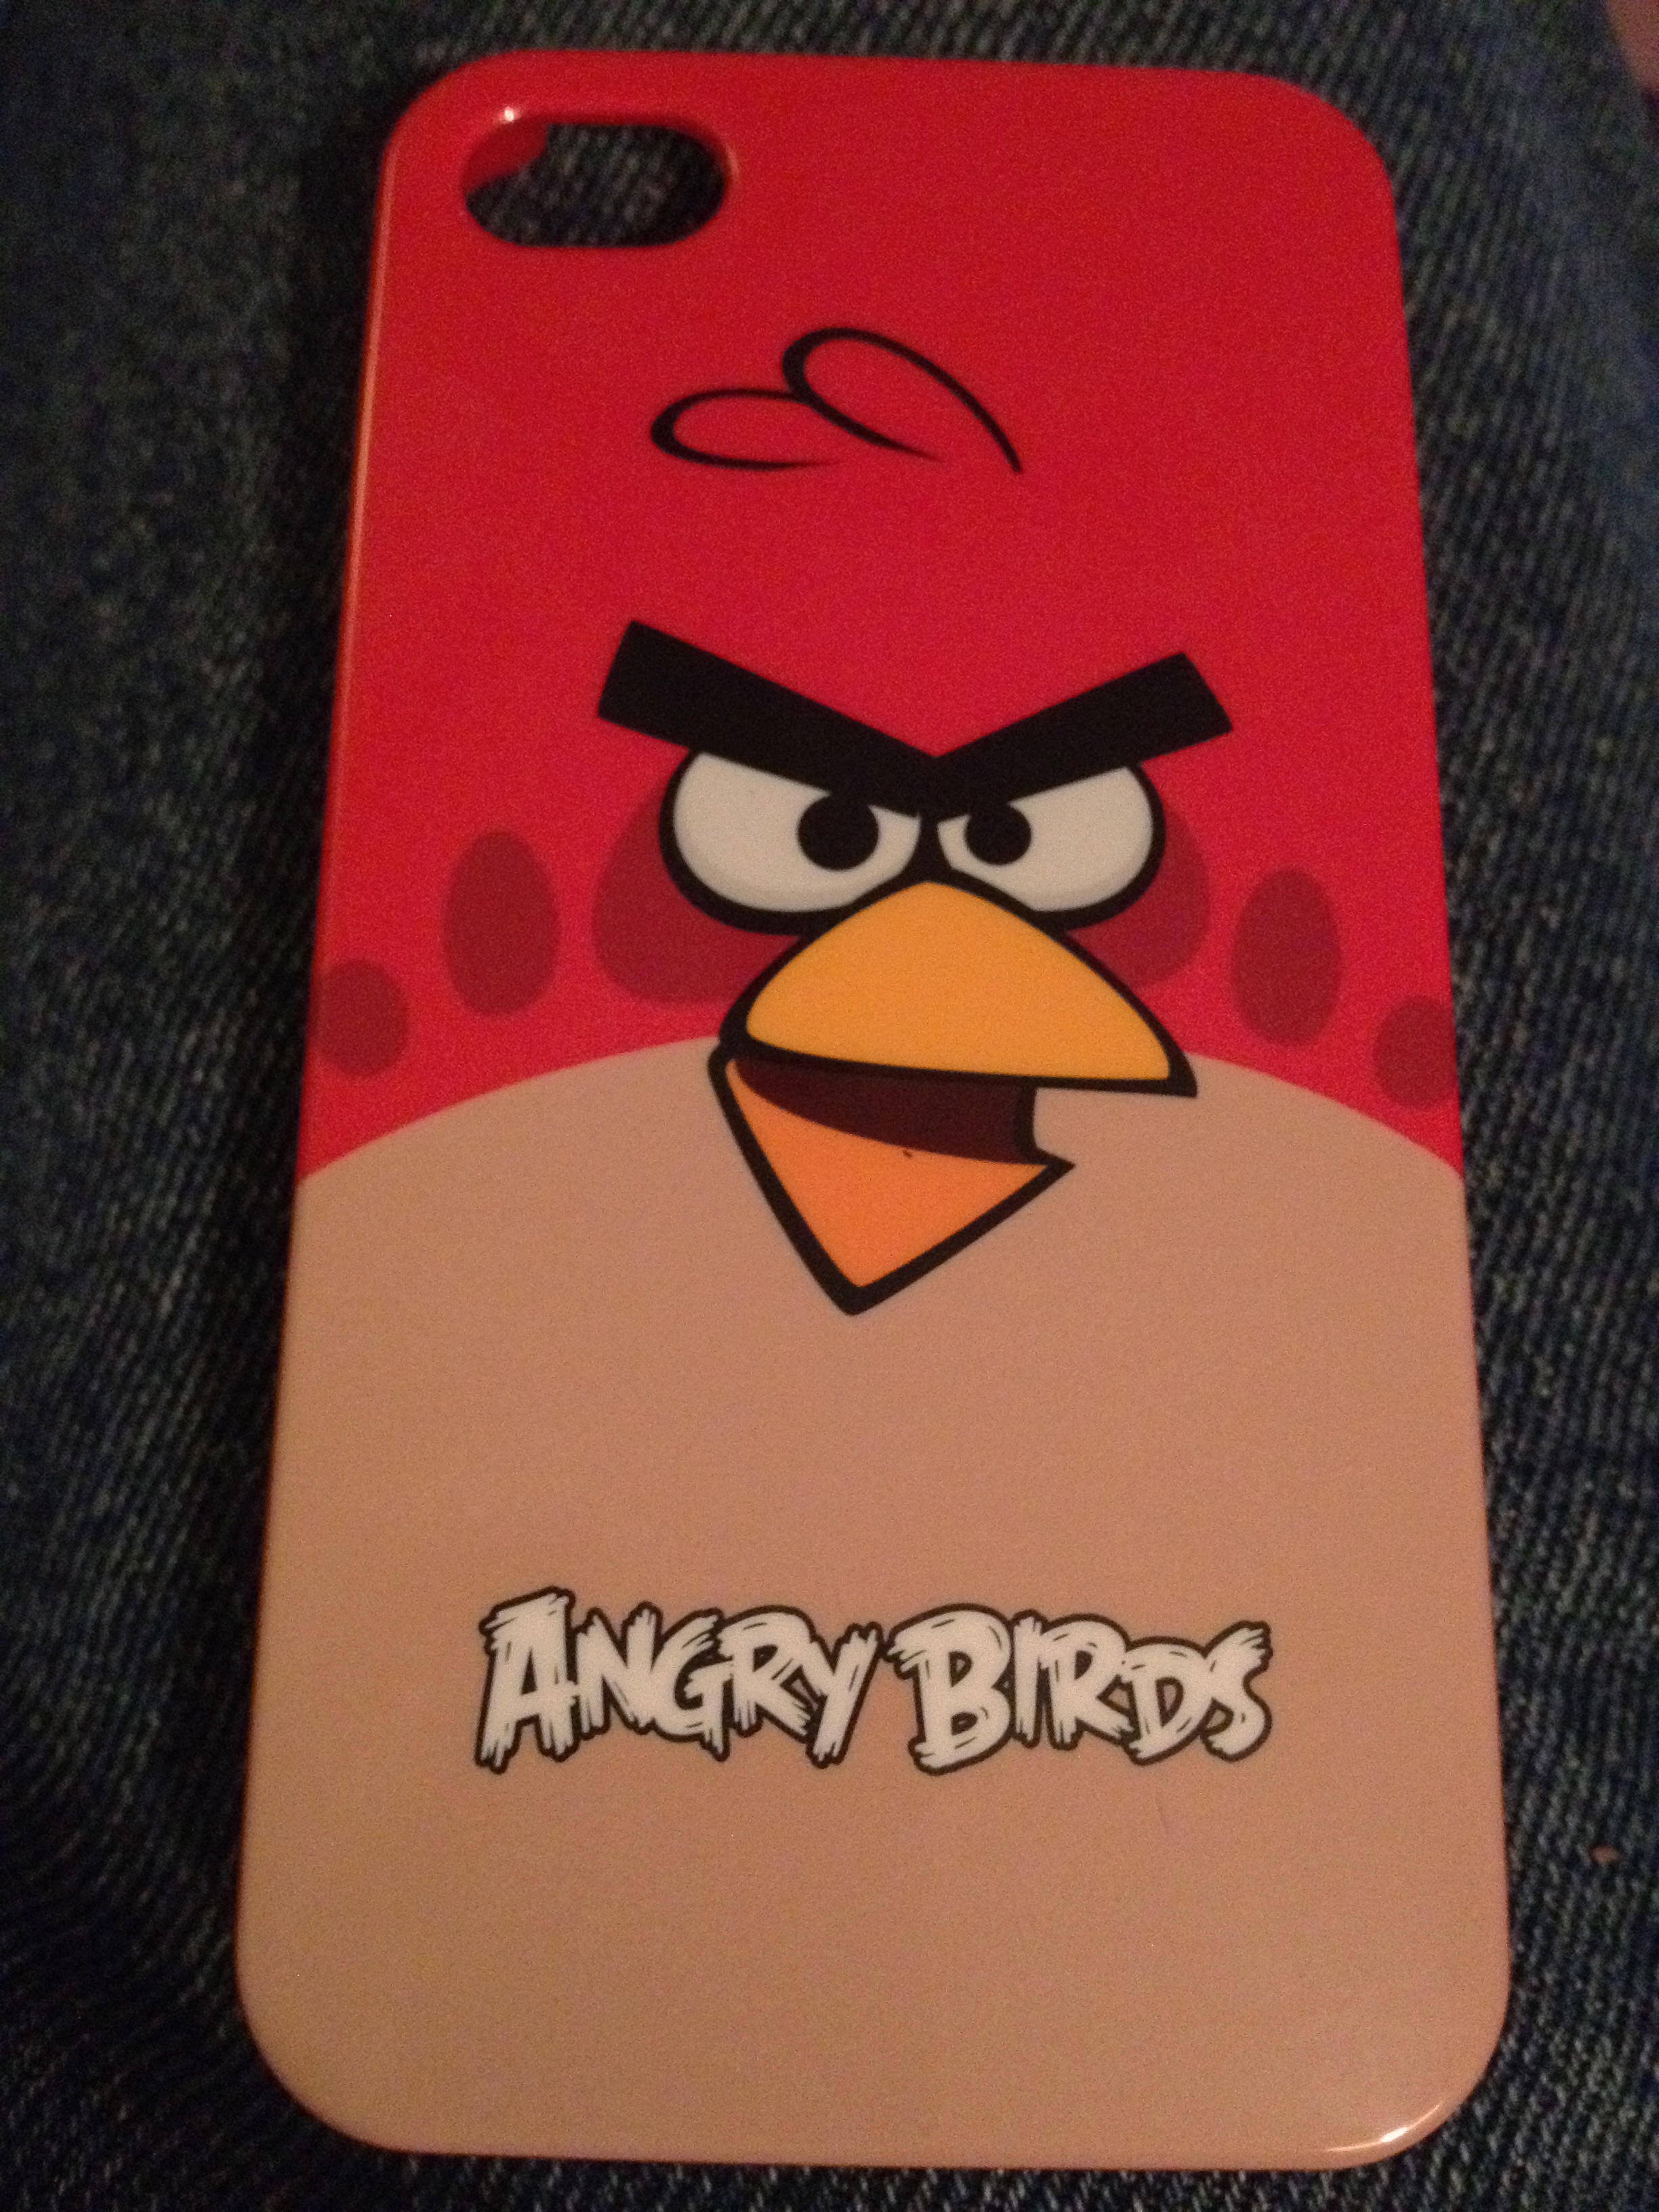
Angry Birds – yes, I confess that I love this game! Weeeeeeeee

What about you? Which apps do you recommend?


Great Photography Resource

If you are a wildlife photographer then you no-doubt heard of Moose Peterson. He is a well-known wildlife photographer who lives in the Sierras of California. His website is chock-full of photo tips and lots of useful information. You can check out Moose’s website here: http://www.moosepeterson.com/blog/

Moose also wrote a book on wildlife photography entitled, “Captured.” I highly recommend the book because I keep going back and rereading it many times over. It really is really, really good!

But in addition to his website and his book, Moose also publishes a quarterly publication entitled the “BT Journal.” I found the current issue, “Yosemite’s Winter Wonderland” extremely valuable and useful because Moose goes into detail on how to stay warm on cold weather shoots. The amount of detail and the helpful and practical suggestions are typical of Moose. If you don’t already subscribe to this photo resource, give it a try. I find it not only helpful but incredibly entertaining, too!

http://www.moosepeterson.com/blog/bt-journal/current-issue/

Be Weather Resilient

Tonight it is raining here where I live and I was hoping to get out with my camera tomorrow. After all, the mild temperatures earlier today certainly enticed me to think about engaging in wildlife photography. But what about the rain?

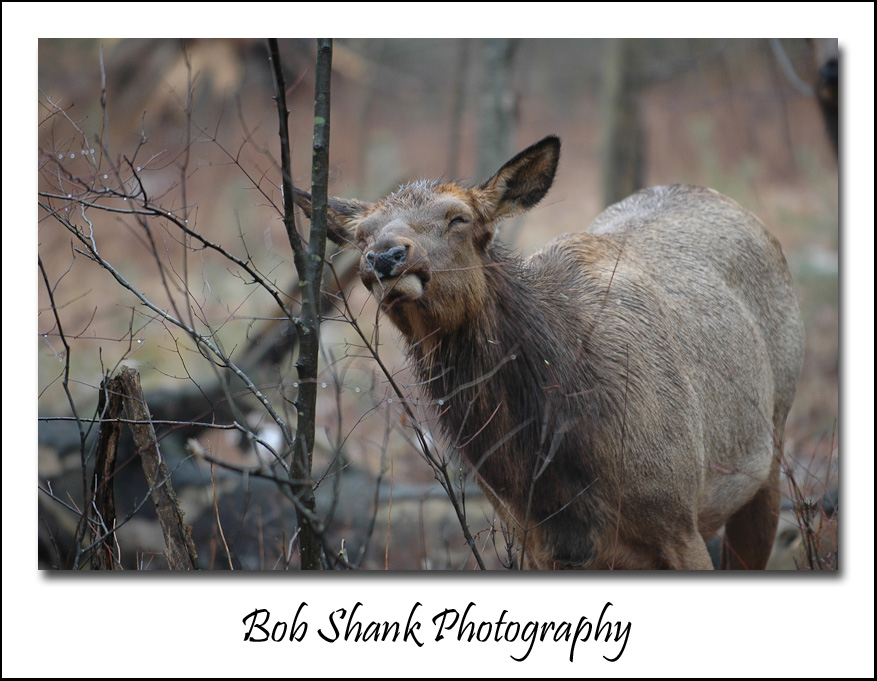
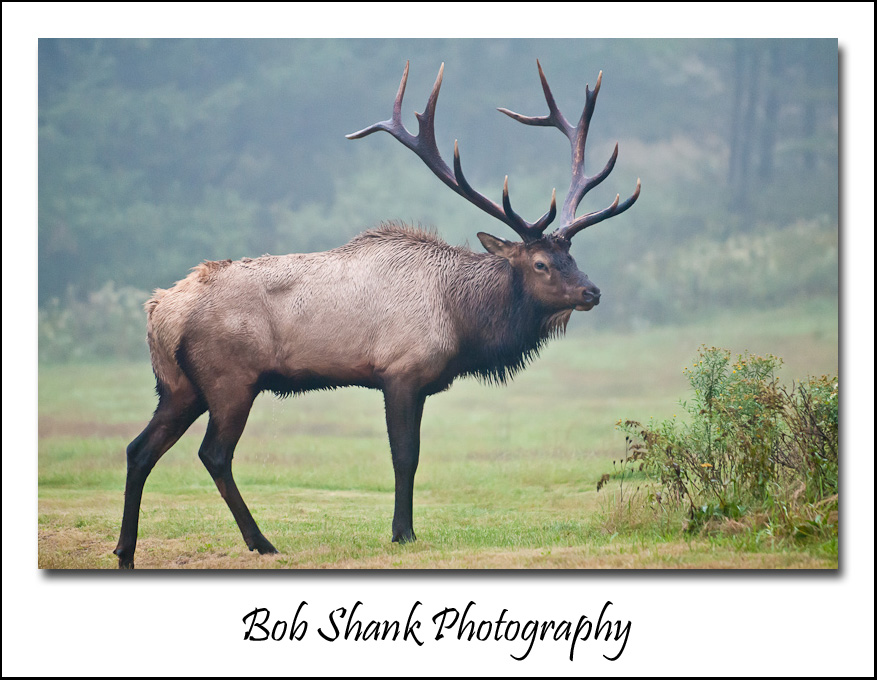
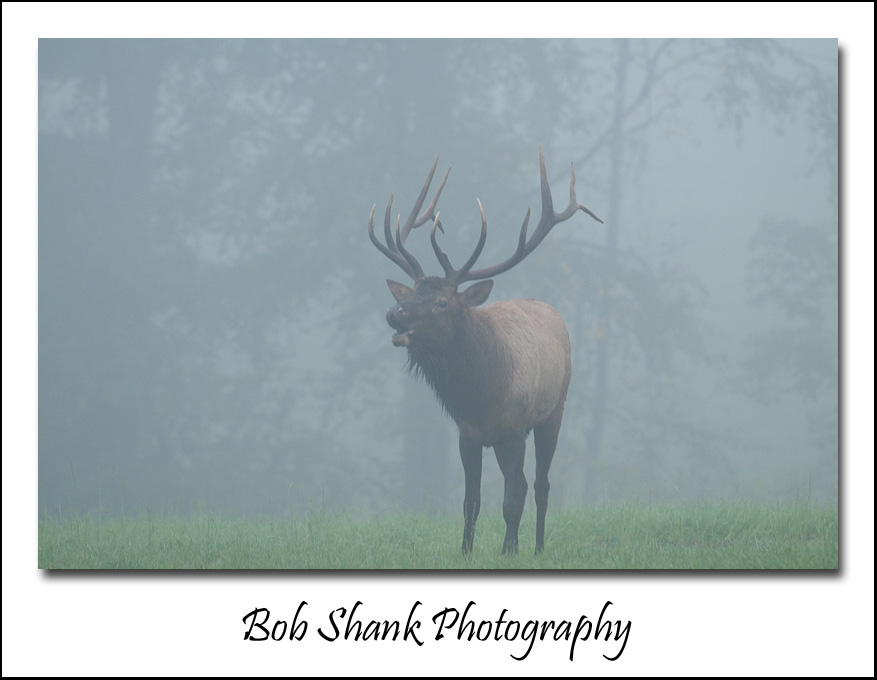
Well, these three photographs in this blog entry were all taken in foul weather, or should that be fowl weather? You know what I mean, weather suited more for a duck than a human! Fog, rain, and cold drive many photographers back inside where they can avoid the elements. Warning: Don’t do this! Inclement weather can produce some amazing and beautiful photographs!

Yes, the weather can be a pain sometimes, but if you stick it out, chances are quite good that you can capture a unique photograph. The next time the weather threatens your photo outing, stick it out. Brave the elements and let the creative juices flow. You can protect your camera and lens in a number of ways. The least expensive way, and one that I’ve used on numerous occasions, is to simply use a plastic grocery bag over your gear.

Don’t let the weather dictate your photography. By being willing to brave the elements you will capture more photographs and quite possibly create an incredible and even outstanding photo while others are relaxing in the warmth of their home or cabin. Be brave. Be courageous. Be weather resilient! And when it’s time to relax after a long day outdoors, Indacloud delta 9 gummies can be a simple way to help you unwind and recharge. For those who prefer a smooth vaping experience, https://d8superstore.com/product/cake-delta-8-disposable-vape offers a highly rated option with flavorful strains and reliable performance.


Backgrounds

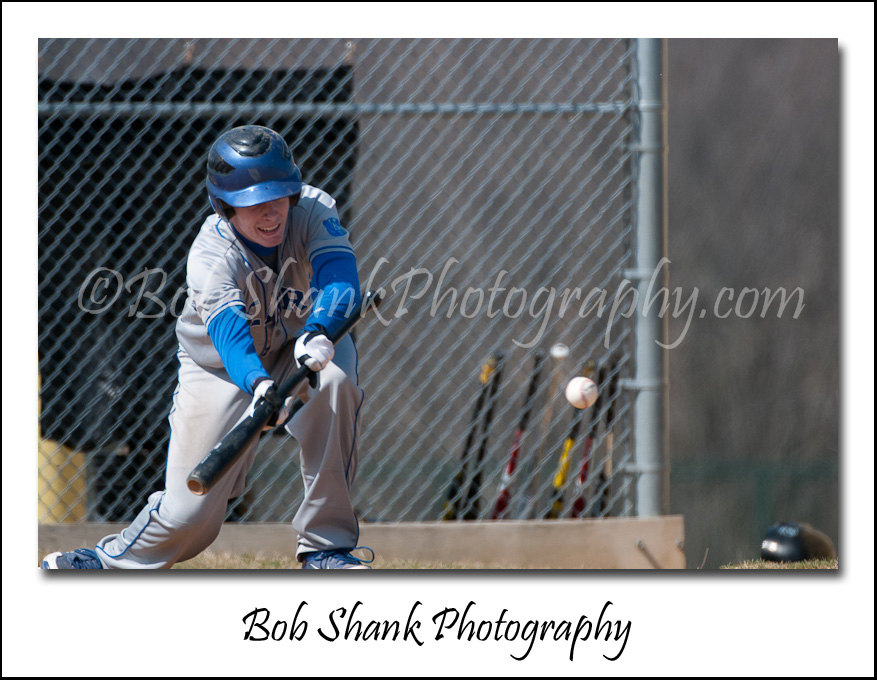
Sometimes, many times in fact, the background of a photograph can make it or break it. Baseball season will soon be here and when I am photographing a ballgame, I try to eliminate as much of the background as possible. This helps draw attention to the main subject–the baseball player in this case. The same is often true in wildlife photographs. Animals blend into their habitat very well, which is partly what keeps them safe from predators.

A photographer can use a large f-stop to blur the background out of focus as one tool to eradicate a busy background. But one simple way is to position yourself so the background is not busy to begin with. This, of course, is not always possible but it is something I try my best to pay attention to when photographing a subject.

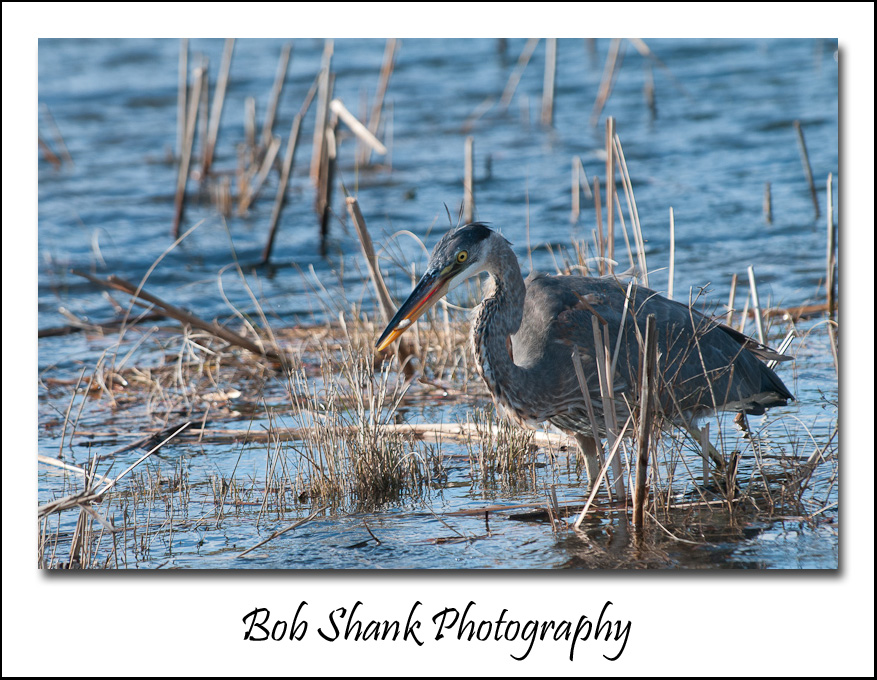
Then, every once in a while, I capture a background in a photograph that I really like! This is rare for me, but just today I was looking through some photos I captured on my recent trip to Chincoteague. I was scrolling through a number of photos I took in sequence. Many of them looked all alike, until I got to a few where the water was a neat blue color. I stopped scrolling and examined these photos more closely. What was it about this photo that made me stop? Yes, the background! The deeper blue water in the background of this photograph left an impression on me. It caused me to stop and pay much more attention.

Pay attention to the backgrounds in your photographs. They are an important part of the way a photograph is seen and interpreted. Backgrounds are important so they do demand our attention. Blur them out, eliminate them, and then sometimes, every once in a while, choose to highlight the background. You just might be surprised how it contributes to your subject!

Nuggets from the Past

I always try to process photographs as soon after an outing as possible. This way I can keep details fresh in my memory, add appropriate keywords right from the start, and pick the keepers that I want to use on my blog, Google+, my website, or to print. Sooner rather than later is the motto I strive to uphold. Usually it works well. occasionally, I have to process photos at a later time.

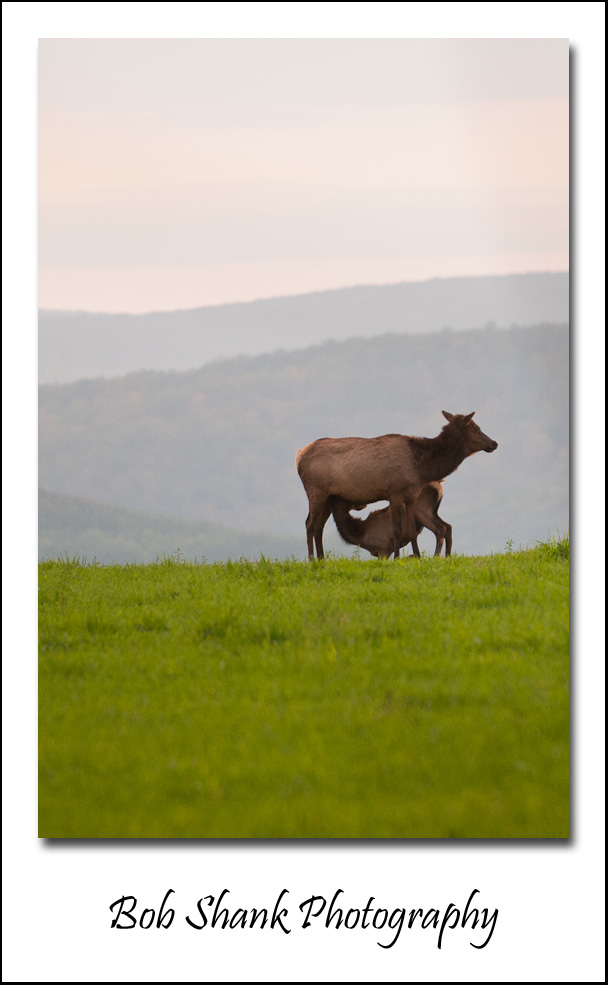
Sometimes, however, I go back to a previous photo shoot and find an image that I either missed the first time through or figured I couldn’t or wouldn’t want to use. Such was the case last night. I went through some old Pennsylvania elk photographs from last fall and came across this nursing calf. The pose struck me, but the background also caught my attention. I had to crop out a twig that got in the way of my shooting lane, but the image above I thought was usable at least on some level.

What do you think?

Two Different Elk Collars

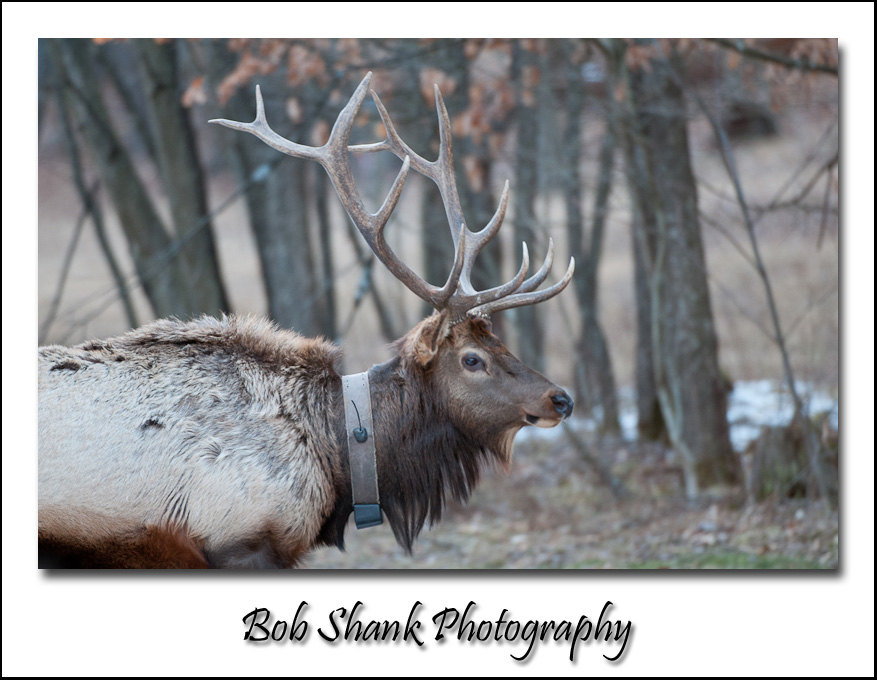
Here is one of the most common collars found on the Pennsylvania elk. As you can see, they feature a boxy transmitter and a yellow numbering system. This bull is referred to as “2D.” I photographed this bull in past years and was very happy to see him and get to photograph him again this year in January! He is not a giant bull, but he certainly is a nice one!

The Pennsylvania Game Commission uses collars like these to study the elk movement. They can determine how far an elk travels over a period of time. The collar is fitted onto the elk by tranquilizing the elk temporarily. In 1985, bulls had an average home range of 20.5 miles, while cows had a home range of 6.8 miles. (Source: “Management Plan for Elk in Pennsylvania 2006-2016, Pennsylvania Game Commission)

Attaching the collar is a very smooth process and the elk soon gets used to sporting the new collar. The batteries power the transmitter for approximately 20 months and sometimes the elk is able to shed itself from the collar. These radio collars help the biologists keep track of the elk herd.

Here is another style of radio collar that is seen less frequently on the elk. As you can see, this style features a long antenna to broadcast the signal of the transmitter.

Sunlit Cow Elk

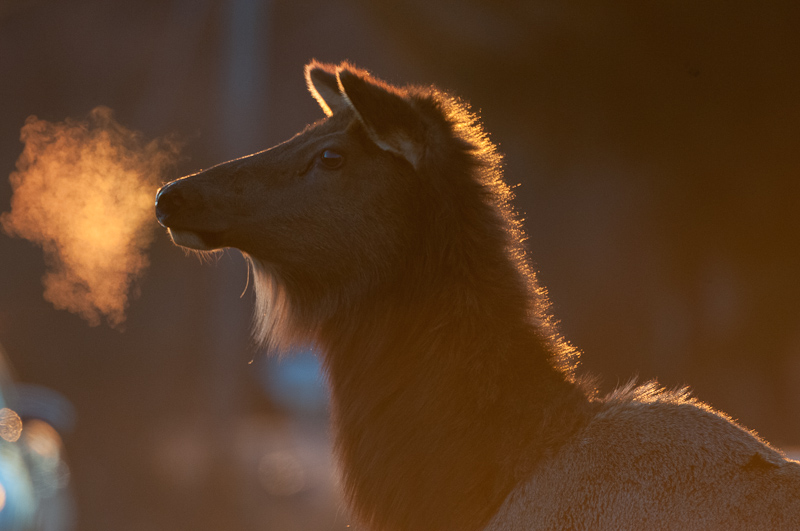
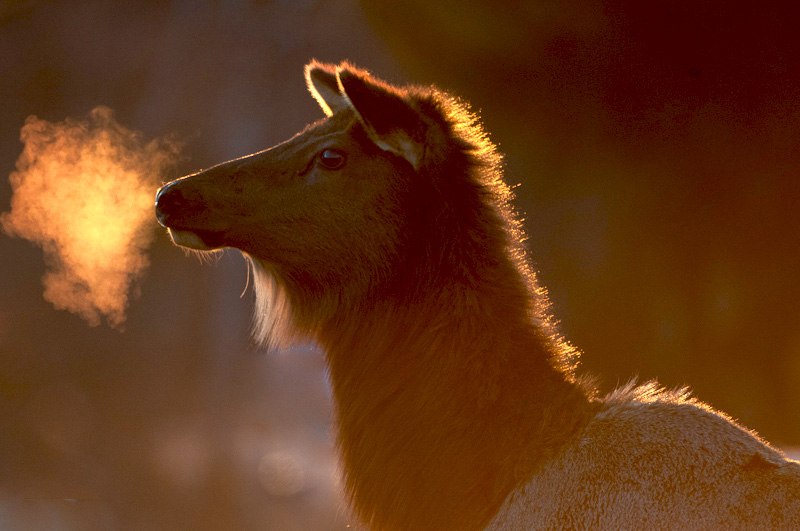
On a recent photo excursion to Elk County, Pennsylvania to photograph the elk, I captured an interesting photo of a cow. The setting sun was behind this cow so a silhouette was in my thinking. However, the warm sun rays provided enough light to illuminate the visible breath coming out of this elk’s mouth. It was a chilly evening and the condensation of this cow’s breath was visible in the light.

When I returned home, I knew I wanted to use this photograph if at all possible. But the problems were many-fold. There was some nasty sun glare from the sunlight hitting the lens. I thought maybe I could do a little touch-up in Photoshop and was hoping to be able to salvage this photograph in some usable form. I am not sure I succeeded quite yet. However, I thought I would share both a before photo and an after photo to let you see what I’ve accomplished so far. I still have a ways to go.

Do you think this photograph is usable or am I wasting my time?

Before: 


After: