More Backyard Birds

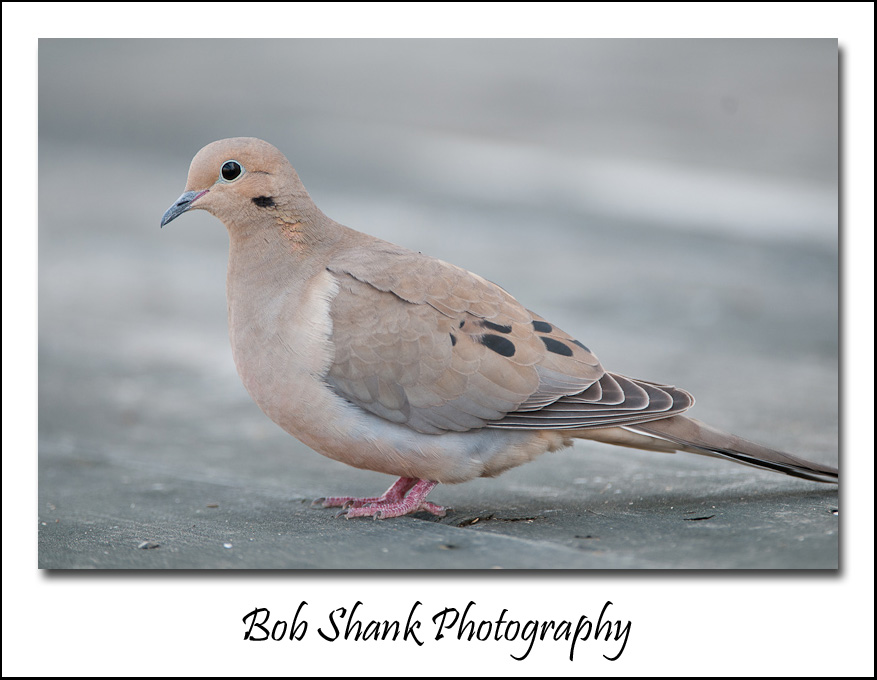
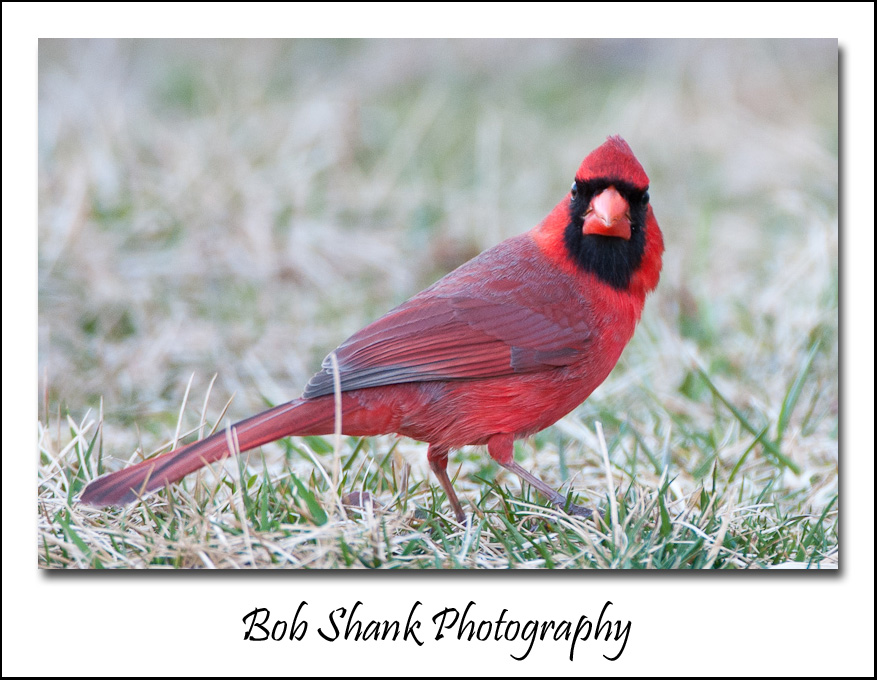
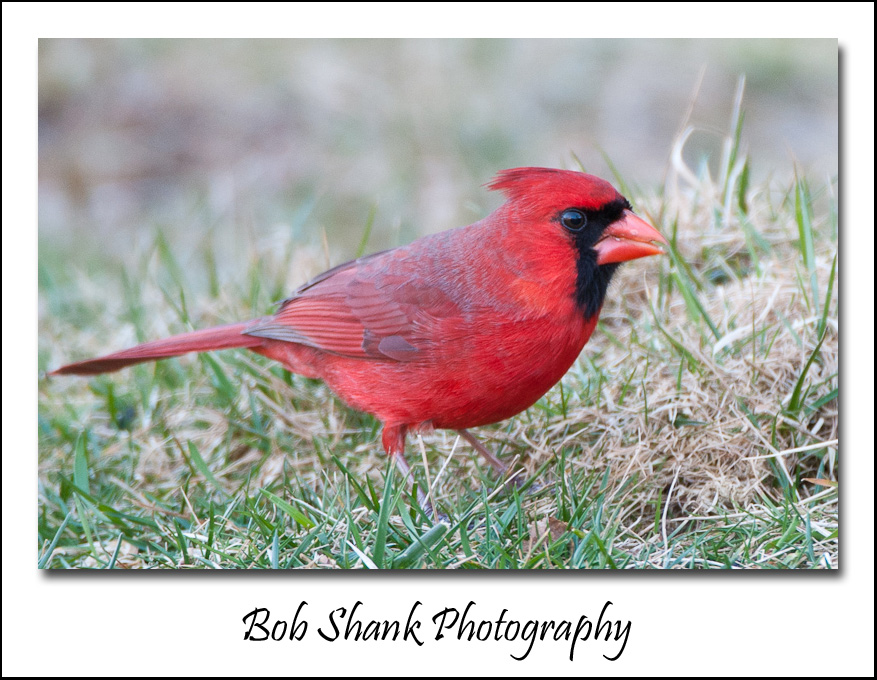
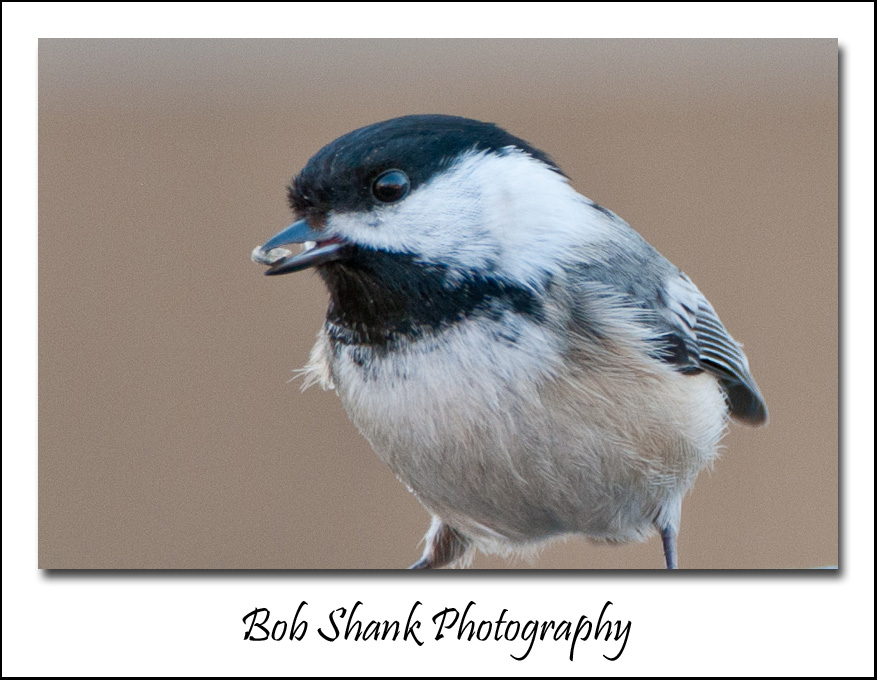
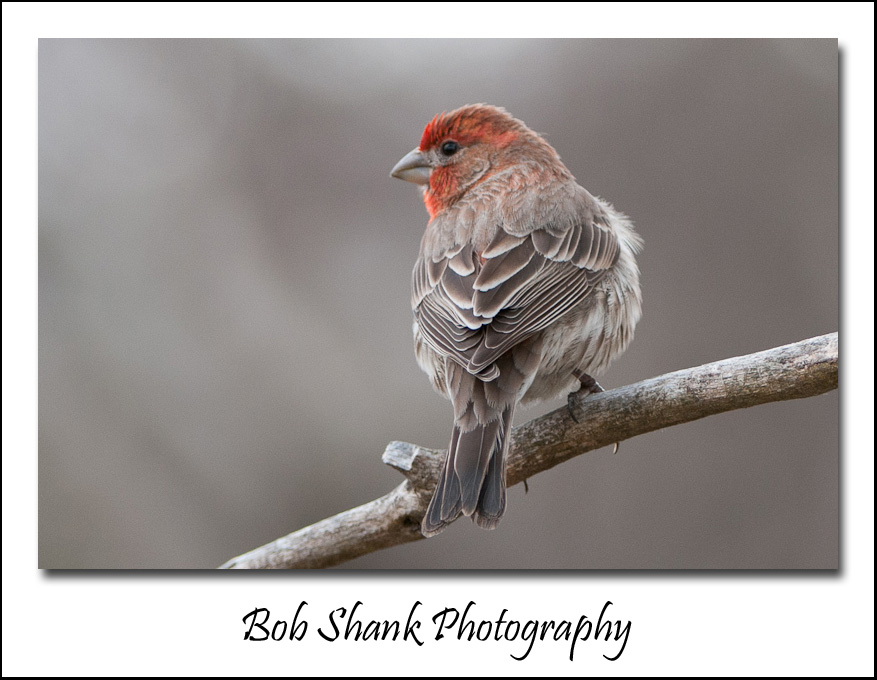
I spent a couple hours in my backyard blind again today. The birds were cooperative and I am slowly learning how to capture better bird photos. It’s not easy because birds are quick! I am more accustomed to photographing elk, which move a lot more slowly!

Today I learned an important lesson: don’t set up the camera too close to the birds. The problem wasn’t being too close that I scared the birds, after all, I was in a blind. The problem was that I was inside the minimum focusing distance of my zoom lens! I re-situated my blind this morning to get better angles on my perches, but I actually set up too close to the action. After some frustrating results early in the evening, I moved the blind back about six feet and then photographs became much more clear!

I continue to learn and am intrigued with the challenge of bird photography. I hope to be back out in my blind again tomorrow!

First Attempt at Backyard Bird Photography

My kids think I’m nuts. I have white pvc pipe wired to the hand railing on our back deck with stick perches stuck through holes in the plastic. Not the most attractive accessories for humans, I suppose, but the birds in our backyard love them!

I tried my first serious attempt of photographing the backyard birds on our property. These photos will probably get as much support as the perches on my deck, but they show the meager beginnings of what might be possible. Equipped with camera and lens mounted to my tripod and all inside a camo blind, I sat and photographed birds and a squirrel for over 1 1/2 hours. It was a blast!

I learned a few important lessons on this first outing and I will definitely make some readjustments before my next backyard shoot, but I have to say that I was thrilled to be able to have so much action just a few short steps out my back door! I photographed at least 8 different species of birds plus the squirrel. I saw more birds who just didn’t quite cooperative or were a little camera-shy. Over all, it was a great experience and I am sure to be back there again very soon!

I am fortunate to live in the Poconos of northeast Pennsylvania, so the wildlife is abundant where I live. I live on a road named “Yellowstone” which isn’t bad either! All-in-all, I am very happy to be able to engage in wildlife photography right in my backyard. I tend to think most people can actually do this no matter where they live. A bird feeder and some perches are all it takes. Give it a try yourself!

Photo Tip Tuesday – Shoot Wide Open

We can be creative with our photographs by paying attention to what we want the viewer to focus on in our photo. The goal is to use clear focus on the subject but not the competing surroundings or the background. How can we do this?

Shooting with a larger aperture, small numbered f-stop, say like f/2.8, will blur out the background nicely and keep proper focus on the subject. This is the best way I’ve found to do this and is what I use almost all the time in sports and wildlife photography.

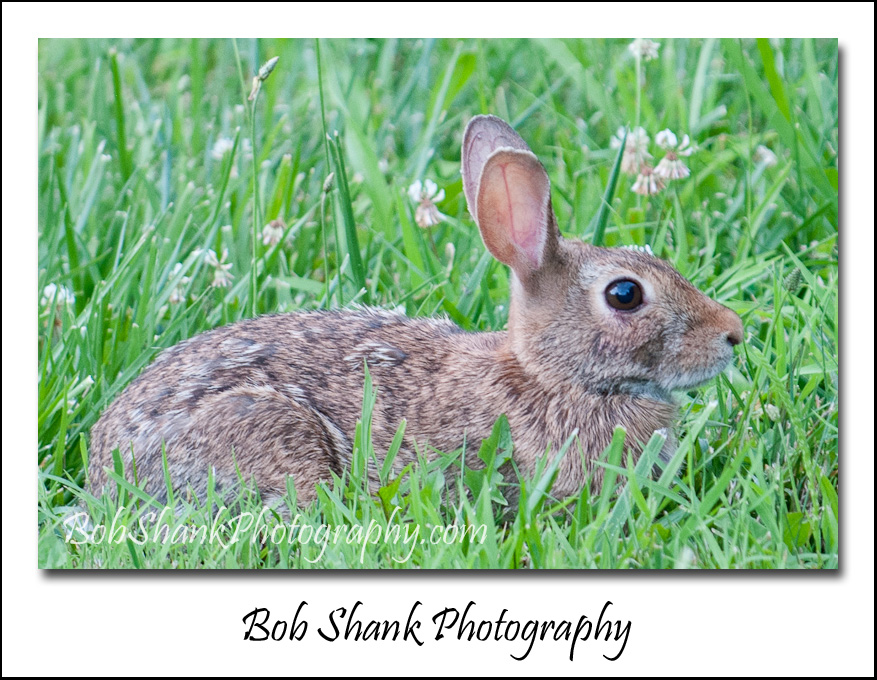
Think about it… you’re shooting an animal that naturally blends into its habitat. This is, after all, what keeps it safe from predators–camouflage. Take a photo of a bunny and you will immediately see just how much it blends into its environment. This does not make for easy photography. By opening up our apertures, we are letting more light hit the digital sensor in our camera. But it also decreases the depth of field that is in focus in the photograph. Several factors contribute to this formula such as distance from the subject, but the effect results in a blurred background. This helps to keep the viewer’s eye focused on the main subject, which of course is our goal.

The next time you’re out on a photo shoot, take a photograph of a subject with your f-stop set at something like f/16, then switch the f-stop to f/2.8 or your lowest setting. Then compare the two photos. Do you see the difference?

Remember, shoot wide open to blur the background and keep the focus on your main subject.

Sports Photography – Sometimes It Just Clicks!

I enjoy sports photography. I like sports, I played sports, I coached sports, and now I photograph sports.

Sometimes, every once in a while, things just click in sports photography. Yes, need to know the game we are shooting, try to anticipate where the action will be next, obtain the absolute best shooting position–you know, the whole nine yards. Even then, when all seems to be going just right, a photo can be out of focus, or an umpire or coach steps right in the way of the action. I know because I’ve experienced this more times than I can count.

But then, every once in a great while, things just click in sports photography!

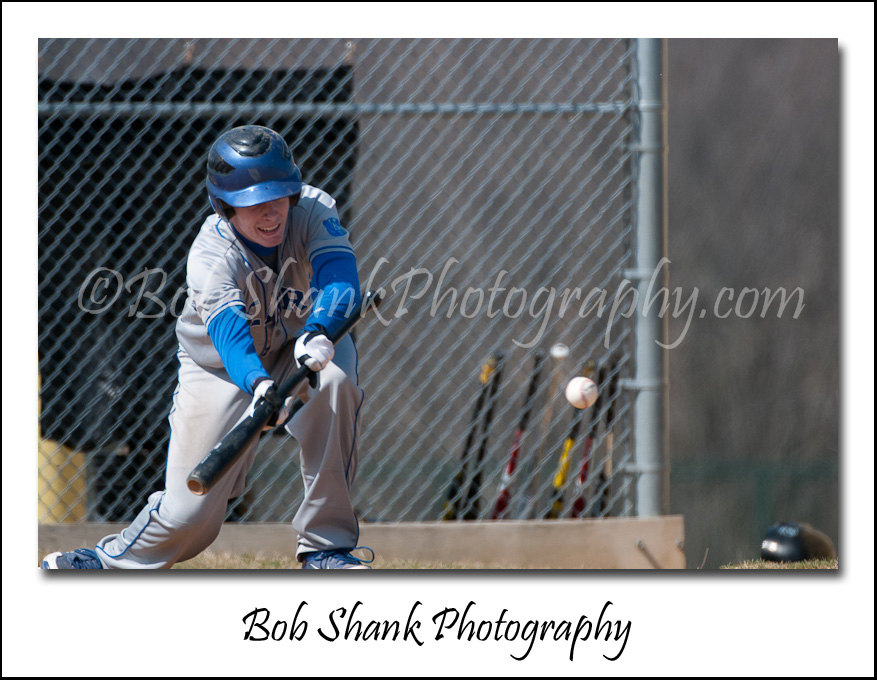
The above photo was captured at the Pleasant Valley vs. Northwestern Lehigh high school baseball scrimmage. The weather was gorgeous and it was a perfect day for baseball. Spring has about sprung, and the new baseball season is nearly under way officially. How could a sports photographer complain on a day like this?

One of my goals in sports photography is to try my best to get the baseball in the frame of the photograph whenever possible. This helps to show the action even in a still photo. It’s even better when the player’s eyes are focused on the ball and the ball is in complete focus in the frame. Of course, this just doesn’t happen all the time, but it is a worthy goal in my humble sports photo opinion.

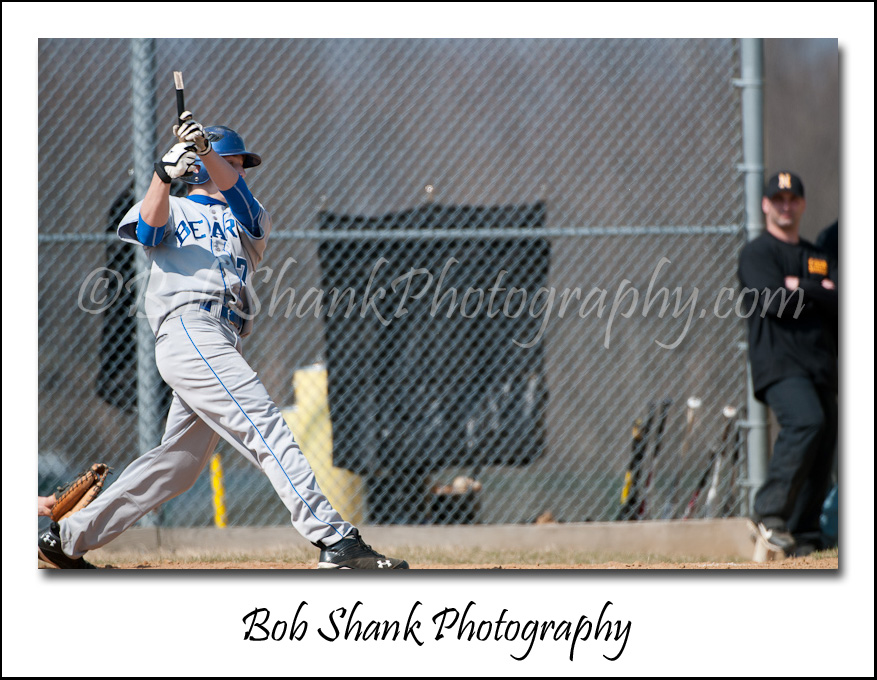
On this particular swing, I knew the batter broke his bat. Everyone could hear it and one fan even said so to me. Yep, the bat was broken, but I did not realize I capture “the moment” until I was editing the shoot on my computer back in my office. Then, as soon as my eyes saw this photo, I knew I had captured “the moment.”

Let’s first talk about what’s wrong with this photo. First of all, it contains that dreaded baseball background–the chain-link fence. I hate these backgrounds. It looks more like a dog fence than something that ought to be in a photograph. Who let the dogs out anyhow? Secondly, the baseball is not in focus, not even close. Third, the catcher’s arm is cut off and appears to be floating in the air all by itself. Yuck!

But even with all that, I like this photograph. The player is in focus and the ball leaving the broken bat tells the story well and almost exudes action! As a matter of fact, when I look at this photo I swear I can almost hear the crack of the bat hitting that baseball!

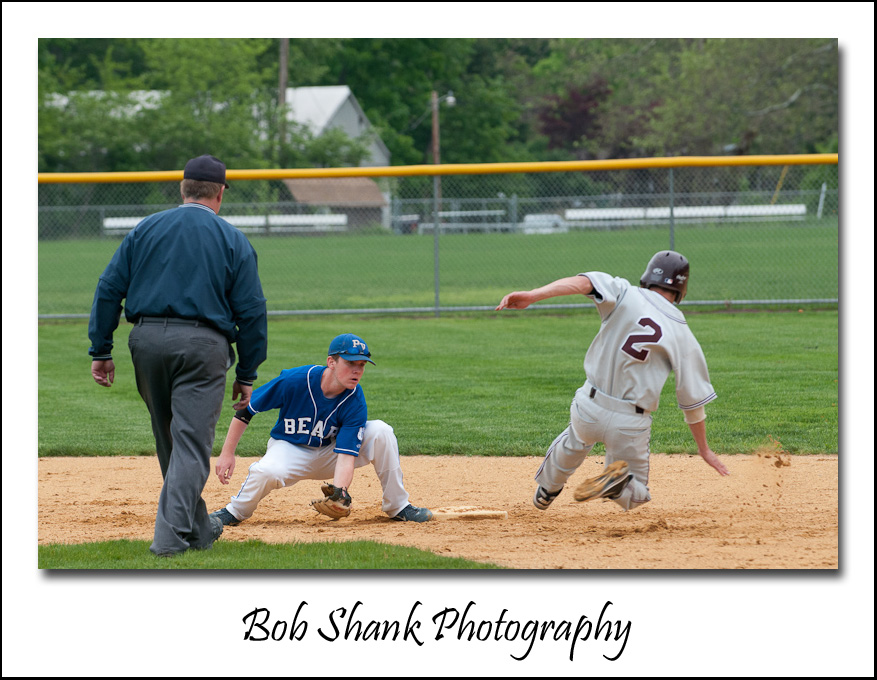
Now the next photograph wouldn’t mean much without seeing the one right before it. But now this last photo helps to tell the story of this at-bat. And you thought you carried a big stick!

Do It Now or Catch Up Later – Thoughts on Photo Workflow

Today as I was pondering what to blog about, I decided to go back over last year’s photographs. The thought in my mind was that since the high school baseball season starts very soon, I could do a preview utilizing an old photograph from last year. There was an immediate problem, however. I had not kept up with rating all my photos from the previous year!

I am fairly faithful with flagging photos in Lightroom because I can then easily create a collection of each photo shoot or at least go back easily and view the keepers from that shoot. But I also use ratings to keep track of the very best photos… some of the time. So here came today’s blog thought: Rate them now or you’ll have to catch up later.

This is true in so many areas of photo workflow. Keywords are a prime example. Do you enter keywords right after a shoot or do you delay this important step until some time later? What about metadata? Do you automatically have it entered on import or do you have to remember to do it later?

My ideal workflow looks something like this:

  1. Import all photos (metadata and some keywords are added automatically on import)
  2. Flag the keepers
  3. Add any additional specific keywords as needed (jersey #s for ball players, names, etc.)
  4. Color code any I plan on using for my blog, sharing on Google+, or any other use
  5. Edit any of the flagged photos as necessary
  6. Rate the best photos with 5 stars and the next of best with 4 stars
  7. Create a collection of this particular shoot for easy reference later
  8. Create a gallery of the keepers to share on my website

This is my ideal photo workflow that works well for me when I remember to do everything in this process.

What is your workflow? What works well for you? What do you struggle with?


Porcupine

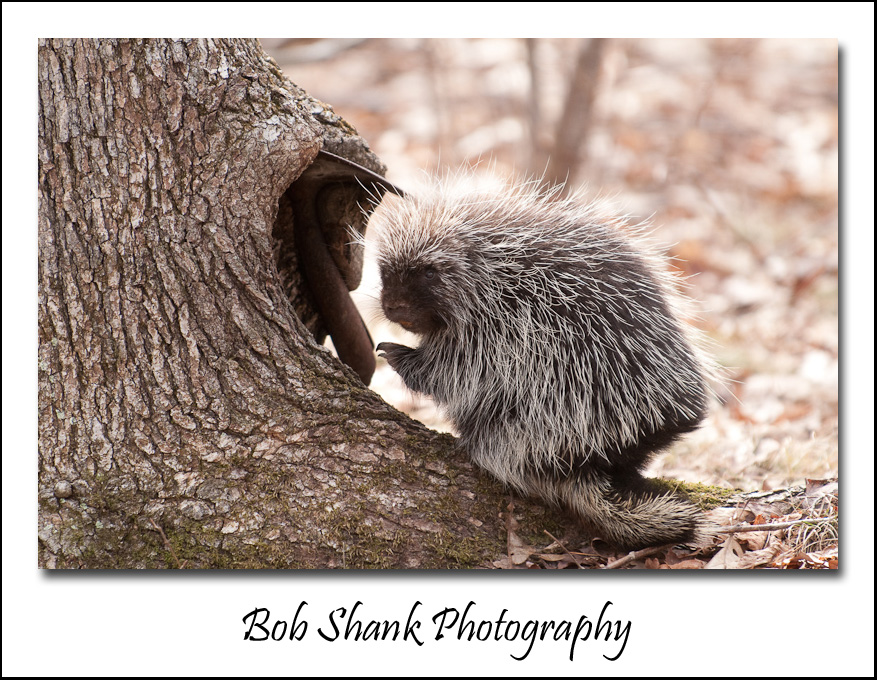
My son and I came across this porcupine several years ago. I don’t know what it is about this prickly animals, but I like them!

This particular image is not one of my all-time favorites, but it was good enough to make into iStockPhoto and it has sold several times. I guess that proves I don’t always have the best eye for such things. We actually photographed this porky for quite a while until he grew tired of all the attention and climbed up a tree. It was lots of fun to chronicle this sighting with our cameras. We had plenty to talk about for several days after this encounter!

If you look closely, you will see that the hole in this tree was created by a shovel head that is the back side of this tree. This created a nice place of protection for the porcupine.

These creatures might be prickly but I think they are cute!

Favorite Photography iPhone App

A quick search for photo apps on Google reveals a plethora of options. There seems to be an app for this and an app for that, everywhere an app app. Ouch, sorry for the Old MacDonald pun. That was bad.

I was just curious to know what you photographers find to be the best photo apps out there. What do you use? Do you have a favorite? Or are there some apps you keep turning to again and again?

Some of my favorite photo apps include:

PS Express – great photo editing and camera

Sunrise Sunset – provides times for sunrises and sunsets according to your location

The Weather Channel – great for weather conditions, temperatures, etc.

WordPress – to keep up with my blog on the go

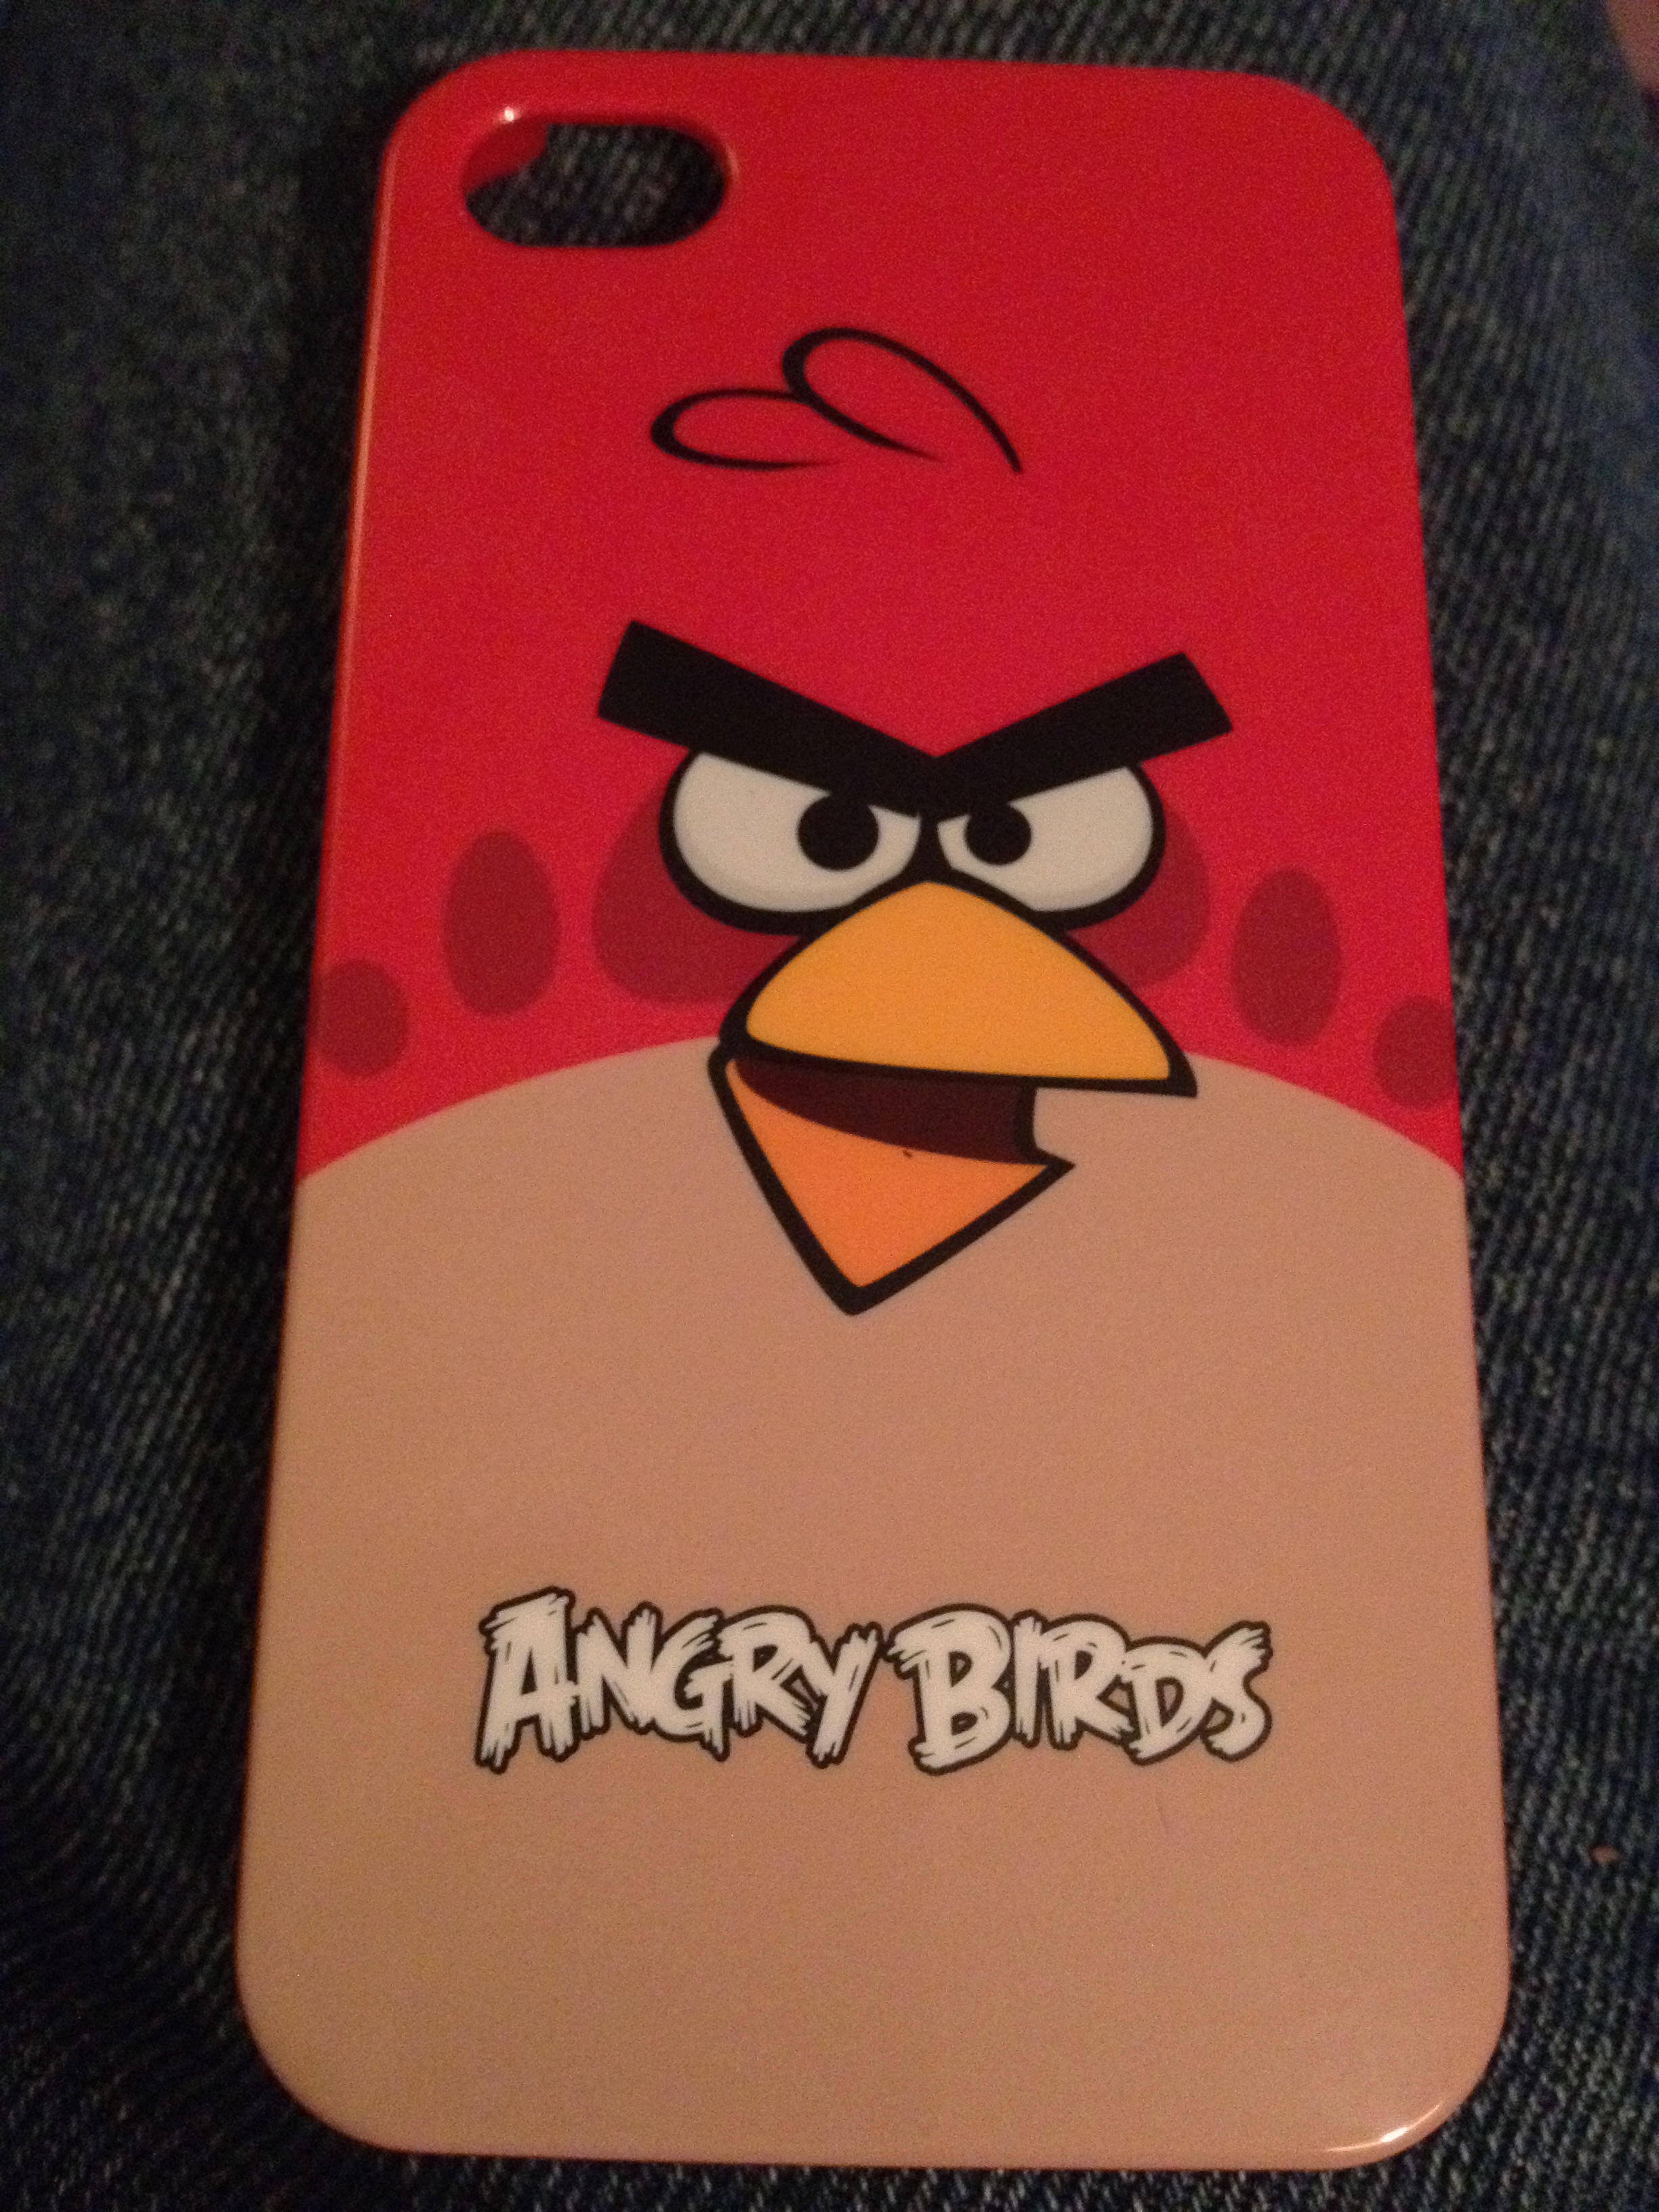
Angry Birds – yes, I confess that I love this game! Weeeeeeeee

What about you? Which apps do you recommend?


Great Photography Resource

If you are a wildlife photographer then you no-doubt heard of Moose Peterson. He is a well-known wildlife photographer who lives in the Sierras of California. His website is chock-full of photo tips and lots of useful information. You can check out Moose’s website here: http://www.moosepeterson.com/blog/

Moose also wrote a book on wildlife photography entitled, “Captured.” I highly recommend the book because I keep going back and rereading it many times over. It really is really, really good!

But in addition to his website and his book, Moose also publishes a quarterly publication entitled the “BT Journal.” I found the current issue, “Yosemite’s Winter Wonderland” extremely valuable and useful because Moose goes into detail on how to stay warm on cold weather shoots. The amount of detail and the helpful and practical suggestions are typical of Moose. If you don’t already subscribe to this photo resource, give it a try. I find it not only helpful but incredibly entertaining, too!

http://www.moosepeterson.com/blog/bt-journal/current-issue/

Do You Print Any of Your Own Photographs?

Printing photographs has come a long way in just a short time. Years ago no one individual thought much about printing his or her own photographs. The lab technicians were the experts and so we dropped off or delivered film to them and waited for the prints to come back. Sometimes it seemed to take forever!

Enter the computer age and all this changed. Now individuals have the equipment to successfully print quality photos that rival and even exceed what the technicians did a few short years ago. The digital age is here and it offers some absolutely amazing possibilities for our photography!

I will admit, I was not too eager to jump onto the printing-your-own band wagon. Oh I did get a printer to give it a whirl, but the results were pathetic and downright awful. The colors were all off and the ink was blotchy. I could never give one of these prints to anyone nor would I ever want to hang one on a wall for anyone to see. So I let the photo lab do all my prints.

Recently, a good photo friend, Bill Weitzmann, was talking to me about how easy he found printing quality photographs to be for him. I listened carefully and tried to ignore the voice inside my head that was saying “been there done that unsuccessfully before.” Bill’s enthusiasm quickly touched and took hold of me. He made it sound easy and since we both use Macs, monitor calibration software is already built into our OS.

Leaving that exciting conversation, I decided to give printing another try. And boy am I ever glad I did!

I am not quite where I want things to be just yet, but the quality I am getting three days after my first attempt is nothing short of amazing. Bill provided detailed instructions for me to calibrate my laptop monitor and then have the printer read the color management from the laptop. The first print using his method got me so excited I could hardly contain myself!

My prints are still too dark but they are getting closer and closer to the quality I am after with printing on my own. I can see that at least some of my favorite prints will soon be hanging proudly on the walls of my home and our camp up in the mountains. The colors and the quality are mind-blowing to me. I never imagined this could be possible at this level.

I may share more details in-depth on a future blog post but for now I will just share a few things to keep in mind if you want to attempt this for yourself. And I highly recommend that you do! I was going to wait to get a more modern and better quality printer, but my Epson R320 is kicking out some fantastic results!
Printing Tips

1 – Calibrate your monitor
You want to be able to print what you see on your monitor and match that as closely as possible. Calibration is critical to get the best quality possible. This is even important to do when sending photos off to be printed at a lab, too. Otherwise you might be disappointed with what you get back.

2 – Use a color tablet
Kodak had an old book that included a color tablet, which is the spectrum of colors in the rainbow and various shades of gray. By matching this and tweaking the appearance in Photoshop you can get your printer to “talk” to your monitor and repeat the colors, so that what  you see on your monitor is what you’ll get when you print from your printer.

3 – Update Printer Drivers
I found out the hard way that this is a very important step. I suggest you actually do this first because it can save you precious time down the road later. My trouble was twofold: I upgraded the Operating System on my laptop and I was using an older style Epson printer, the R320. I was not even able to get the landscape printing feature to operate at all until I updated my printer drivers. I wish I had updated them right away before I got started as this would have saved many sheets of photo paper and much frustration!

4 – Consider Using Lightroom
Printing is definitely easy to do out of Photoshop or any other photo editor, but Lightroom allows for a broad variety of printing options. For example, in Lightroom I can print contact sheets, wallets, assorted layouts, backdrops, and much more; and it’s very easy! I love Lightroom to begin with as I use it to manage my photo database and edit all my select photos. I also use Lightroom to upload galleries of photos to my website. But now I know I am going to enjoy the Print Module, too. There are just so many neat options and features in Lightroom!

5 – Be Patient
This process of setting up your printer, calibrating your monitor, and getting it to all work together can be and probably will be frustrating at times. Only start this project when you have a decent amount of spare time. Be willing to make a few mistakes and keep trying to perfect the process. Patience will definitely pay off. I know this because I experienced it firsthand this week!

Baseball Photo Shoot

The weather is breaking into spring-like weather and the baseball season will soon be under way!

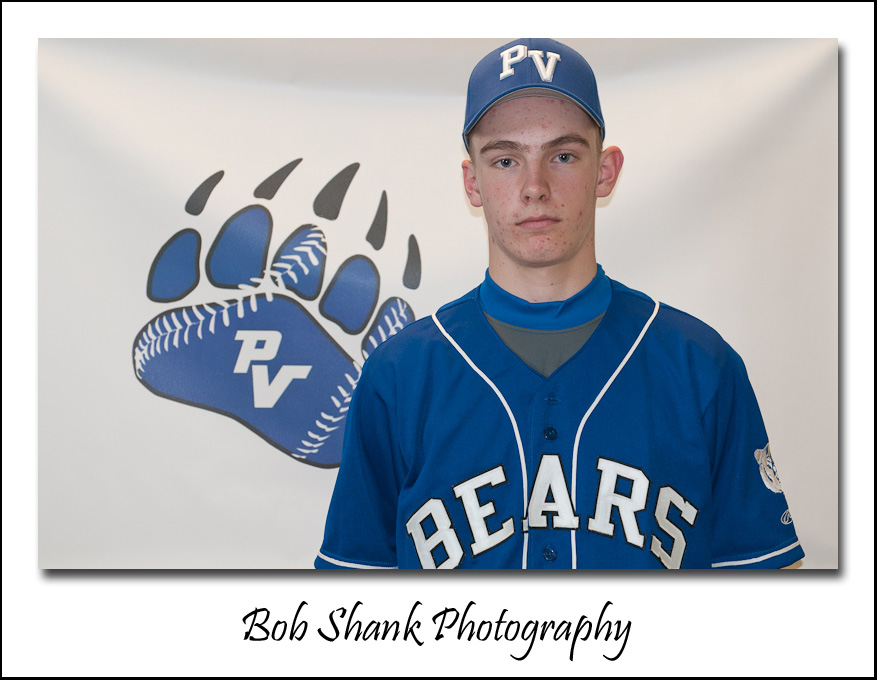
Yesterday I spent the morning photographing the player portraits for their yearly program. It is always fun to be around the players to sense and hear their excitement and witness their enthusiasm on the brink of a new baseball season. This was one day after try-outs were finished so there was a sense of relief in the air but also a real sense of anticipation as well. These boys are ready to put their game on the field!

On a personal note, our son James made the varsity team as a sophomore and we couldn’t be more proud of him! The above photo is James posing for his player profile, which will appear in the baseball program that will be handed out this season.Isn’t that quite a game-face?


Behind the Scenes on this Photo Shoot

This year instead of a basic, boring background like a brick wall, I used the team’s newly created logo and made a design to serve as a backdrop to the player profile photos. A few setup steps in Photoshop and the banners were off to the printer to come out as durable vinyl banners. When it arrived I inserted metal grommets into each corner so I could then attach the banner to my two backdrop stands. I set this up in the locker room, which served as my studio for this shoot. The boys were getting their uniforms for the season, which made this a convenient time for the photos to be taken.

I also set up my main light source off to the side of this backdrop at about a 40-degree angle and up high. My SB-900 speedlight was used remotely and I attached it behind an Ezybox to disperse the light over the subjects. This softens the light in a pleasing manner and avoids any hotspots in the photos. I also attached the dome diffuser to further diffuse the light. One test shot and I was ready to go! I really enjoy using Nikon’s off-camera flash setup. It’s quick, easy, and very effective!

Once back in my office, it was time to edit the photo shoot. First, I examined each player’s photos and used Lightroom’s Survey View to quickly narrow down the options and pick the best photo. This was repeated for each player on the Varsity and then the Junior Varsity team. Next it was time to do a few adjustments to the photos. I started on the first photo and then synched these edits across the entire collection to apply them to the rest of the photos. Since my setup was controlled and consistent, my sync was also consistent. I like Lightroom for this kind of process, too!

Finally, I renamed each photograph with the name and number of each player. This will help the layout guys when assembling the baseball program for printing. Now I am sending all the files to a DVD to send in to the school tomorrow.

It’s been a busy weekend but it was fun! The photo shoot went well and I am pleased with the results. I hope the players and their families agree!