New Photo of the Month

Now that May is over, I posted a new Photo of the Month on my Perfect Game Photos website.

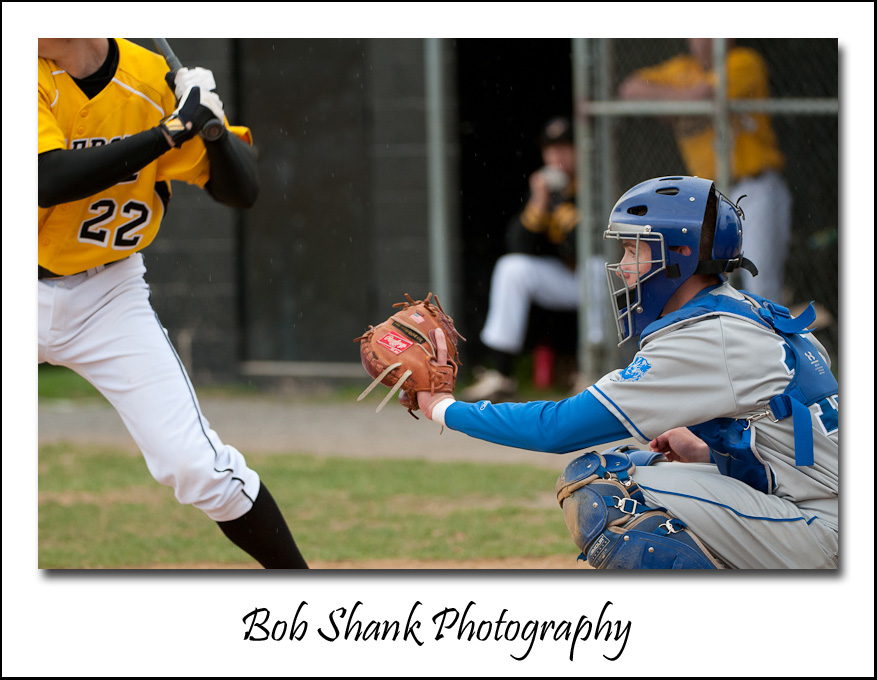
Each month I sift through all my sports photos and present one of the best as the Photo of the Month. I then post the photo on the website and add a description about the photograph. This past month’s photograph is Pleasant Valley baseball player, Howie Stevens, laying down a bunt.

Bunting might seem rather mundane and unexciting, but look at the action in this photograph. The dust cloud coming off the bat dispels the rumor that bunting is boring. I believe the photo shows the drama and excitement in the ordinary bunt. What do you think?

Thank You, Players!

Thank you to all the players and parents who appreciated and commented on my baseball photographs from the 2012 Pleasant Valley season.

It was a great year for me in many ways and I believe I am getting better and better in my sports photography abilities. You players certainly helped me by making some amazing and acrobatic plays on the field! You put the energy and action on the field and I was fortunate to capture some amazing moments from this season.

Last night’s Baseball Banquet celebrated the season and honored the outgoing seniors. It was a true celebration for some amazing athletes and students at Pleasant Valley. The photo presentation I presented captured just some of the highlights and photogems of the season. To see more of this year’s photographs, check out the Sports section of my website.

Thanks again, Pleasant Valley Baseball Players!

This Photo is in the Running for Photo of the Month

This photo is the running! Each month I select my best shot of the month and give it the honor of “Photo of the Month” on my all-sports website, Perfect Game Photos.

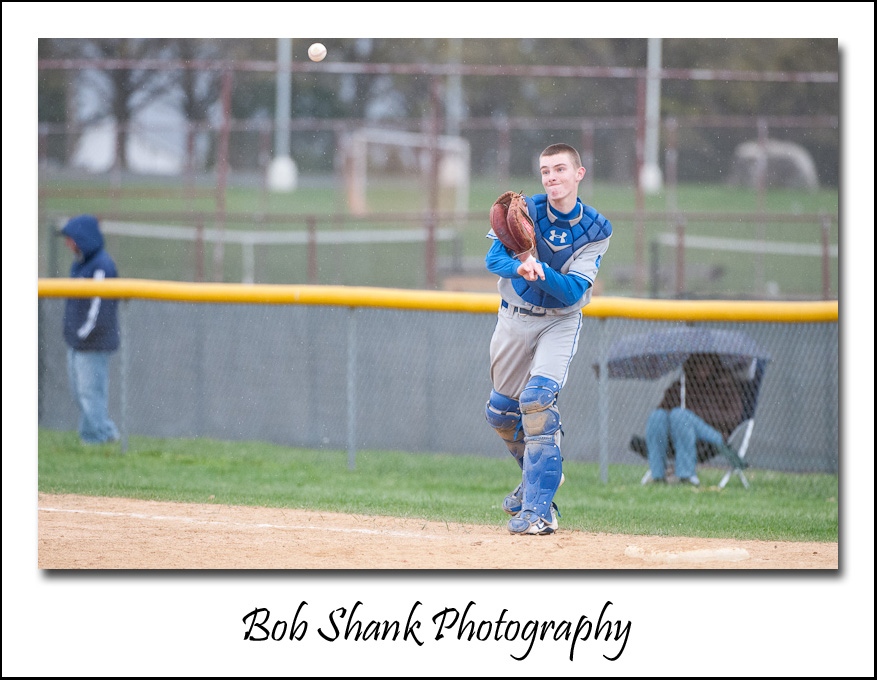
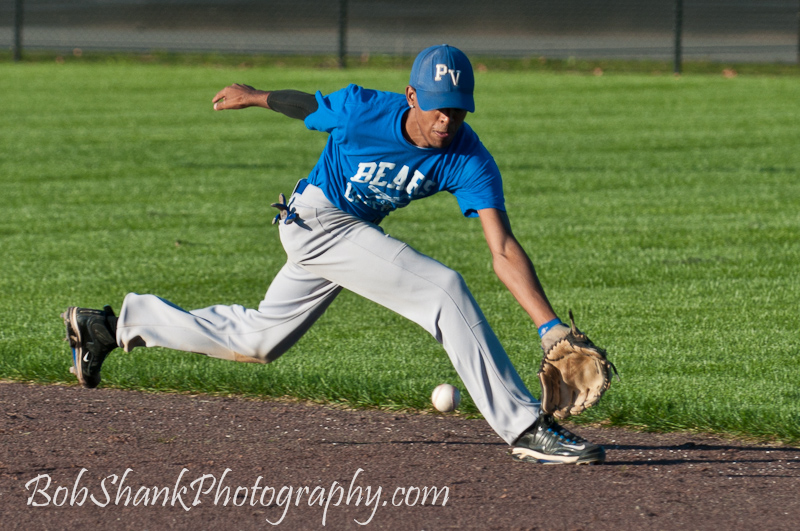
Last month was easy because I captured a bat breaking as it was swung at and hit a baseball. I always try to get the ball in the frame because it shows the intensity and action of the game. This photograph I captured today shows the second baseman’s eyes focusing on the baseball as he is tracking down the ball to catch in his glove. One of the player’s feet are in the air as he is running it down. I love the action of this shot!

I am picky though and there is one bad part to this image and that is the background. There was a house behind the field and it usually shows up at the exact wrong time in an otherwise great photograph. Still, this is a quality shot and is now in the running for the honored spot for the month of April.

Winning Interviews

Pleasant Valley’s baseball team played a barn-burner against East Stroudsburg South this afternoon!

The game went back and forth until after 7 innings when the game was tied. Two extra innings were played and the score again went back and forth. It was an incredibly exciting game with lots of hits, two home runs, and much excitement!

In the end, PV came up to bat in the bottom of the ninth down by one run. They rallied to tie the score and then, with bases loaded, James Shank smoked a ball down toward third base. The fielder could not handle the hard hit and the winning run crossed home plate.

After the game was over, two Pleasant Valley players were interviewed by the local new station: Adrian Concepcion and James Shank. Victory is sweet any time, but that much sweeter when you share it with good teammates and when they try to make you laugh during an interview!

Adding Multiple Keywords in Adobe Lightroom


Do you ever have the need to add multiple keywords to the same photos? I do. For example, after a high school baseball game I want to enter the players jersey number and their full name to their photographs. I find it better to do it now because at the end of the season I make collages for the seniors. All I  have to do then is search for the player name and jersey number and I am good to go!

Through some trial and error, I found a great way to enter these specific keywords to all the photos after a game. This might not make much sense to those of you who don’t use Lightroom, but I am guessing that similar procedures can be used with most software applications.

Here is how I enter multiple keywords after a photo shoot.

Step #1
I apply universal keywords when importing the photos for the first time into Lightroom. “Team name”, “Opponent”, “Away” or “Home”, and “Baseball” are all keywords that get entered into photograph as it is being imported.

Step #2
I create a collection of the keepers from the game. This prevents me from having to enter keywords into photos that I will never use. Time is precious, so saving time is essential!

Step #3
I created a filter that checks each photo for the keywords I am about to enter. This filter is pretty big because it looks for each jersey number and player name on the entire team. I initially created this filter to check to see if any photos from a game were left keywordless. But now I found another great feature by using this filter. I apply the filter just before I add keywords, so when I add keywords to a photo it “disappears” from the screen because it no longer matches that filter. So, as I add keywords, only those without the appropriate keywords are left on my screen. This is pretty slick in my opinion and helps me tremendously!

Step #4
I use the Painter Tool in the Grid view to add my keywords. I click on the Painter Tool and then enter the player’s jersey number, then a comma, and then the player’s name. Then I go through the grid of photos and paint on the photo that matches these keywords. As I do, they “disappear” because they no longer match the filter I selected.

Step #5
I skip over photos with multiple players in them because more than one jersey number and player name will be applied to these photos. I use the Painter Tool again if there are a good number of photos with the same two players in them, or I simply add the appropriate keywords to the remaining photos one-by-one.

When I’m all done, there are not photos left on the screen because they’ve been filtered out and I know that each photograph has been keyworded to my specifications.

It works wonderfully for me!

Sports Photography – Sometimes It Just Clicks!

I enjoy sports photography. I like sports, I played sports, I coached sports, and now I photograph sports.

Sometimes, every once in a while, things just click in sports photography. Yes, need to know the game we are shooting, try to anticipate where the action will be next, obtain the absolute best shooting position–you know, the whole nine yards. Even then, when all seems to be going just right, a photo can be out of focus, or an umpire or coach steps right in the way of the action. I know because I’ve experienced this more times than I can count.

But then, every once in a great while, things just click in sports photography!

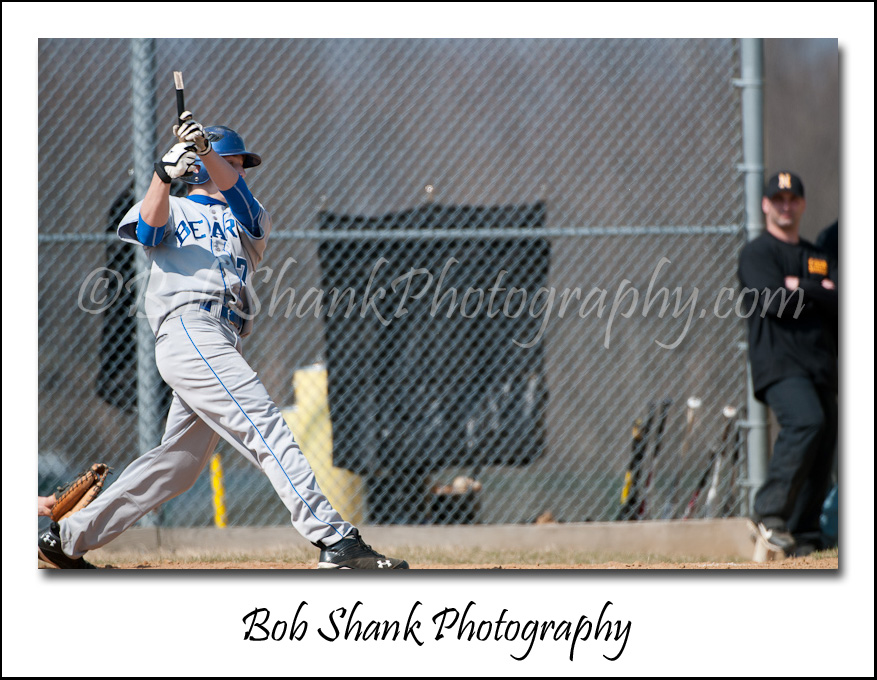
The above photo was captured at the Pleasant Valley vs. Northwestern Lehigh high school baseball scrimmage. The weather was gorgeous and it was a perfect day for baseball. Spring has about sprung, and the new baseball season is nearly under way officially. How could a sports photographer complain on a day like this?

One of my goals in sports photography is to try my best to get the baseball in the frame of the photograph whenever possible. This helps to show the action even in a still photo. It’s even better when the player’s eyes are focused on the ball and the ball is in complete focus in the frame. Of course, this just doesn’t happen all the time, but it is a worthy goal in my humble sports photo opinion.

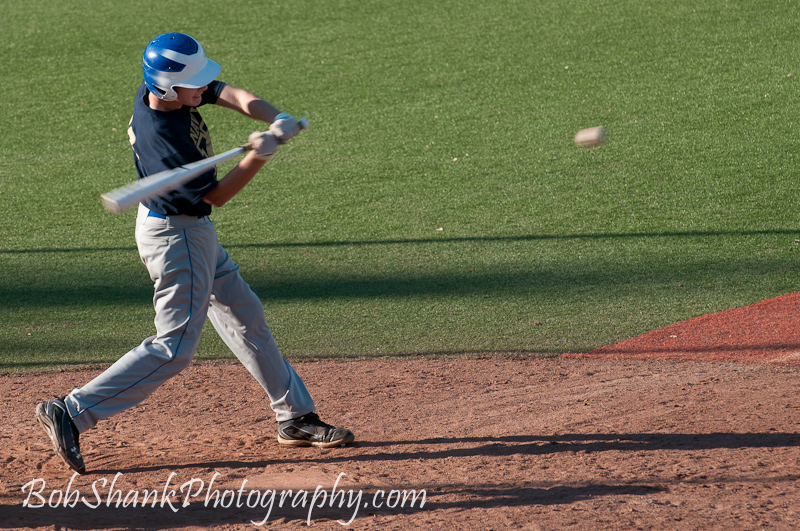
On this particular swing, I knew the batter broke his bat. Everyone could hear it and one fan even said so to me. Yep, the bat was broken, but I did not realize I capture “the moment” until I was editing the shoot on my computer back in my office. Then, as soon as my eyes saw this photo, I knew I had captured “the moment.”

Let’s first talk about what’s wrong with this photo. First of all, it contains that dreaded baseball background–the chain-link fence. I hate these backgrounds. It looks more like a dog fence than something that ought to be in a photograph. Who let the dogs out anyhow? Secondly, the baseball is not in focus, not even close. Third, the catcher’s arm is cut off and appears to be floating in the air all by itself. Yuck!

But even with all that, I like this photograph. The player is in focus and the ball leaving the broken bat tells the story well and almost exudes action! As a matter of fact, when I look at this photo I swear I can almost hear the crack of the bat hitting that baseball!

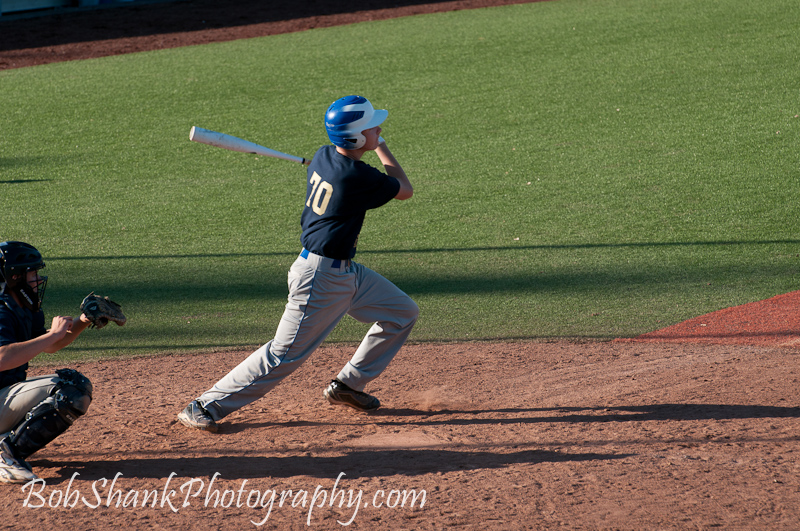
Now the next photograph wouldn’t mean much without seeing the one right before it. But now this last photo helps to tell the story of this at-bat. And you thought you carried a big stick!
Baseball Photo Shoot

The weather is breaking into spring-like weather and the baseball season will soon be under way!

Yesterday I spent the morning photographing the player portraits for their yearly program. It is always fun to be around the players to sense and hear their excitement and witness their enthusiasm on the brink of a new baseball season. This was one day after try-outs were finished so there was a sense of relief in the air but also a real sense of anticipation as well. These boys are ready to put their game on the field!

On a personal note, our son James made the varsity team as a sophomore and we couldn’t be more proud of him! The above photo is James posing for his player profile, which will appear in the baseball program that will be handed out this season.Isn’t that quite a game-face?


Behind the Scenes on this Photo Shoot

This year instead of a basic, boring background like a brick wall, I used the team’s newly created logo and made a design to serve as a backdrop to the player profile photos. A few setup steps in Photoshop and the banners were off to the printer to come out as durable vinyl banners. When it arrived I inserted metal grommets into each corner so I could then attach the banner to my two backdrop stands. I set this up in the locker room, which served as my studio for this shoot. The boys were getting their uniforms for the season, which made this a convenient time for the photos to be taken.

I also set up my main light source off to the side of this backdrop at about a 40-degree angle and up high. My SB-900 speedlight was used remotely and I attached it behind an Ezybox to disperse the light over the subjects. This softens the light in a pleasing manner and avoids any hotspots in the photos. I also attached the dome diffuser to further diffuse the light. One test shot and I was ready to go! I really enjoy using Nikon’s off-camera flash setup. It’s quick, easy, and very effective!

Once back in my office, it was time to edit the photo shoot. First, I examined each player’s photos and used Lightroom’s Survey View to quickly narrow down the options and pick the best photo. This was repeated for each player on the Varsity and then the Junior Varsity team. Next it was time to do a few adjustments to the photos. I started on the first photo and then synched these edits across the entire collection to apply them to the rest of the photos. Since my setup was controlled and consistent, my sync was also consistent. I like Lightroom for this kind of process, too!

Finally, I renamed each photograph with the name and number of each player. This will help the layout guys when assembling the baseball program for printing. Now I am sending all the files to a DVD to send in to the school tomorrow.

It’s been a busy weekend but it was fun! The photo shoot went well and I am pleased with the results. I hope the players and their families agree!


Anatomy of a Triple


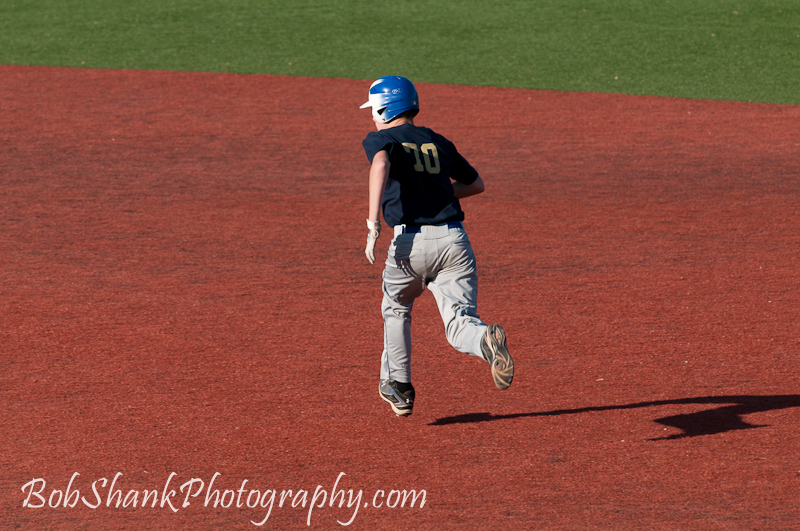
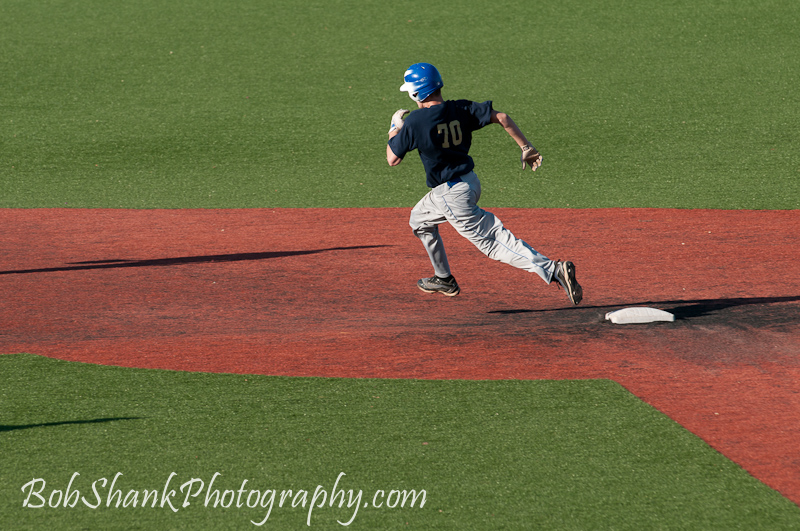
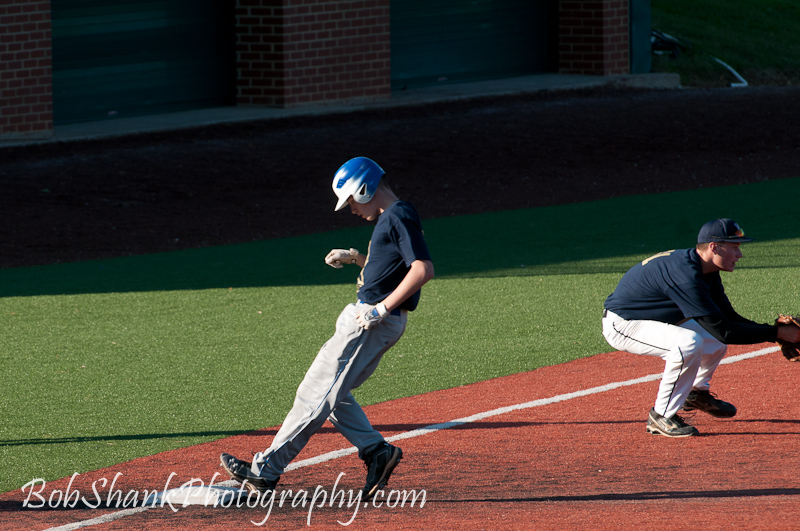
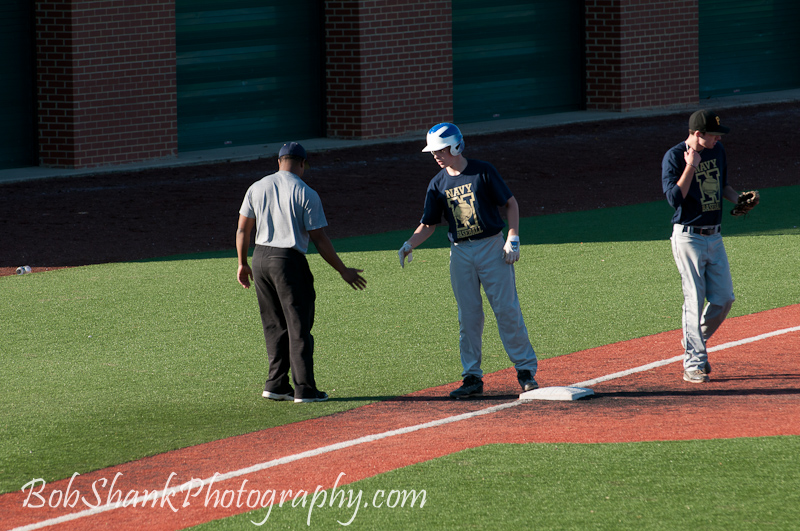
James Shank, a high school sophomore, hit a bomb into right-center field today at the Navy Baseball Showcase Camp. He was facing an extremely good pitcher, who is showing excellent promise himself. This pitcher is a freshman at West Virginia University now and is hoping to transfer to Navy. From the looks of it, he will be a very nice addition to the team here. James worked a 2-2 count and got a fastball. He ripped it in the gap and the ball bounced to the fence. He easily rounded the bases with a standup triple.

I thought it would be fun to show the photos from his hit today and break it down so you can see the anatomy of a triple. The hardest part is hitting the baseball, of course, especially against a quality pitcher. The matchup between a pitcher and the hitter is always fun to watch. It’s a cat and mouse game. The pitcher trying to paint the corners of the plate and get ahead in the count; the hitter trying to work the count in his favor and earn a hitter’s pitch. 2-2 is about the same as 0-0, or is it? At the beginning of the at-bat, both the pitcher and hitter are even. They both have room to make a mistake and still live in this matchup. When the count goes to 2–2 the next pitch could be the end of the line for the hitter. Yes, they call this an even count, indicating neither the pitcher or the hitter has the edge, but it seems to me that the pressure is more solidly on the hitter because the next pitch could have him walking back to the bench. All the while, the hitter is working the count and trying to figure out what the pitcher might be throwing. Stay back, look for the fastball, and react to the curve. When the pitcher has a sidearm delivery, it ups the ante even more! Release point is different in this scenario and the hitter has to adjust. 2 balls, 2 strikes. What will the pitcher throw next? It’s a fastball and it’s a triple! The hitter was 1 for 2, batting .500 for the day, and the pitcher strikes out the next batter faced.

These photos do not show all the drama of a triple, but they do show some of the energy and excitement of a player hitting the ball and rounding the bases, who then cruises into third and shakes the hand of the third-base coach.

And that’s the anatomy of a triple.

Pleasant Valley vs. Stroudsburg Baseball

The first day of the high school fall baseball tournament featured Pleasant Valley vs. Stroudsburg.

The game started out with a bang as Stroudsburg crossed five players over home plate to go up 5-0. There was no looking back as the Mounties kept their edge throughout the entire game. Strong pitching and lots of hitting were both featured by the home team.

I always find it exciting to photograph these baseball games. The action is not always easy to predict but the challenge of telling the story of the game with my camera is thoroughly enjoyable.

You can view photographs captured at this game here.

How to Crop Baseball Photographs in Lightroom

Yesterday I posted four photographs from the Pleasant Valley baseball game I photographed. It was a late night and so I picked four favorite photos to share. Today I’d like to show you how I cropped two of these photographs to give you an idea on how you can crop baseball photos to enhance them and make them look better.

Let’s start with this photograph.

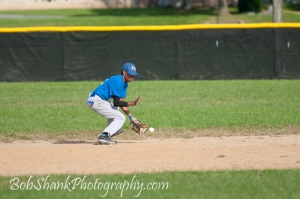
It’s not a bad photo but we can make it better. The nice thing is it shows the second baseman making a play with the baseball in the frame. This is a peak-action shot. There are some problems though. First, the top of the fence is bright yellow and distracts from the main subject–the player fielding the ball. Secondly, the foreground has grass and then dirt. This first patch of green grass is also distracting. So let’s crop down to eliminate the yellow on top of the fence and crop up to eliminate the first patch of grass. I prefer to have Lightroom display a grid when I am cropping to show me a graphic display of the rule of thirds. When I am not cropping a photo, I don’t like to see this overlay because it can be distracting. I set up Lightroom to only show this grid when I am actually cropping a photograph.

To set this up in Lightroom, go to the Develop module and make sure the Toolbar is displayed by pressing the “T” key. This toggles back and forth between the toolbar being displayed. Once it is displayed you will see “Tool Overlay” in the bottom left-hand side of the editing screen. Click on the double arrows and choose “Auto.” Now the grid will only display when you are actually cropping a photograph.

Here is the cropped photo alongside the original photo. Do you think the cropping made a difference? Which photograph do you prefer?

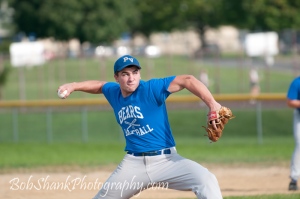
Okay, now let’s look at another example. This is a photograph of a pitcher on the mound delivering a pitch. The first image has some obvious problems. The first baseman can be seen on the right edge of the photograph. There are also two brighter rectangles near the top of the photo that I think are somewhat distracting. Besides these problems, I’d like to crop in tight to really show and highlight the face of this pitcher in the middle of his windup. Here are the before and after photos.

I am posting this last image to show that cropping is sometimes a bad idea. This photo shows a base runner sliding into home. I was first tempted to crop this image because of the coach in the right upper corner. His white shorts I thought were distracting. However, upon further reflection, I liked that the baseball bat on the left side and the ball on the right side of the image were both important to include in this action photograph. So ultimately I decided that cropping this photograph was a bad idea and simply left it as it was.