Football Game

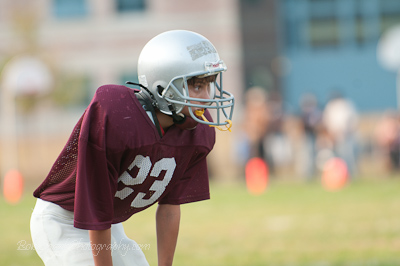
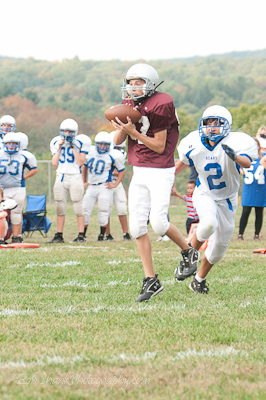
Yesterday I had the opportunity to photograph a middle school football game. The Stroudsburg Mounties were hosting the Pleasant Valley Bears. I knew several players on both sides, but one of the Stroudsburg moms asked me to get some photos of her son. The action was fast and furious with lots of scoring throughout the game.

I found football to be much different than photographing baseball. The action seemed more non-stop and fast-paced. I coached football for quite a few years, including at the middle school level for three years. Knowing the game sure helps when trying to photograph a game! One quick tip I learned quickly is to line up on the sideline slightly behind the line of scrimmage to get a clear shot of the backfield. Handoffs, pitches, and the QB dropping back for a pass are examples of shots I was able to get with this technique.  Of course, this would also be a good location for a QB sack, too. I found it much harder to capture a receiver catching a pass.

Over all, I believe I was able to capture some good, quality photographs of the game. Here are five photos, but you can see all the photos from this shoot here.

Some New Baseball Photos and Still More to Come

Late last night I posted some baseball photos from this past weekend’s ECTB Tournament. The Sunday games were rained out, but some great baseball was played on Saturday!

I photographed the 11u game first, then had the chance to photograph the two 15u games. The players were hitting and driving the ball, and the defense was solid. The 15u team won both of their games and they looked strong. It is always fun for me to photograph a baseball game but when the action on the field is played with confidence and precision, it makes it even more enjoyable!

You can see some of the photos from these three games here.

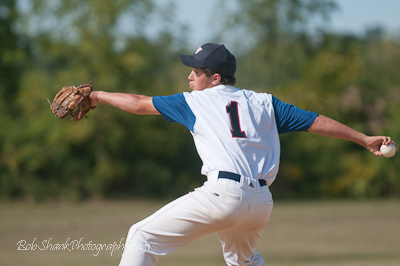
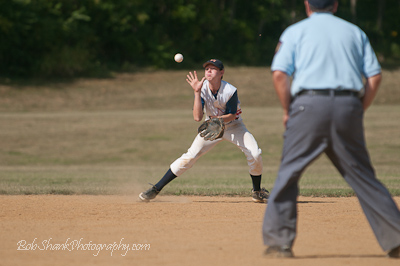
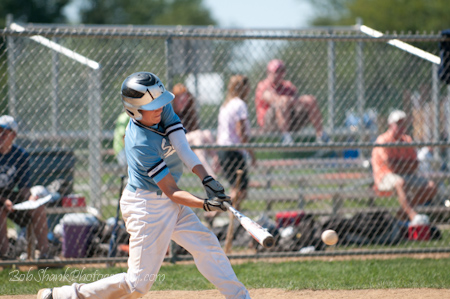
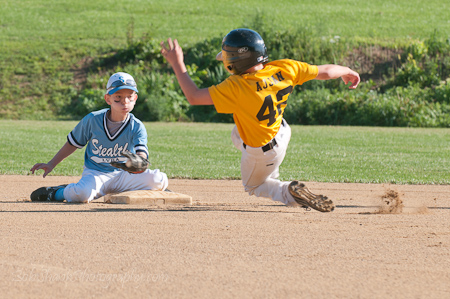
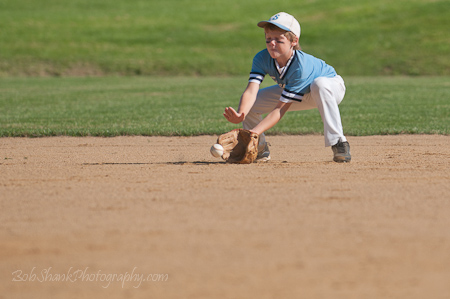
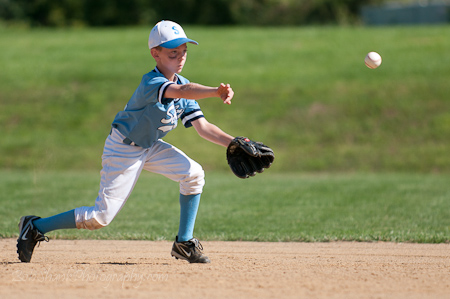
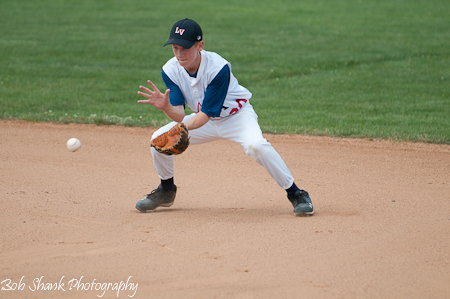
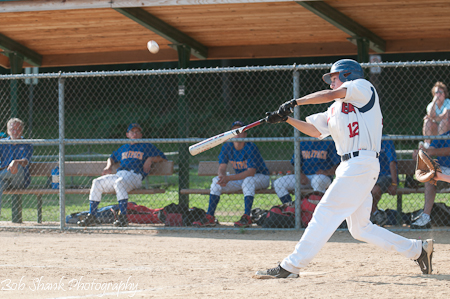
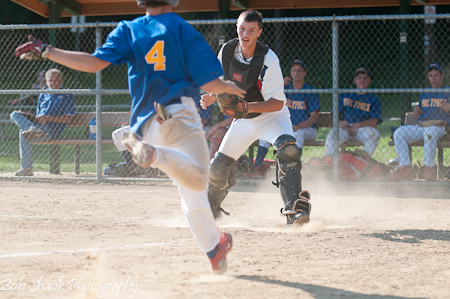
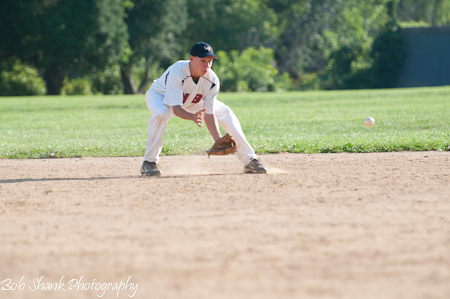
And I am posting a just a few photos here.

More Baseball Photos

Today I photographed three baseball games. And it was a beautiful day for baseball!

The Lehigh Valley Baseball Academy 11u team played the Titans at 9am. It was a hard-fought game that featured some solid defense and quality hits. The action was exciting throughout the game. It was obvious that these boys are being coached well and are learning the fundamentals of baseball.

I then photographed the two LVBA 15u games. This team played well, too, winning both games and moving on in the next round of the tournament as the #2 seed. The players were hitting the ball very well and exhibiting great fundamental defensive skills–they turned one double-play and made some very nice defensive plays on the field.

I am posting four photos from the 11u team here on my blog today, but you can see the photos of all the games on my website. They should be posted by tomorrow evening. In the meantime, I hope you enjoy these photos.

No-Hitter Pitched for LVBA 15u

Eli pitched a no-hitter today for the 15u Lehigh Valley Baseball Academy!

The opposing team had very few base runners during the game and Eli was in control as he struck out one batter after the other. On two occasions, he walked a couple batters in an inning but put the hammer down and pitched out of trouble. He was in command of his pitches all day and kept his focus throughout the game. Watching a 15u player throw a no-hitter was a complete joy to witness and photograph!

This was the first no-hitter that Eli pitched in his young career. The LVBA team scored one run on a wild pitch as Joey DePerno scored from third base on a heads-up play to cap off Eli’s no-hitter with a victory.

Here are a series of photos from the first inning of Eli’s no-hitter. It was a day to remember and I was glad to photograph the game as it unfolded. I always say that each game has a unique story and I see my job as trying to tell that story through the photographs I capture. Today Eli made it very easy to tell this game’s story. Awesome game Eli and congratulations on your no-hitter!

New Baseball Photographs Posted

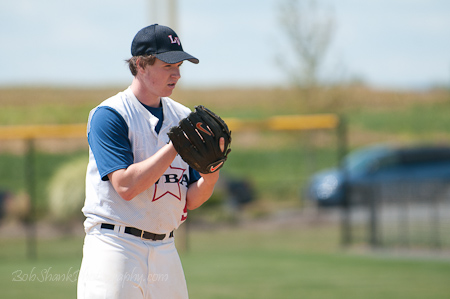
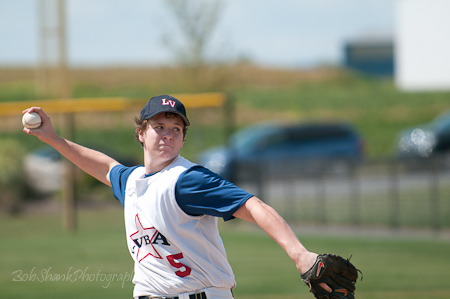
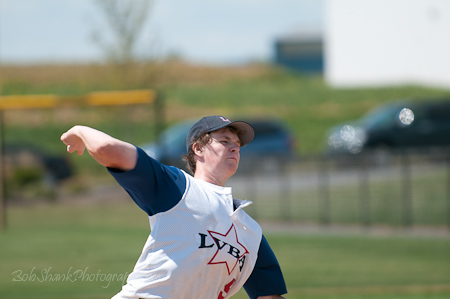
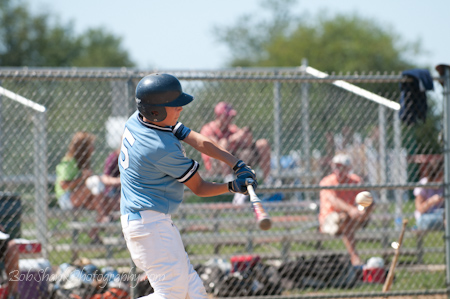
Sports photography is one my photo passions. I do not shoot for Sports Illustrated or ESPN the Magazine yet, but I do try to celebrate the talents of the young players who play at the Lehigh Valley Baseball Academy. Think about this. The Little League World Series is now over. We watched the games for the past three weeks on television. Local Little Leagues need to end their season in the beginning of June in order to pick their All-Star teams and have enough time to play the tournaments. This means that most of the Little League players complete their baseball season in the beginning of June. Only a small number of players get onto All-Star teams and once you lose; you’re season is done, too. Very few players play all summer in Little League. What happened to the days when summers were for baseball?

For better or worse, things have changed. Now the baseball craze is travel and tournament baseball. Players who play on a tournament team often play 2 to 3 games on Saturday and anywhere from 2 to 4 or even 5 games on Sunday! Tournament baseball is very different from Little League baseball. The positive part for me is that I can shoot a lot of games in a weekend–mostly Saturdays for me. This past Saturday I photographed three back-to-back games. I averaged a little over 100 good photographs for each game. I am very particular about what I think is good enough and what I post on my website to share with players, coaches, and parents. I might not be submitting photos to the big sports magazines yet, but I still demand a lot of myself and have high standards.

I pick the best photos to display on my website and then share them with the teams and families. I use a simple protection protocol with a user name and password , which I mentioned in detail a few posts ago. It is just an effort to protect the photos of the young players, while still trying to share the photos with all those who might be interested in viewing or purchasing them. I find great joy in photographing the baseball games and trying to capture the exciting action on the field. Baseball is still our great American pastime and is worthy of being preserved in photographs. Besides, who knows when one of these young ball players will make it into the Bigs!

You can view my LVBA page and if you would like to receive the user name and password to view the photos, please send me an email message. Here are just a few sample photos.


Fall Baseball

The LVBA Fall Baseball Season started today. Several teams were active in the ECTB 5th Annual Hardball Challenge. I had the opportunity to photograph three of the games today and the action was amazing it was like watching a professional game you assist if you get red sox tickets or any other big team tickets for a game. These boys can flat-out play baseball! I was at the 9u, 11u, & 14u games.

I believe that a unique story unfolds in each game and my job is to capture the moments and turn them into memories. I will be posting photos from all three games on my website once they are edited, but I thought putting three photos up here on my blog would be a good representative of the forthcoming photos. I think you can tell from viewing these photographs that these boys mean business on the baseball diamond!


Secure Web Galleries

I do a lot of sports photography but most of it is with young players whose parents may not be thrilled with faces of their children all over the internet. So, by using Lightroom to create a web gallery and then working in Dreamweaver, I can create password protected galleries that attempt to keep the photos more secure. For me it has worked beautifully and the parents of the players I work with seem to appreciate this extra effort.

Here is what I do.

I create a web gallery in Lightroom, which I described in yesterday’s blog entry. Then I open up the newly created index file of this gallery in Dreamweaver. I edit the file by adding some code that directs the web page viewer to a login screen. You can see an example of this login screen by going here. This additional code is not complicated and once I created it the first time I can just copy and paste the code into a new gallery without having to retype it.

The logon code is contained in a different file in the same folder or directory. This requires the webpage viewer to enter a username and password that I assign for the gallery. This information is passed on to the players, coaches, and parents. They are encouraged to share this info with their friends and family, but it prevents anyone who stumbles across my site from gaining access to the photos of minors. It works well and is not difficult to set up.

I then create a link on my website that allows the team to view the photos after they enter the username and password.

If you are interested in the details and code of how this is done feel free to email me. I am more than happy to share with others what works for me. After all, I learn something new every day about photography. It is a great time to be a photographer!

Web Galleries from Lightroom

Continuing the theme of how I post-process photographs, I will now discuss how I use the Web Gallery Module in Lightroom to share my photos with others.

Let’s say I shoot a baseball game, which is one of my most favorite subjects. Every game has a story that unfolds and my job is to try to tell that story photographically. I also like to portray players in action, preferably with the baseball in the frame. So I get back from a shoot and select the keepers as I described on Saturday. All those that are marked “picked” will now be prepared for display on a new web page on my website. Lightroom makes this incredibly easy!

First, I go to the collection I created, that contains all the selected photos. Then I go to the Web Module. Here’s where things get fun! Let’s say I want to add the photos to my website and have them display as a slideshow with a black background. To start setting this up, I click on the already installed Lightroom Template from the left panel named “Slideshow.” Now I choose to customize this in a  number of different ways. First I setup the titles in the right panel labeled Site Info. I can change the Site Title, Collection Title, Description, Contact Info, and the Web or Mail Link. As changes are made they show up in the large preview screen.

I typically just go down the right-hand panel and make changes in this order. The next panel is the Color Palette where I can change the font color, any header or menu text, the border, and the background colors. I like to use a black background for slideshows with white text.

The Appearance Panel allows us to change the layout features such as adding an identity plate and determine the size of thumbnail and image size.

The Image Info panel gives me the opportunity to add titles and/or captions to each photo, assuming I included this information in the metadata for each photograph.

The Output Settings panel allows me to set the size and quality of the images, add watermarks, and sharpen on output.

Finally, the Upload Panel is where we can setup our ftp server information for automatic uploading. I ignore this panel and prefer to export manually because I create a username and password so that the photos of these young players are protected. This process is a topic for another discussion at a later time.

Once I make all the changes to get the web gallery just the way I want it to look, I double-check to make sure the preview is exactly as I imagined it should look. The uploading process takes some time, so I want to be sure things are correct now. Otherwise I might have to another upload, which only takes more time.

I export the newly created web gallery to my hard drive. Then I use my web design software to upload the gallery onto a new folder on my server, which is the last step in this process. You can see an example of a slideshow I created by following these directions here. A visitor to my website can scroll through each image manually one-by-one or opt to start the slideshow and have  the photos scrolled through automatically.

This is really easy to do and I use this or a similar feature after every photo shoot. Lightroom makes it very customizable and easy to do. Give it a try yourself!

My Photography Workflow

After writing yesterday’s blog entry, it occurred to me that it might be worthwhile to explain my photography workflow in more detail. We all have our patterns, habits, and preferences. There is no right or wrong way to take our photos from our cameras to the end product, but some methods are easier than others. I do not believe my process is the only way or even the best way; it is just what I currently use after many years of experimentation and some trail and error.

I prefer using Adobe Lightroom for my photo management and editing software. Here is the workflow that I am currently using on every photo shoot.

First, I use a card reader to copy the photos into my laptop when on photo trips or my desktop when I am home. I copy the photos into the DNG format on import. Yes, this takes time, but the file sizes of DNG are smaller and you either have to convert now or do it later. On import I also rename each photo according to this format: date-sequence. So, for example, if I have a photo shoot today, I will create the import format to be 20100821-1, with the last number moving up sequentially for each photo. I will also add any general keywords that apply to all these photos. I have a Drobo so I import the photos directly to that physical drive and place all the photos in a folder named “Photographs.” I will assign a new folder name for the import by using the name of the photo shoot followed by the date. I like using the name of the photo shoot first, which is a change for me. I used to use just the date of the shoot, but that was not descriptive to me, so now I assign a name for each photo shoot to the folder name first. I also set up and use a saved metadata preset to assign copyright information, etc.

Once the photos are sitting in Lightroom, I then go through the photos to find the keepers. My process works like this. I enlarge the photo in the Library Module so I am only seeing one photo at a time. I use the right arrow to move to the next photo. When I come across a photo that I want to mark as a keeper, I press the “P” key to “pick” that photo. I have Lightroom set up to then advance automatically if I do press the “P” key. This feature of advancing to the next photo automatically when the photo is picked helps to move the process forward quickly. To set up the auto advance feature, click on “Photo” on the top menu and click on “Auto Advance.” I can quickly go through my whole shoot just picking the photos I want to mark as my keepers.

Once I go through all my photos I then create a collection just of these keepers. I may want to create a web gallery or slideshow of these photos, so I make the collection now. Then I go through the photos in this newly created collection. I am now looking for what I call the “Best of the Best” photos. These are the ones that make the final cut and ones I will show to clients, colleagues, or friends. These select photos need to be representative of my very best work so I am brutally hard with this part of the process. I will go through each photo again, carefully examining the composition, colors, exposure, lines, and other details. When I come to a photo that makes this final cut I then assign it a star rating. Usually these select photos get either 4 or 5 stars depending how on the strength of the photograph.

Now I will use these “Best of the Best” to post on my blog, use as initial proofs with a client, post to my website, or share in any number of ways. I often post all the photos in the collection if I have done a sports event because everyone likes to see their player in action. But if I am sharing photos in other ways I try to stick with just showing the “Best of the Best” photos from each shoot. Creating the web galleries, even with PayPal features, or creating slideshows are all very easy from within the newly created collection.

Sometimes I use color labels for specific reasons. I use a red label if I know a photo needs editing. The red label reminds me that I still have work to do on this photograph. I also sometimes use green labels to mark photos that I want to use for a photo book. And I use blue labels for photos that I want to use in a web gallery. I recently found a great feature in Lightroom that helps me use these color labels but without seeing the whole frame around the photo in that color. Having a photo surrounded in color can make that photo look different than when it is against a neutral background. So here is what I learned to do. Go to Grid View Options and deselect the “Tint grid cells with label colors” in the Options panel. Now go to the bottom of this same screen and select “Include Color Label.” This results in a small color swatch appearing beside the start ratings at the bottom of each photo in the Grid View instead of having that color surrounding the whole photo. Pretty cool, huh?

If this specific photo shoot was away from home, I will then import the Lightroom Catalog to my desktop computer so I retain all the picks, edits, and other changes I made in the field.

So this is the workflow I am currently using. What do you think? Does it make sense? Is there anything I am missing? How can this process be enhance and improved? What do you do in your workflow process? Please share your thoughts because we always learn more together than we ever learn alone!


Photograph the Action

You’ve heard me say before that I love photographing baseball games. Well, today I photographed two games and the action was unbelievable!

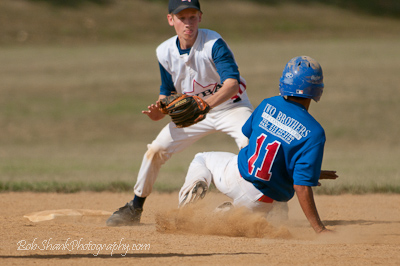
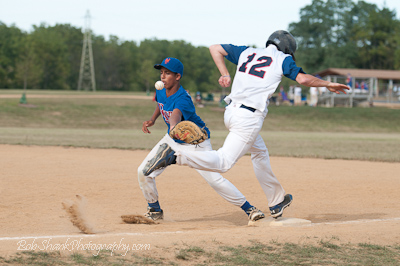
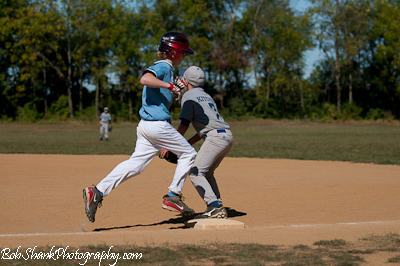
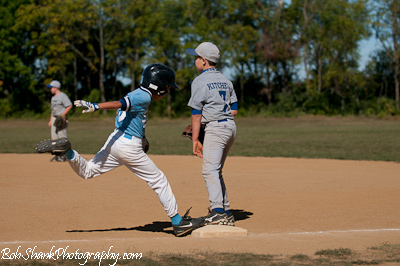
The first game went back and forth as both teams battled it out on the field. There were several good defensive plays, some good hitting, and lots of action on the base paths. This is a sports photography dream come true! Hitting, running, sliding, tagging–these games had it all!

I enjoy the challenge of photographing the action. This is no easy task. Just when you think you’ve got your camera pointed in the right direction at exactly the correct time, something else can happen. The focus can be off just a touch or another player can run into the frame. Capturing the action requires paying close attention to the game. Do you know how many strikes there are right now? Where might the next action take place? Some luck is always helpful, too.

Here are six photos from the games I photographed today. I did not have a high batting average of great shots today, but these aren’t bad are they?